WARNING: Setup work requires Power and Time. So battery is not suitable. We recommend using SMPS (AC adapter) during this work.
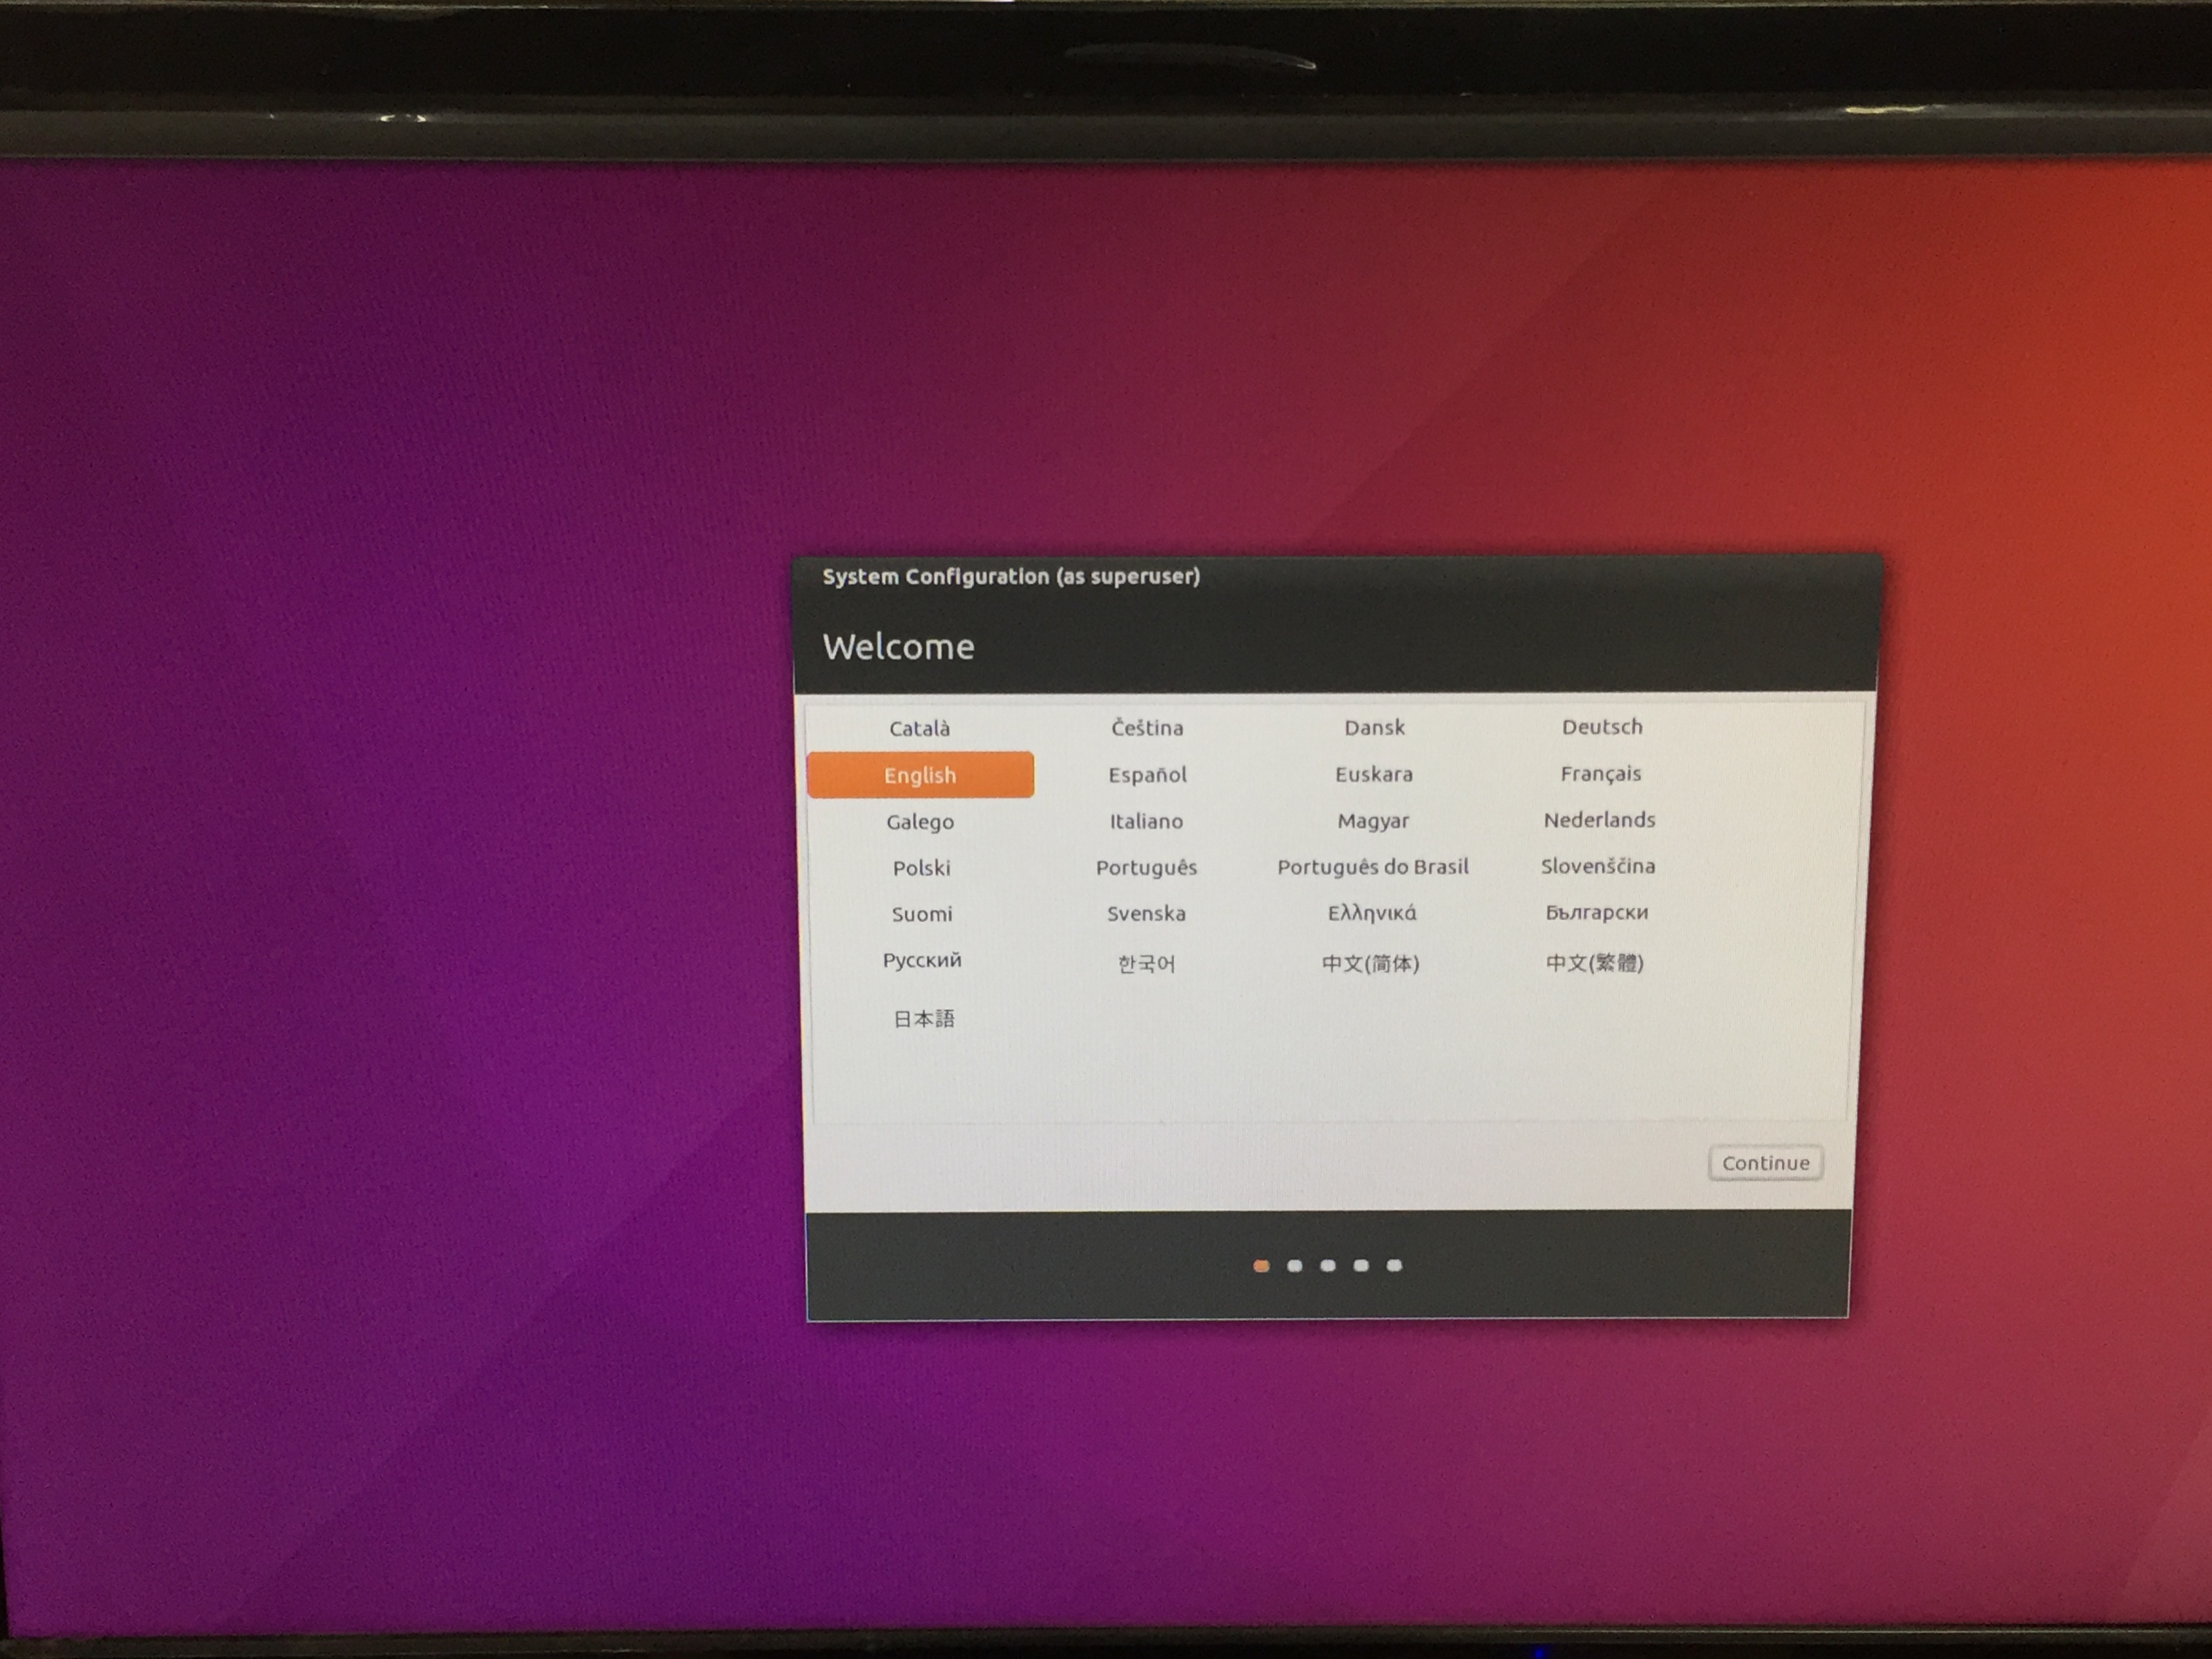
In this section, the Alternative Ubuntu Desktop 16.04 LTS will be installed on Intel® Joule™.
[Remote PC] Download Ubuntu image Alternative Ubuntu 16.04 for Intel® Joule™ from the below link.
[Remote PC] In order to make a bootable installation USB drive, please follow the Alternative install(Ubuntu Desktop 16.04 LTS) section from the below link.
[Remote PC] Before getting started, The board needs to have its BIOS updated to BIOS version #193 to install Ubuntu Image. Download BIOS version #193 and flash the BIOS into the Joule by following instructions in the below link.
WARNING: Updating to the latest BIOS(1J2 or higher) may cause unexpected problem of Intel® Joule™ with Ubuntu 16.04 LTS. Please use only the recommended BIOS version #193.
WARNING: Intel® Joule™ comes with passive heatsink in the package. It is recommended to use the heatsink. In order to operate Joule without the heatsink, please follow the extra instruction
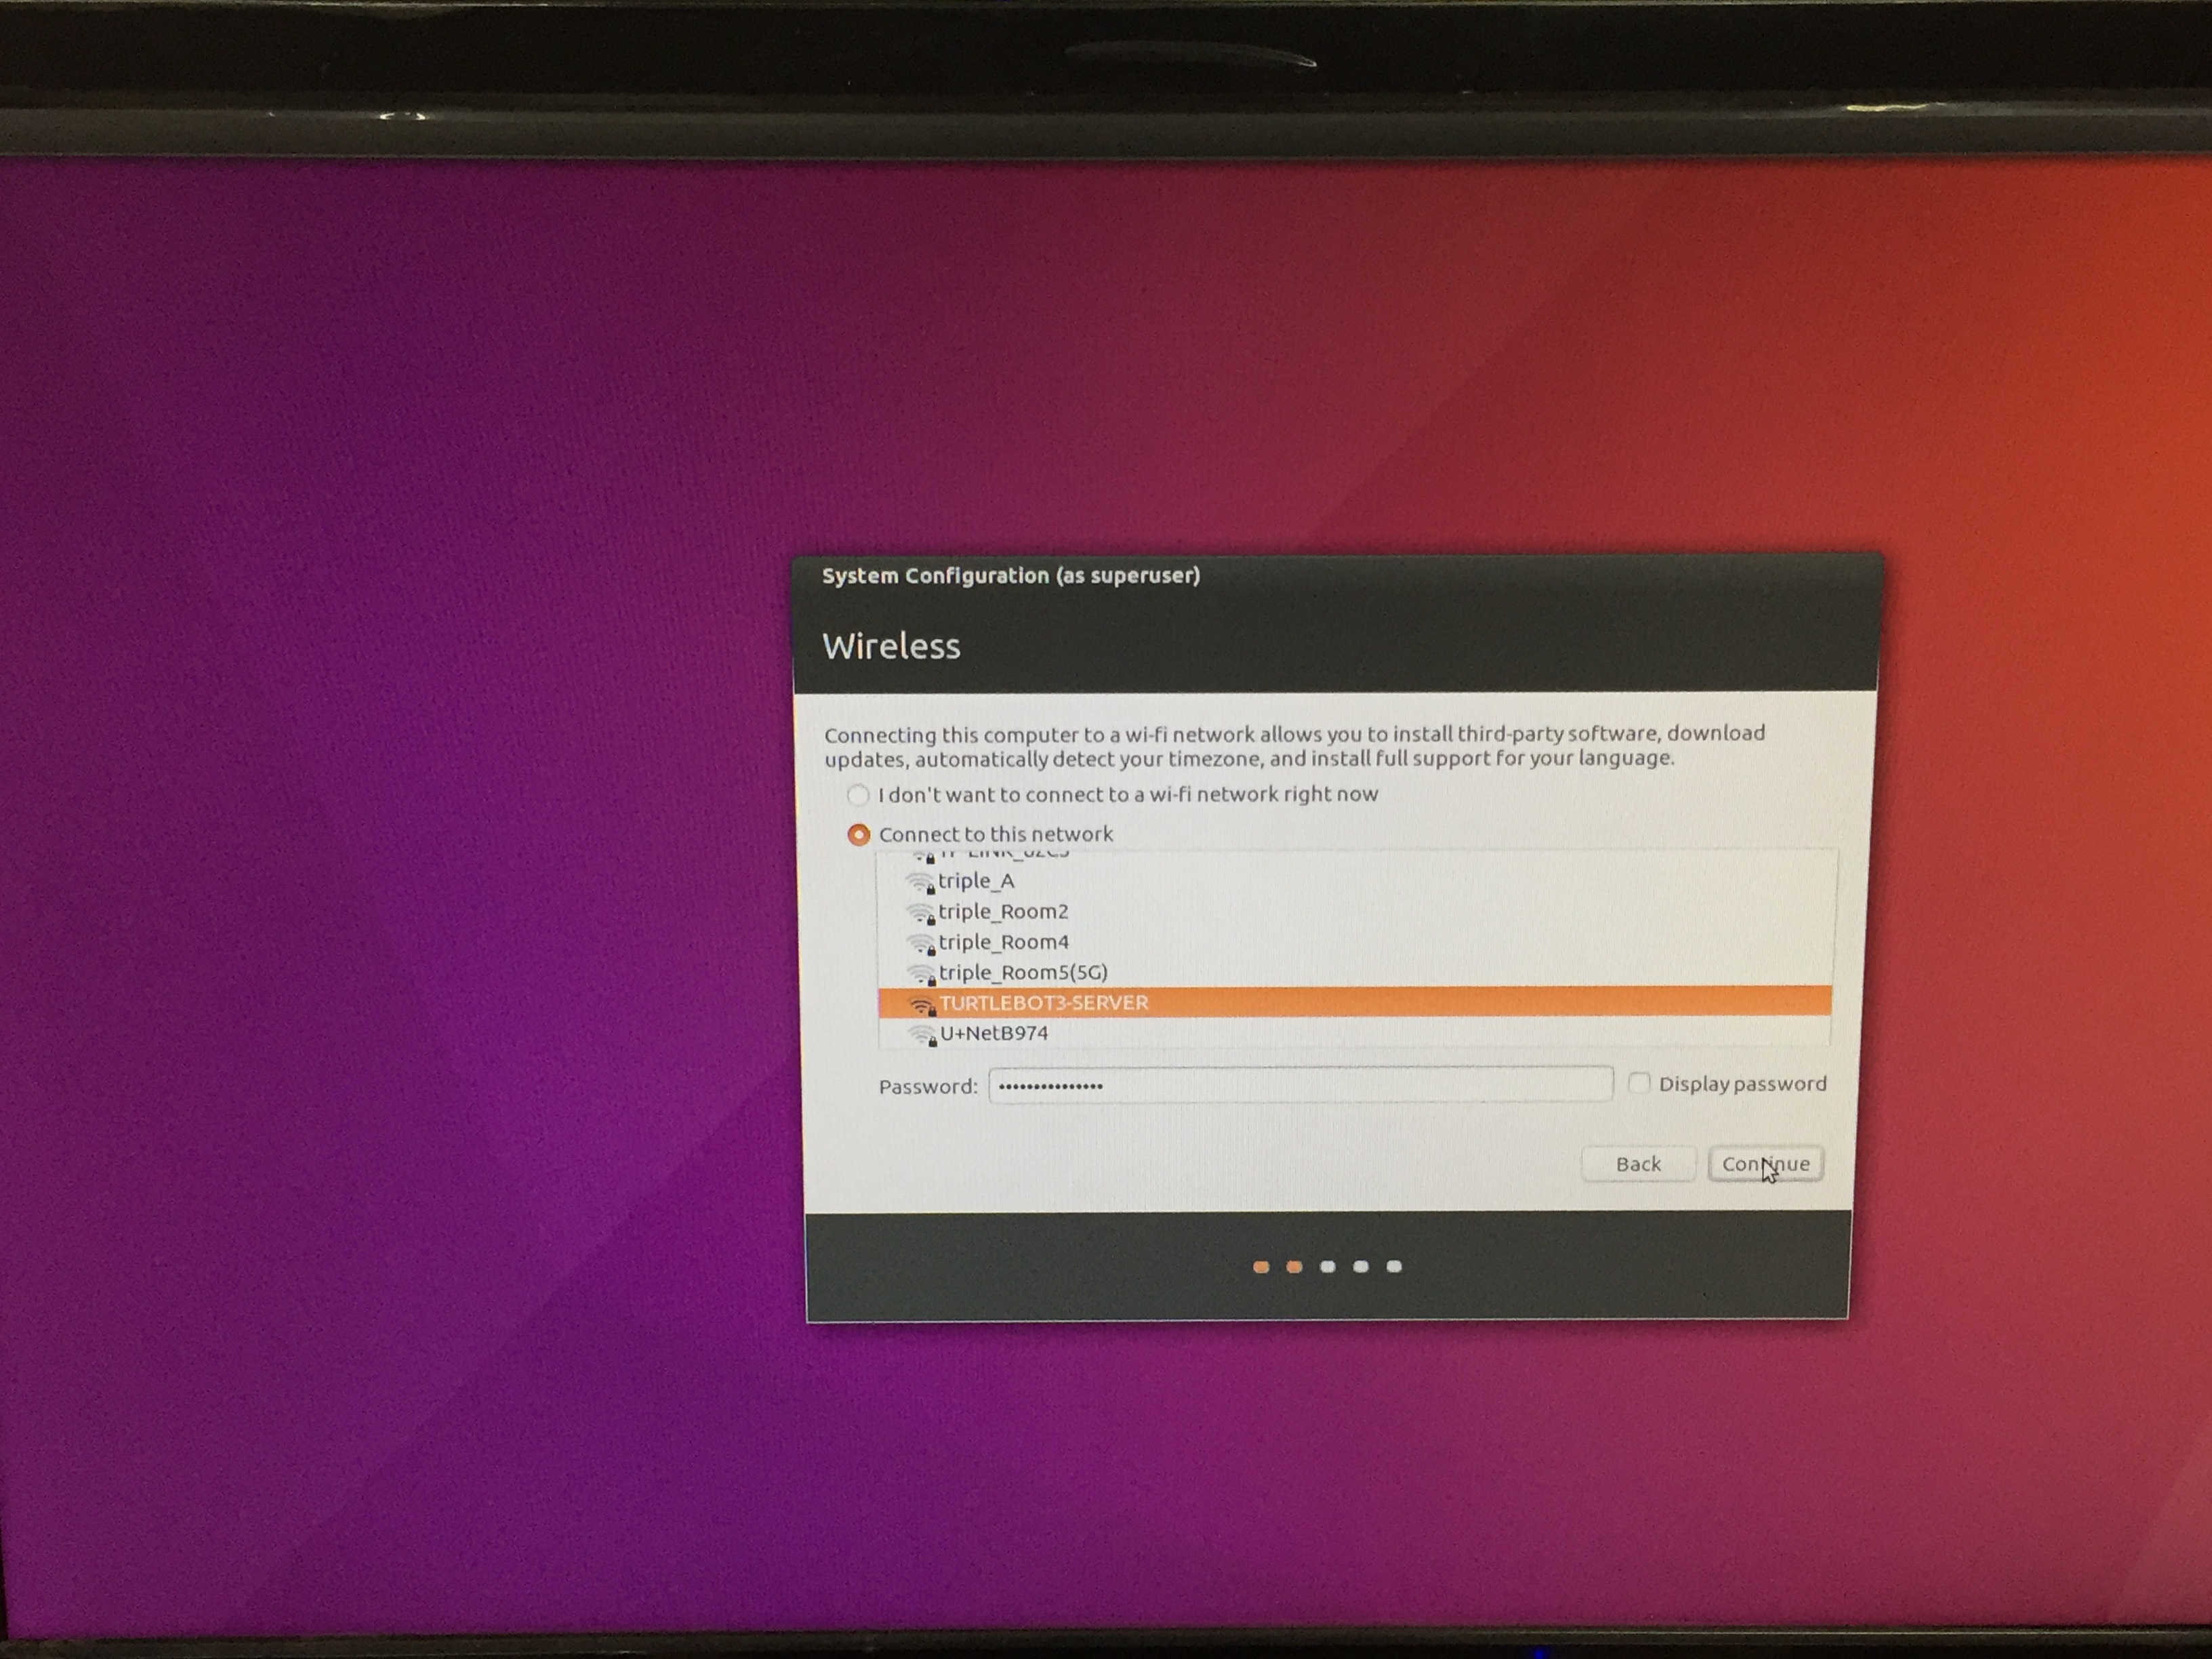
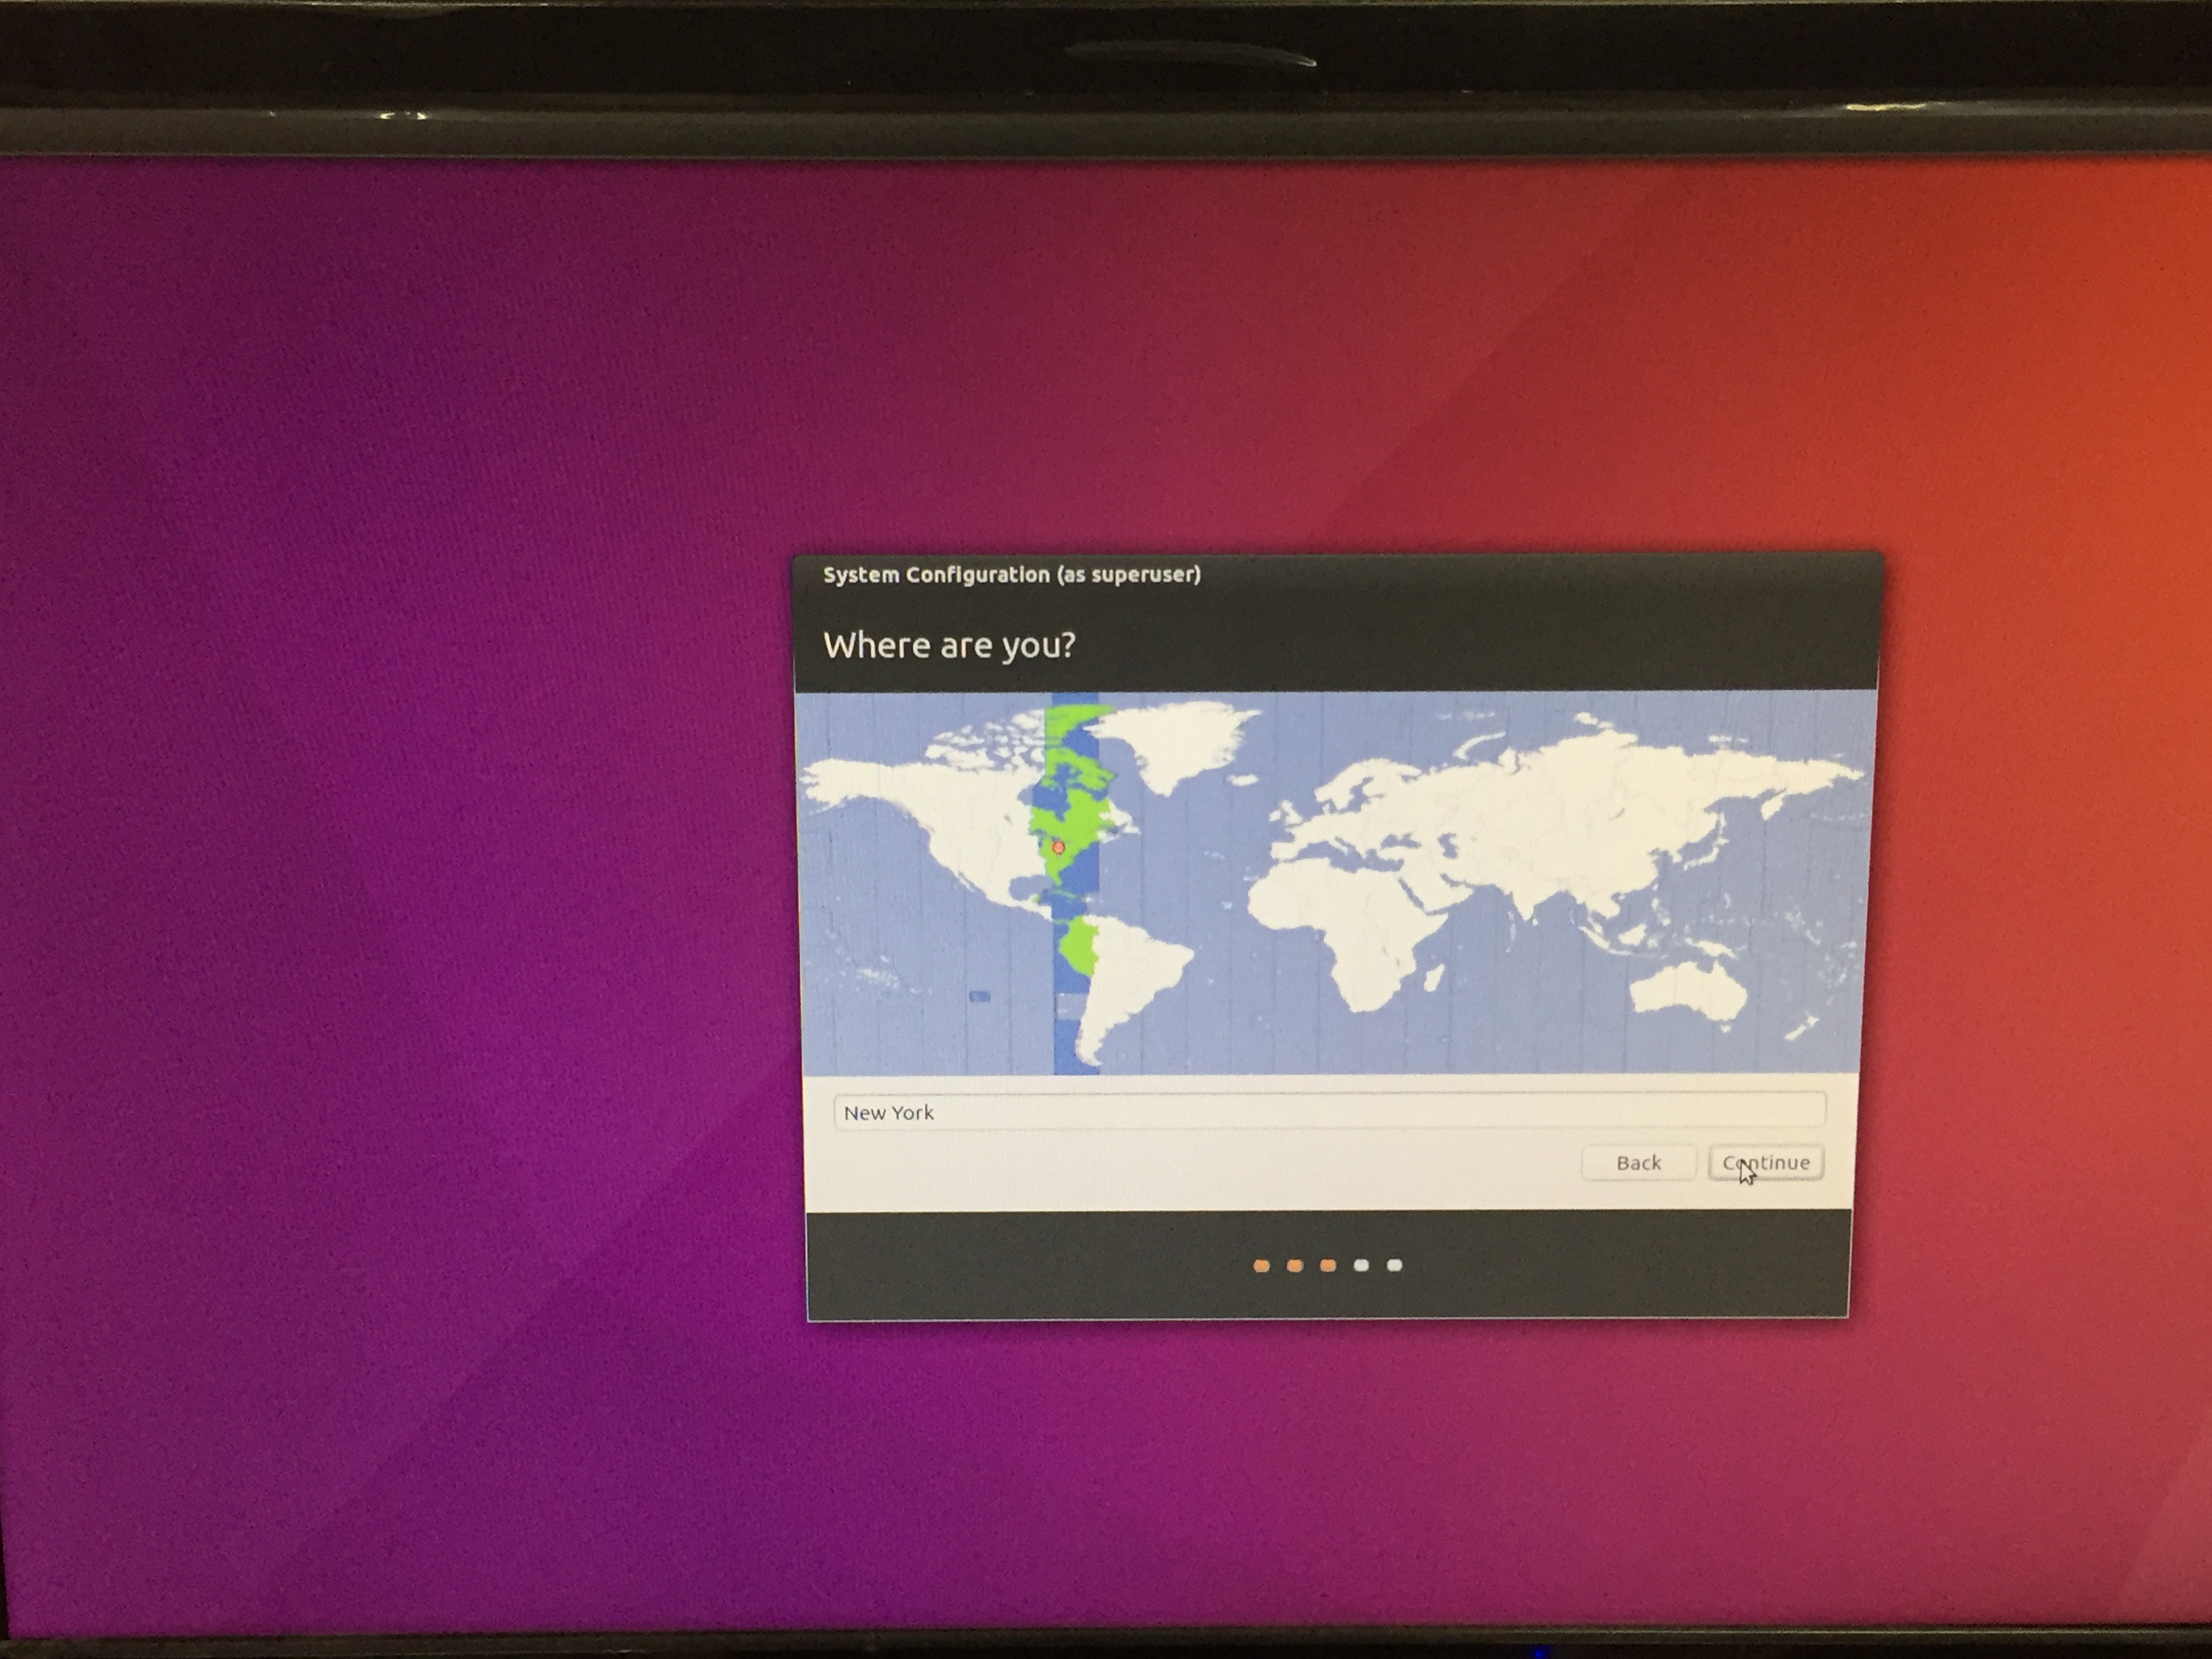
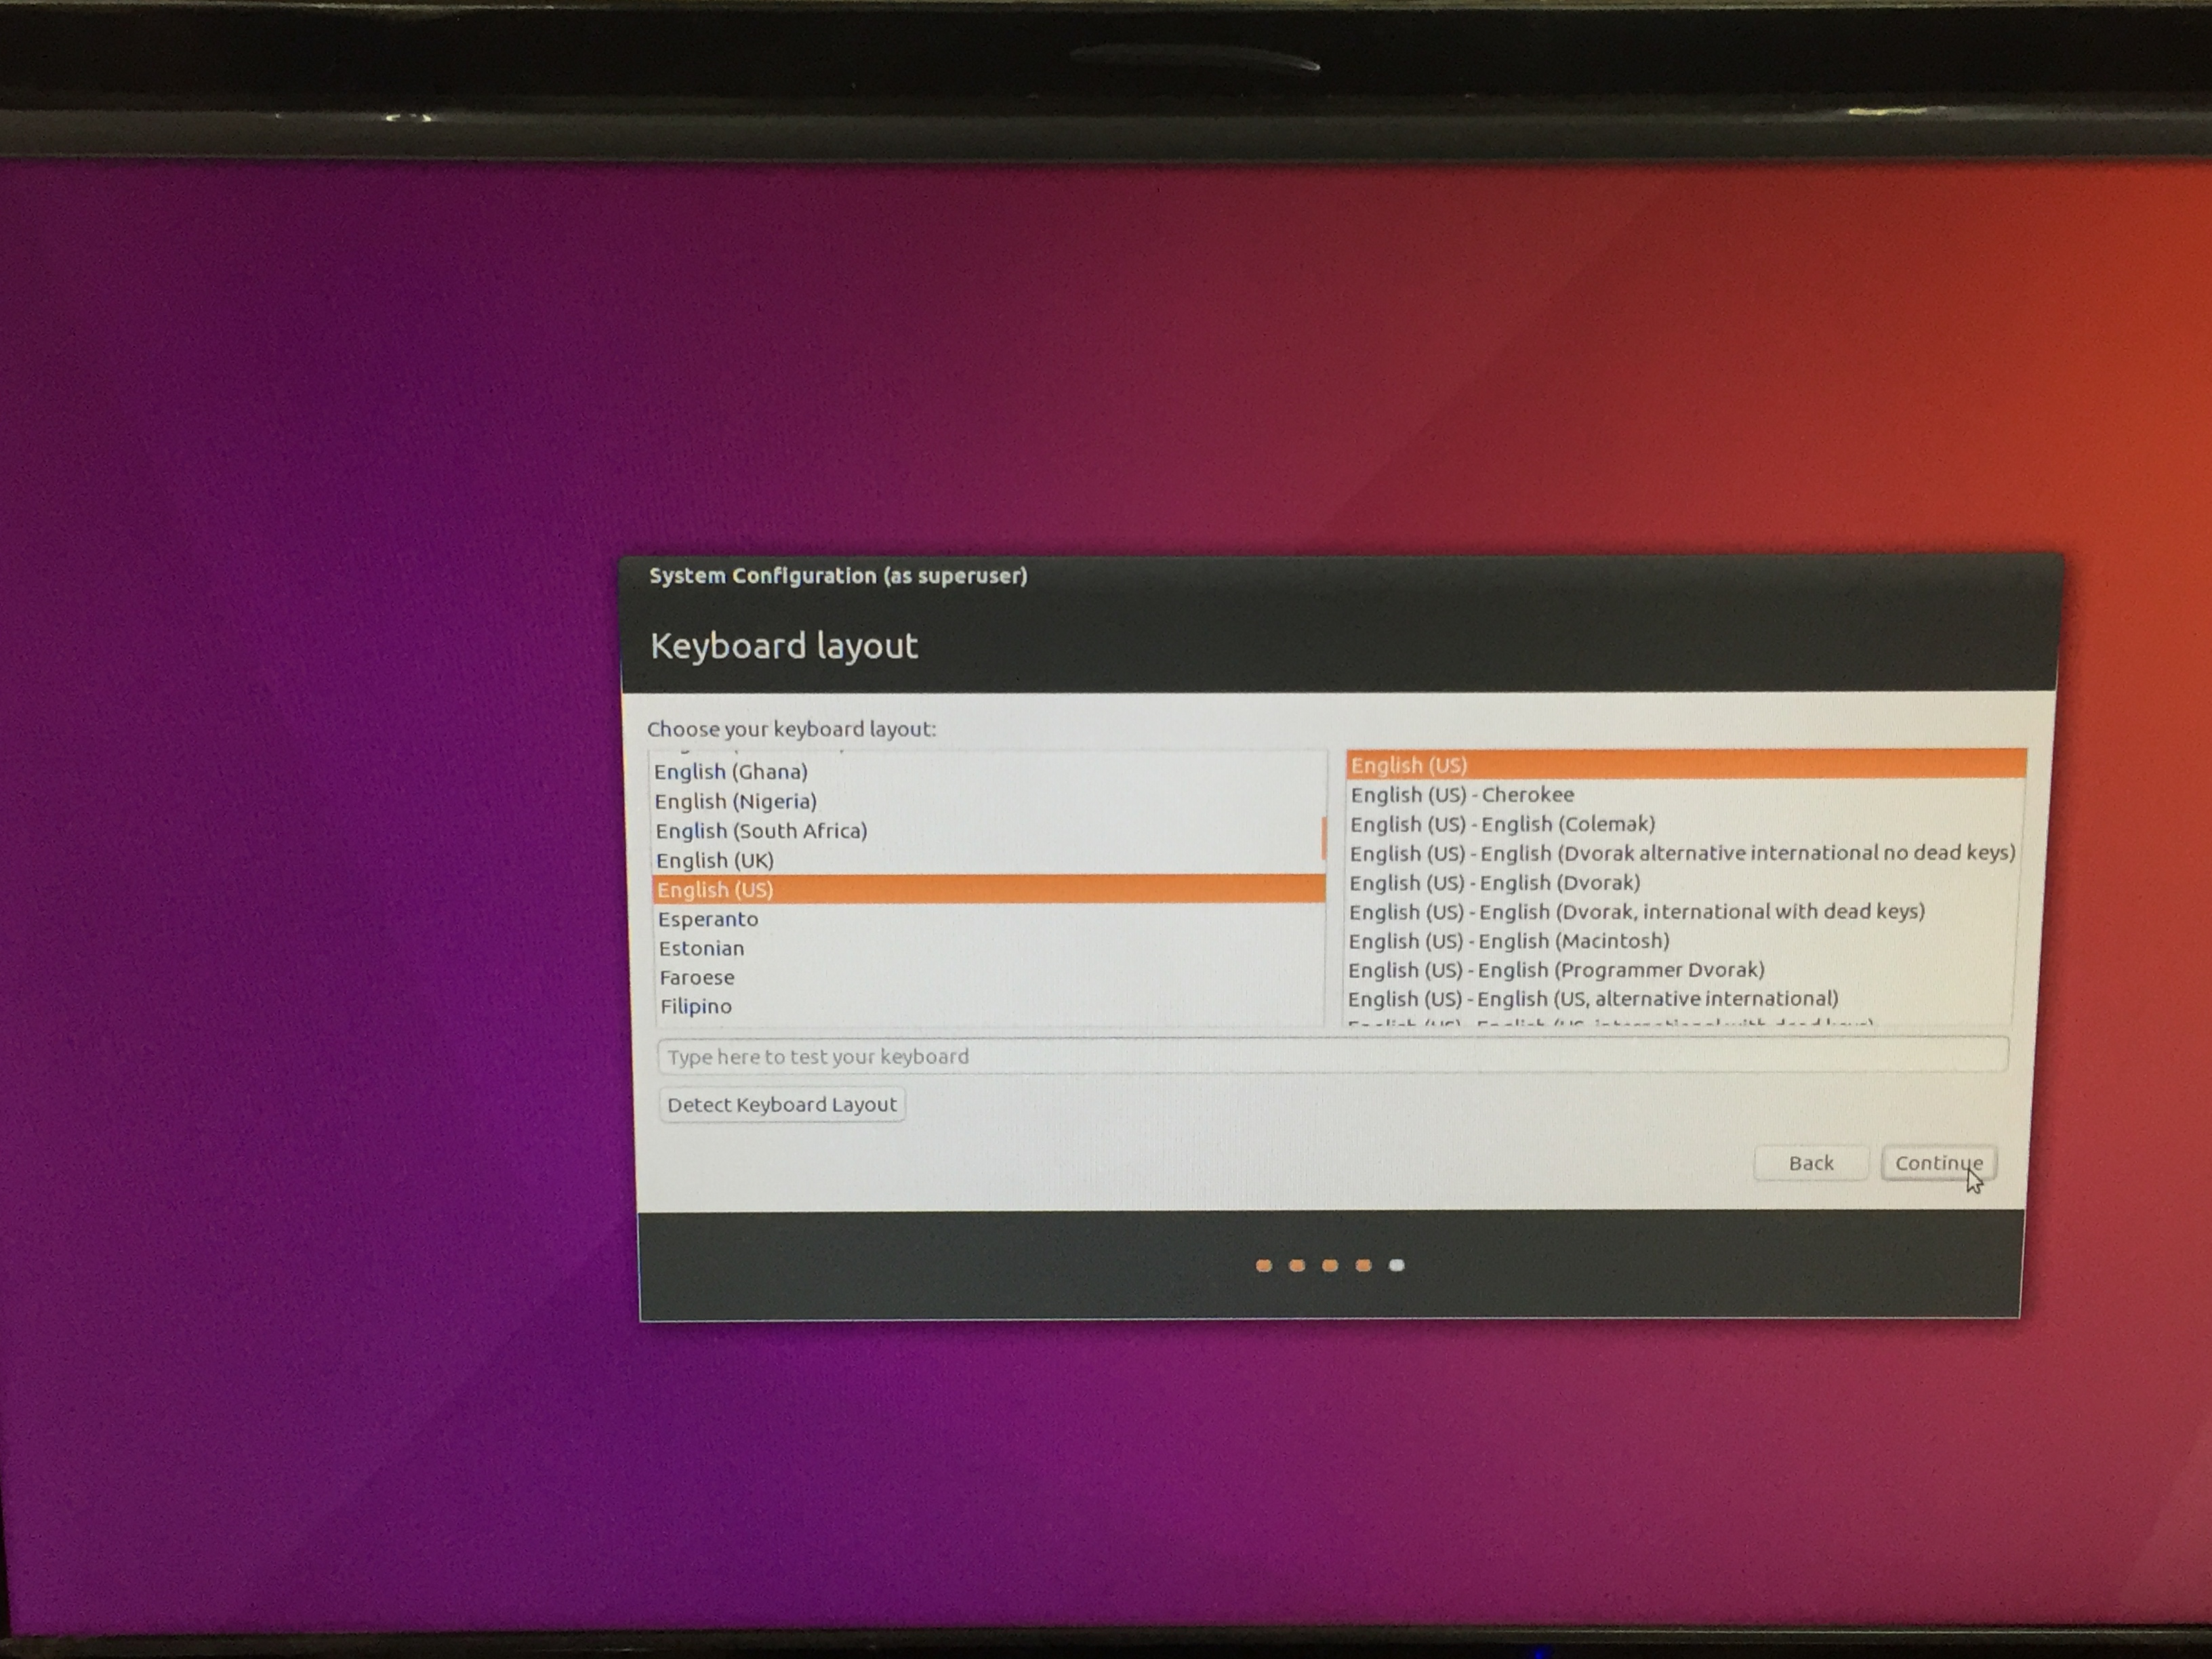
Please refer to the below Ubuntu installation process.
[Intel® Joule™] Connect micro HDMI to HDMI cable, power connector supplied by OpenCR1.0, USB devices including Bootable USB drive, mouse and keyboard. You might need a USB hub to plug multiple USB devices into Joule.
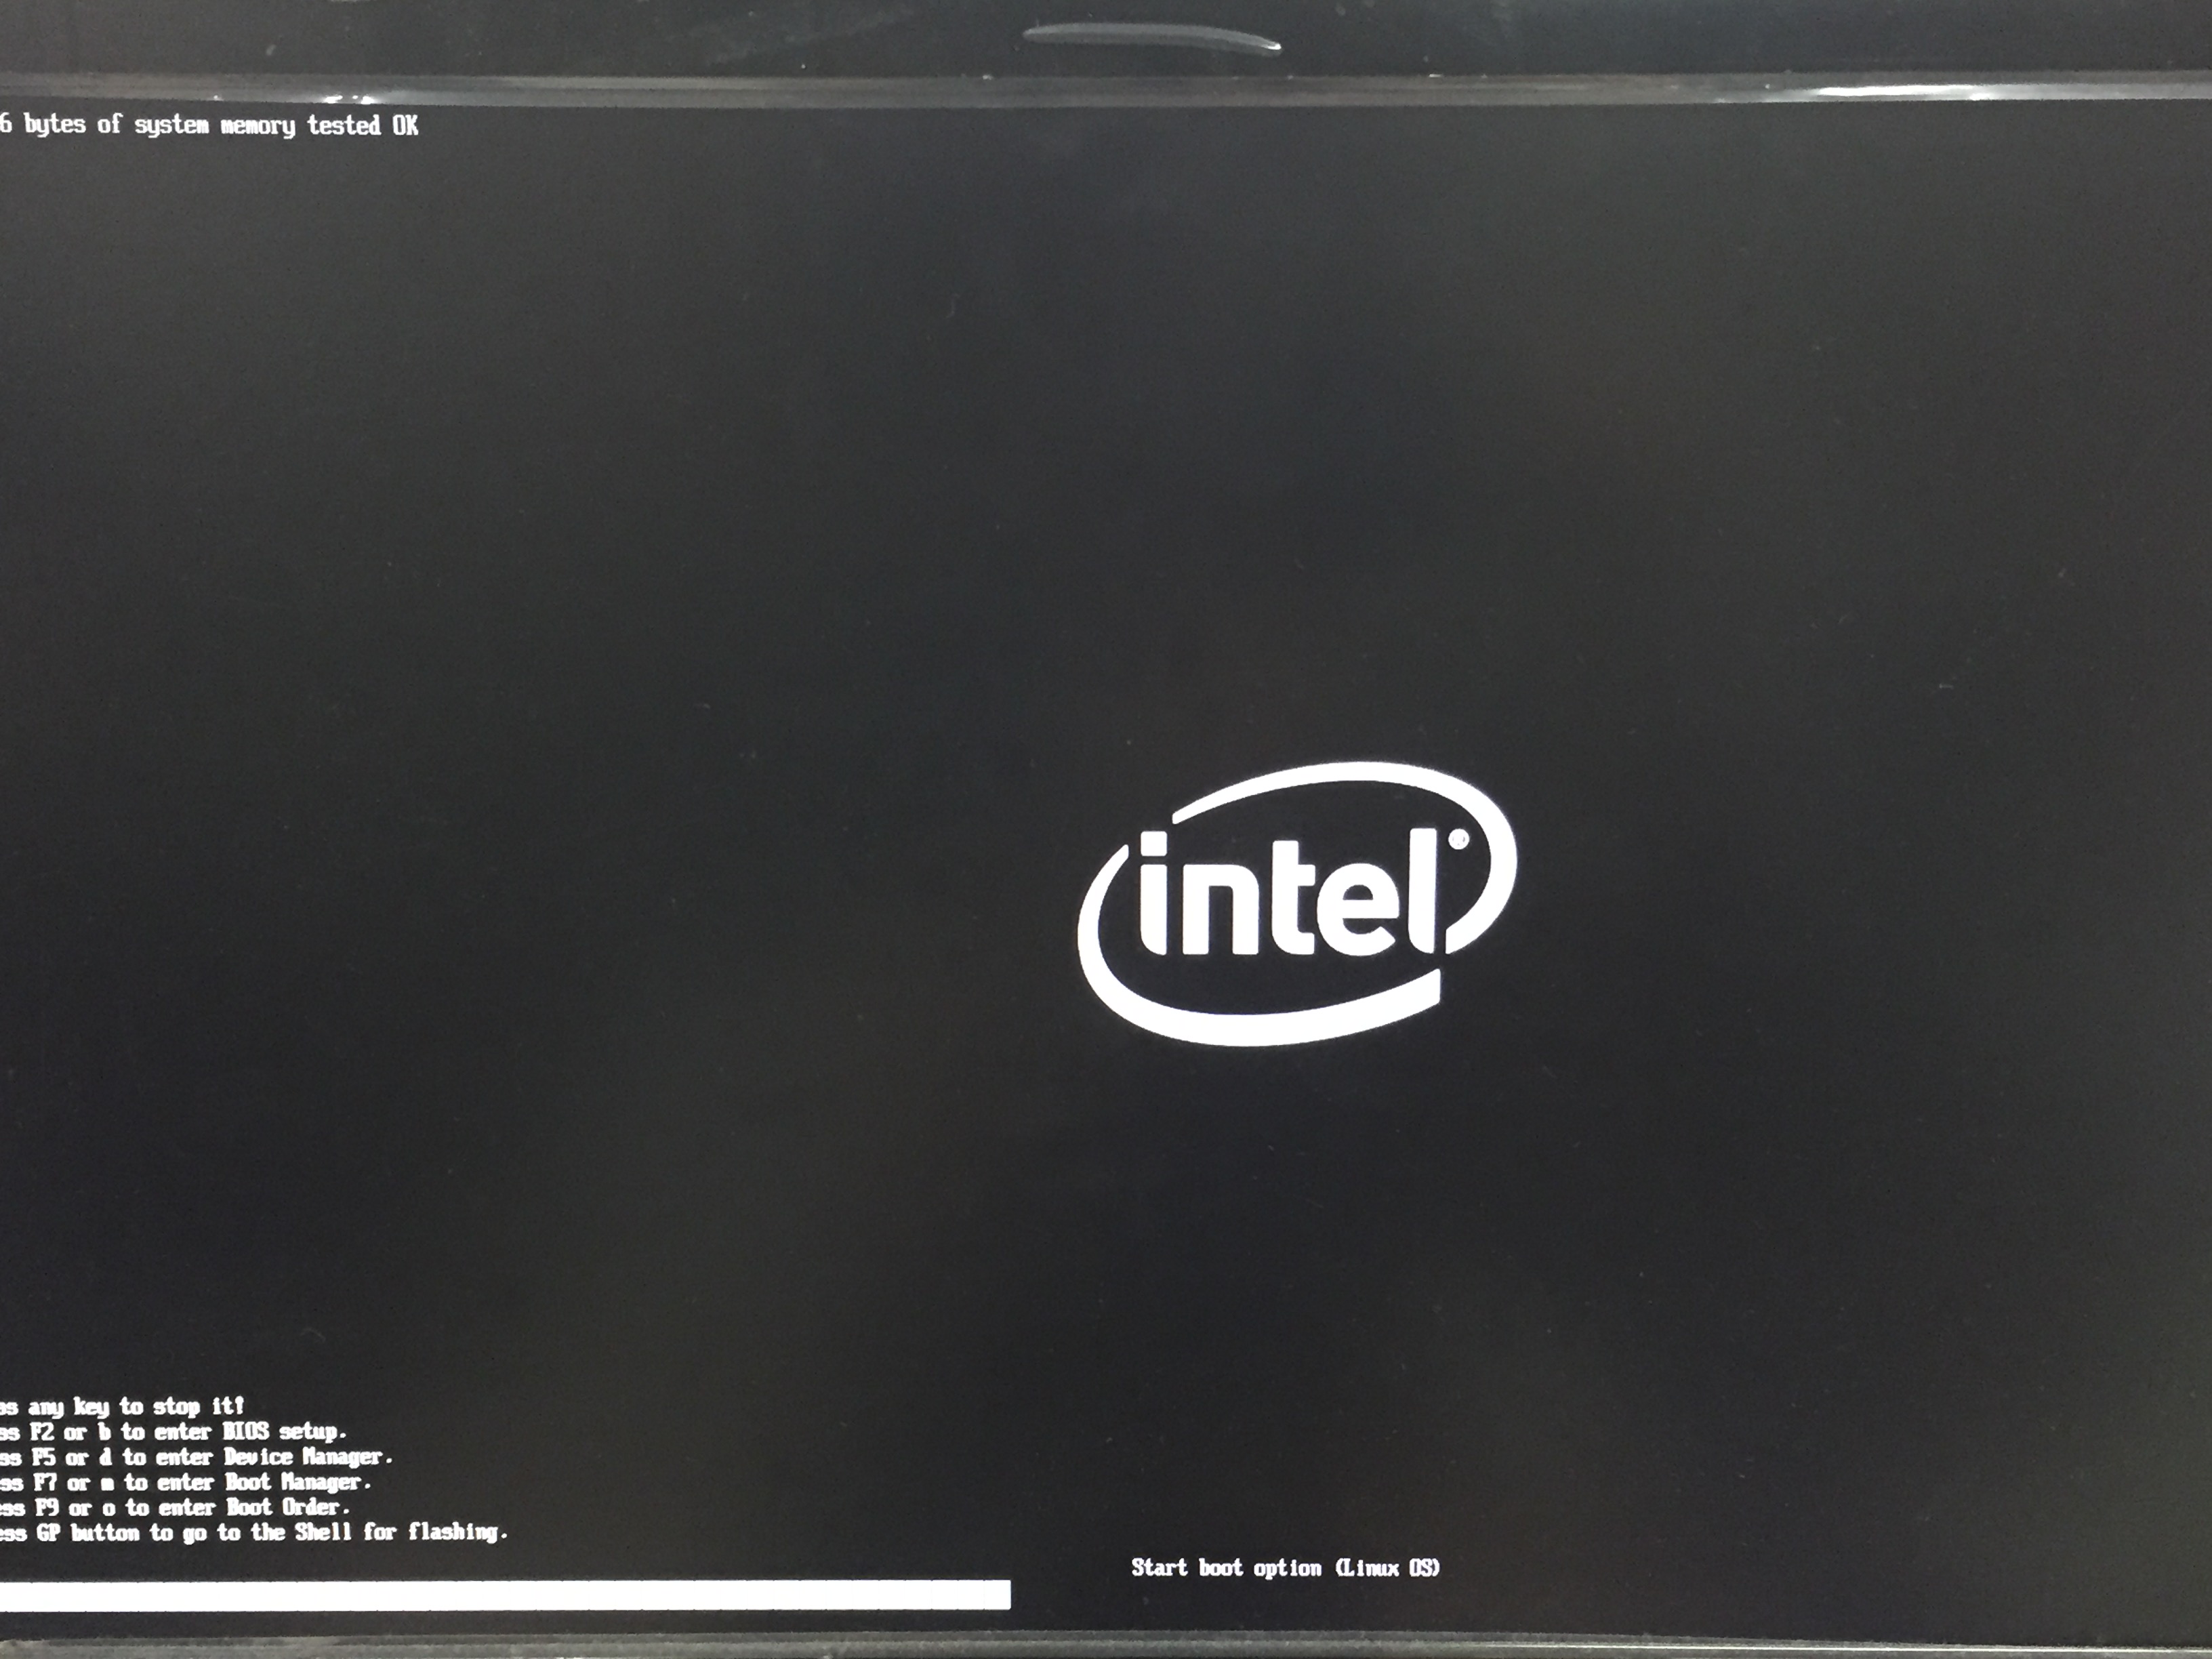
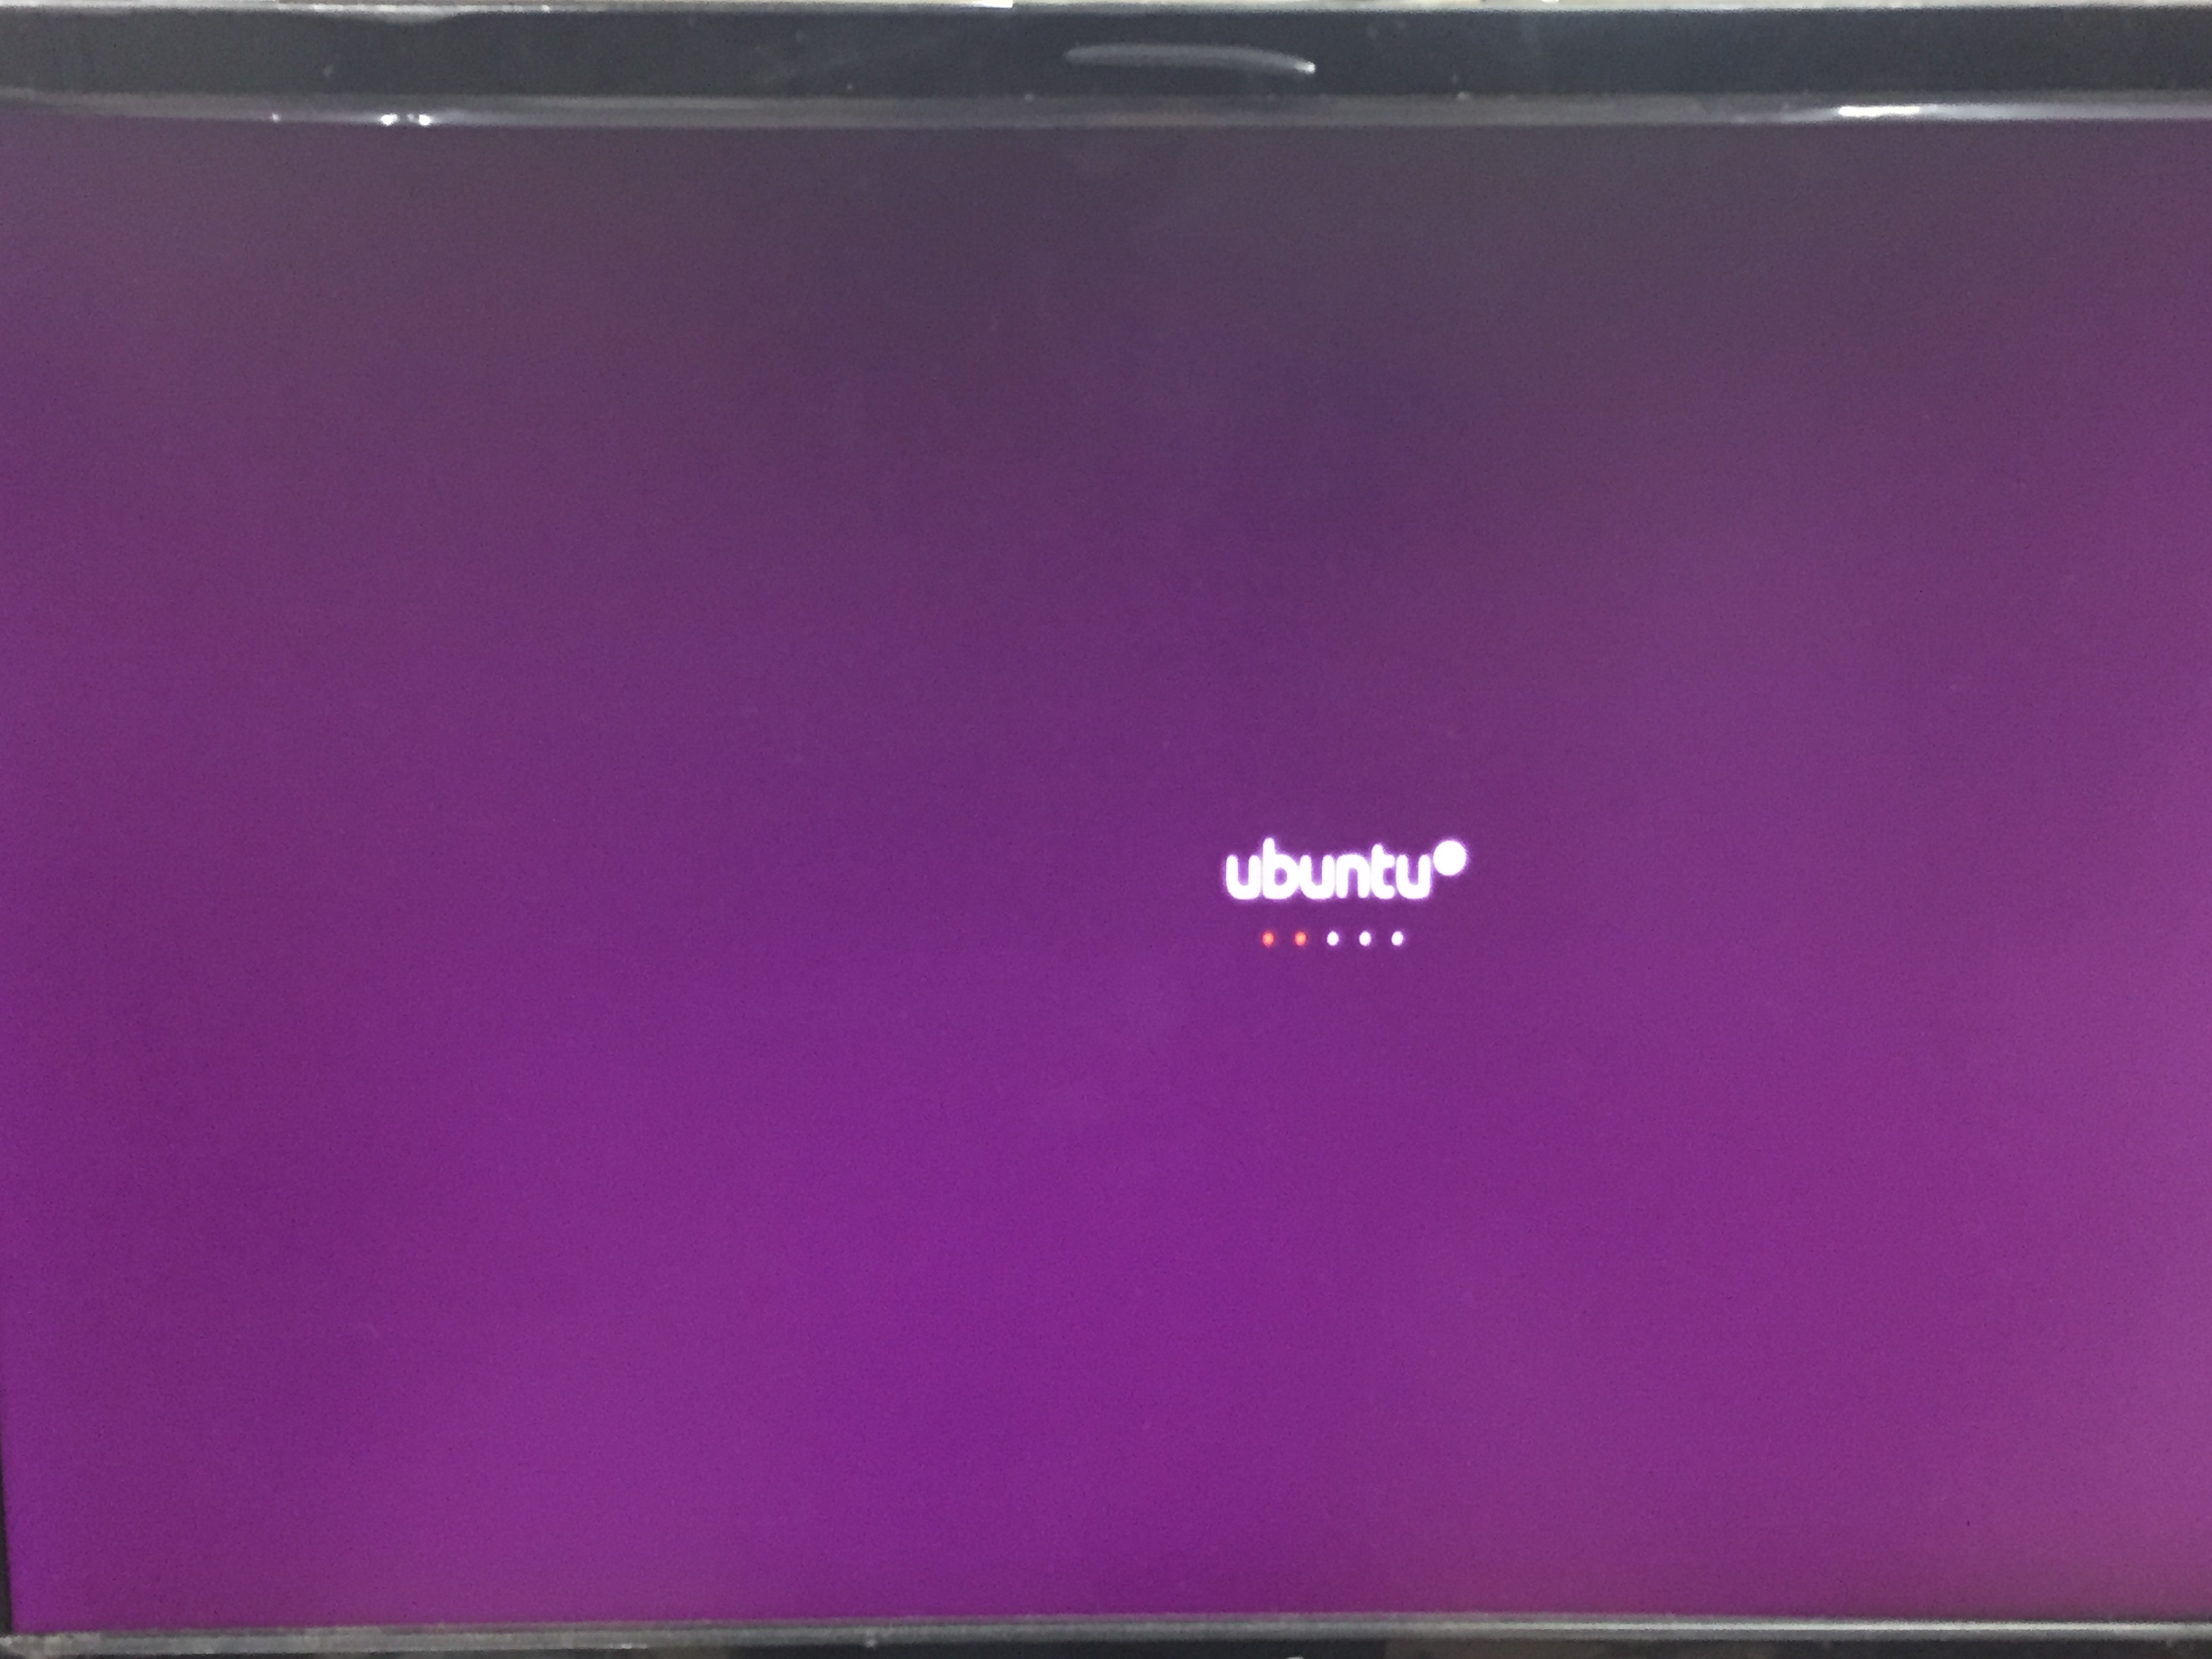
[Intel® Joule™] Installation will be proceeded as shown in below images. When Joule is turned on, monitor will blink about 3 times after 5 seconds, and print menu screen. Press F7 to go to Boot Manager.
[Intel® Joule™] Select USB Device.

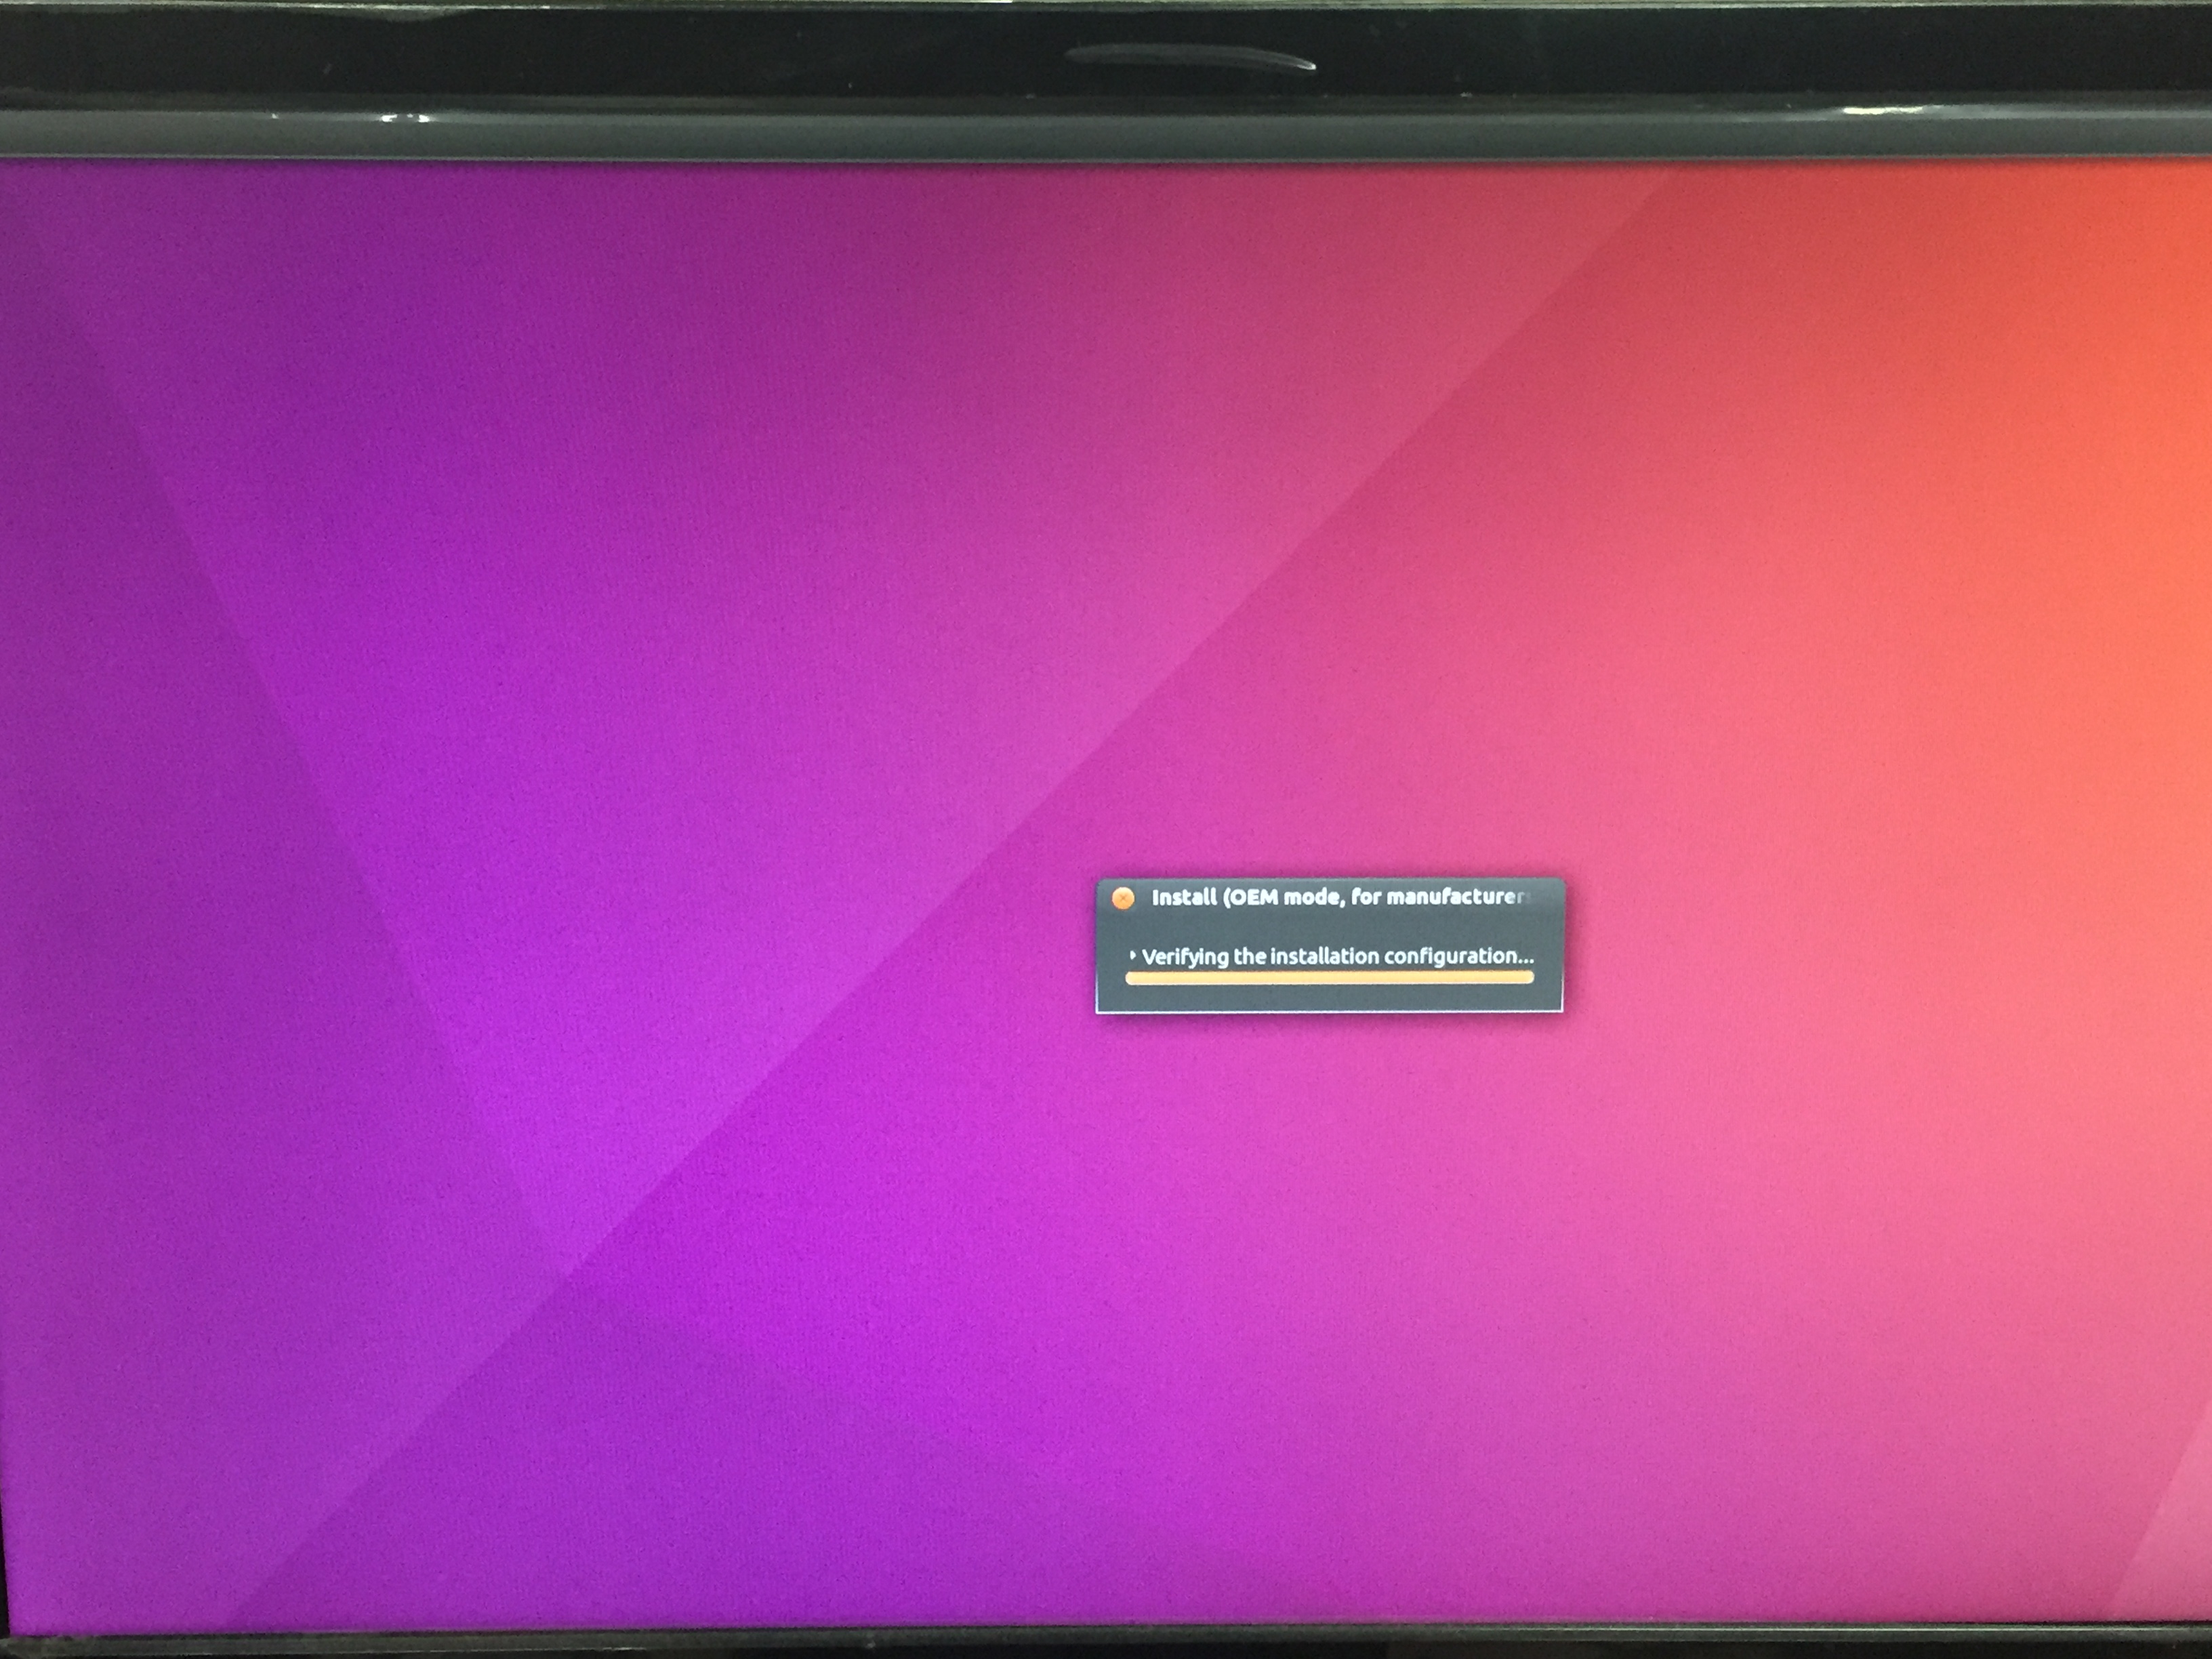
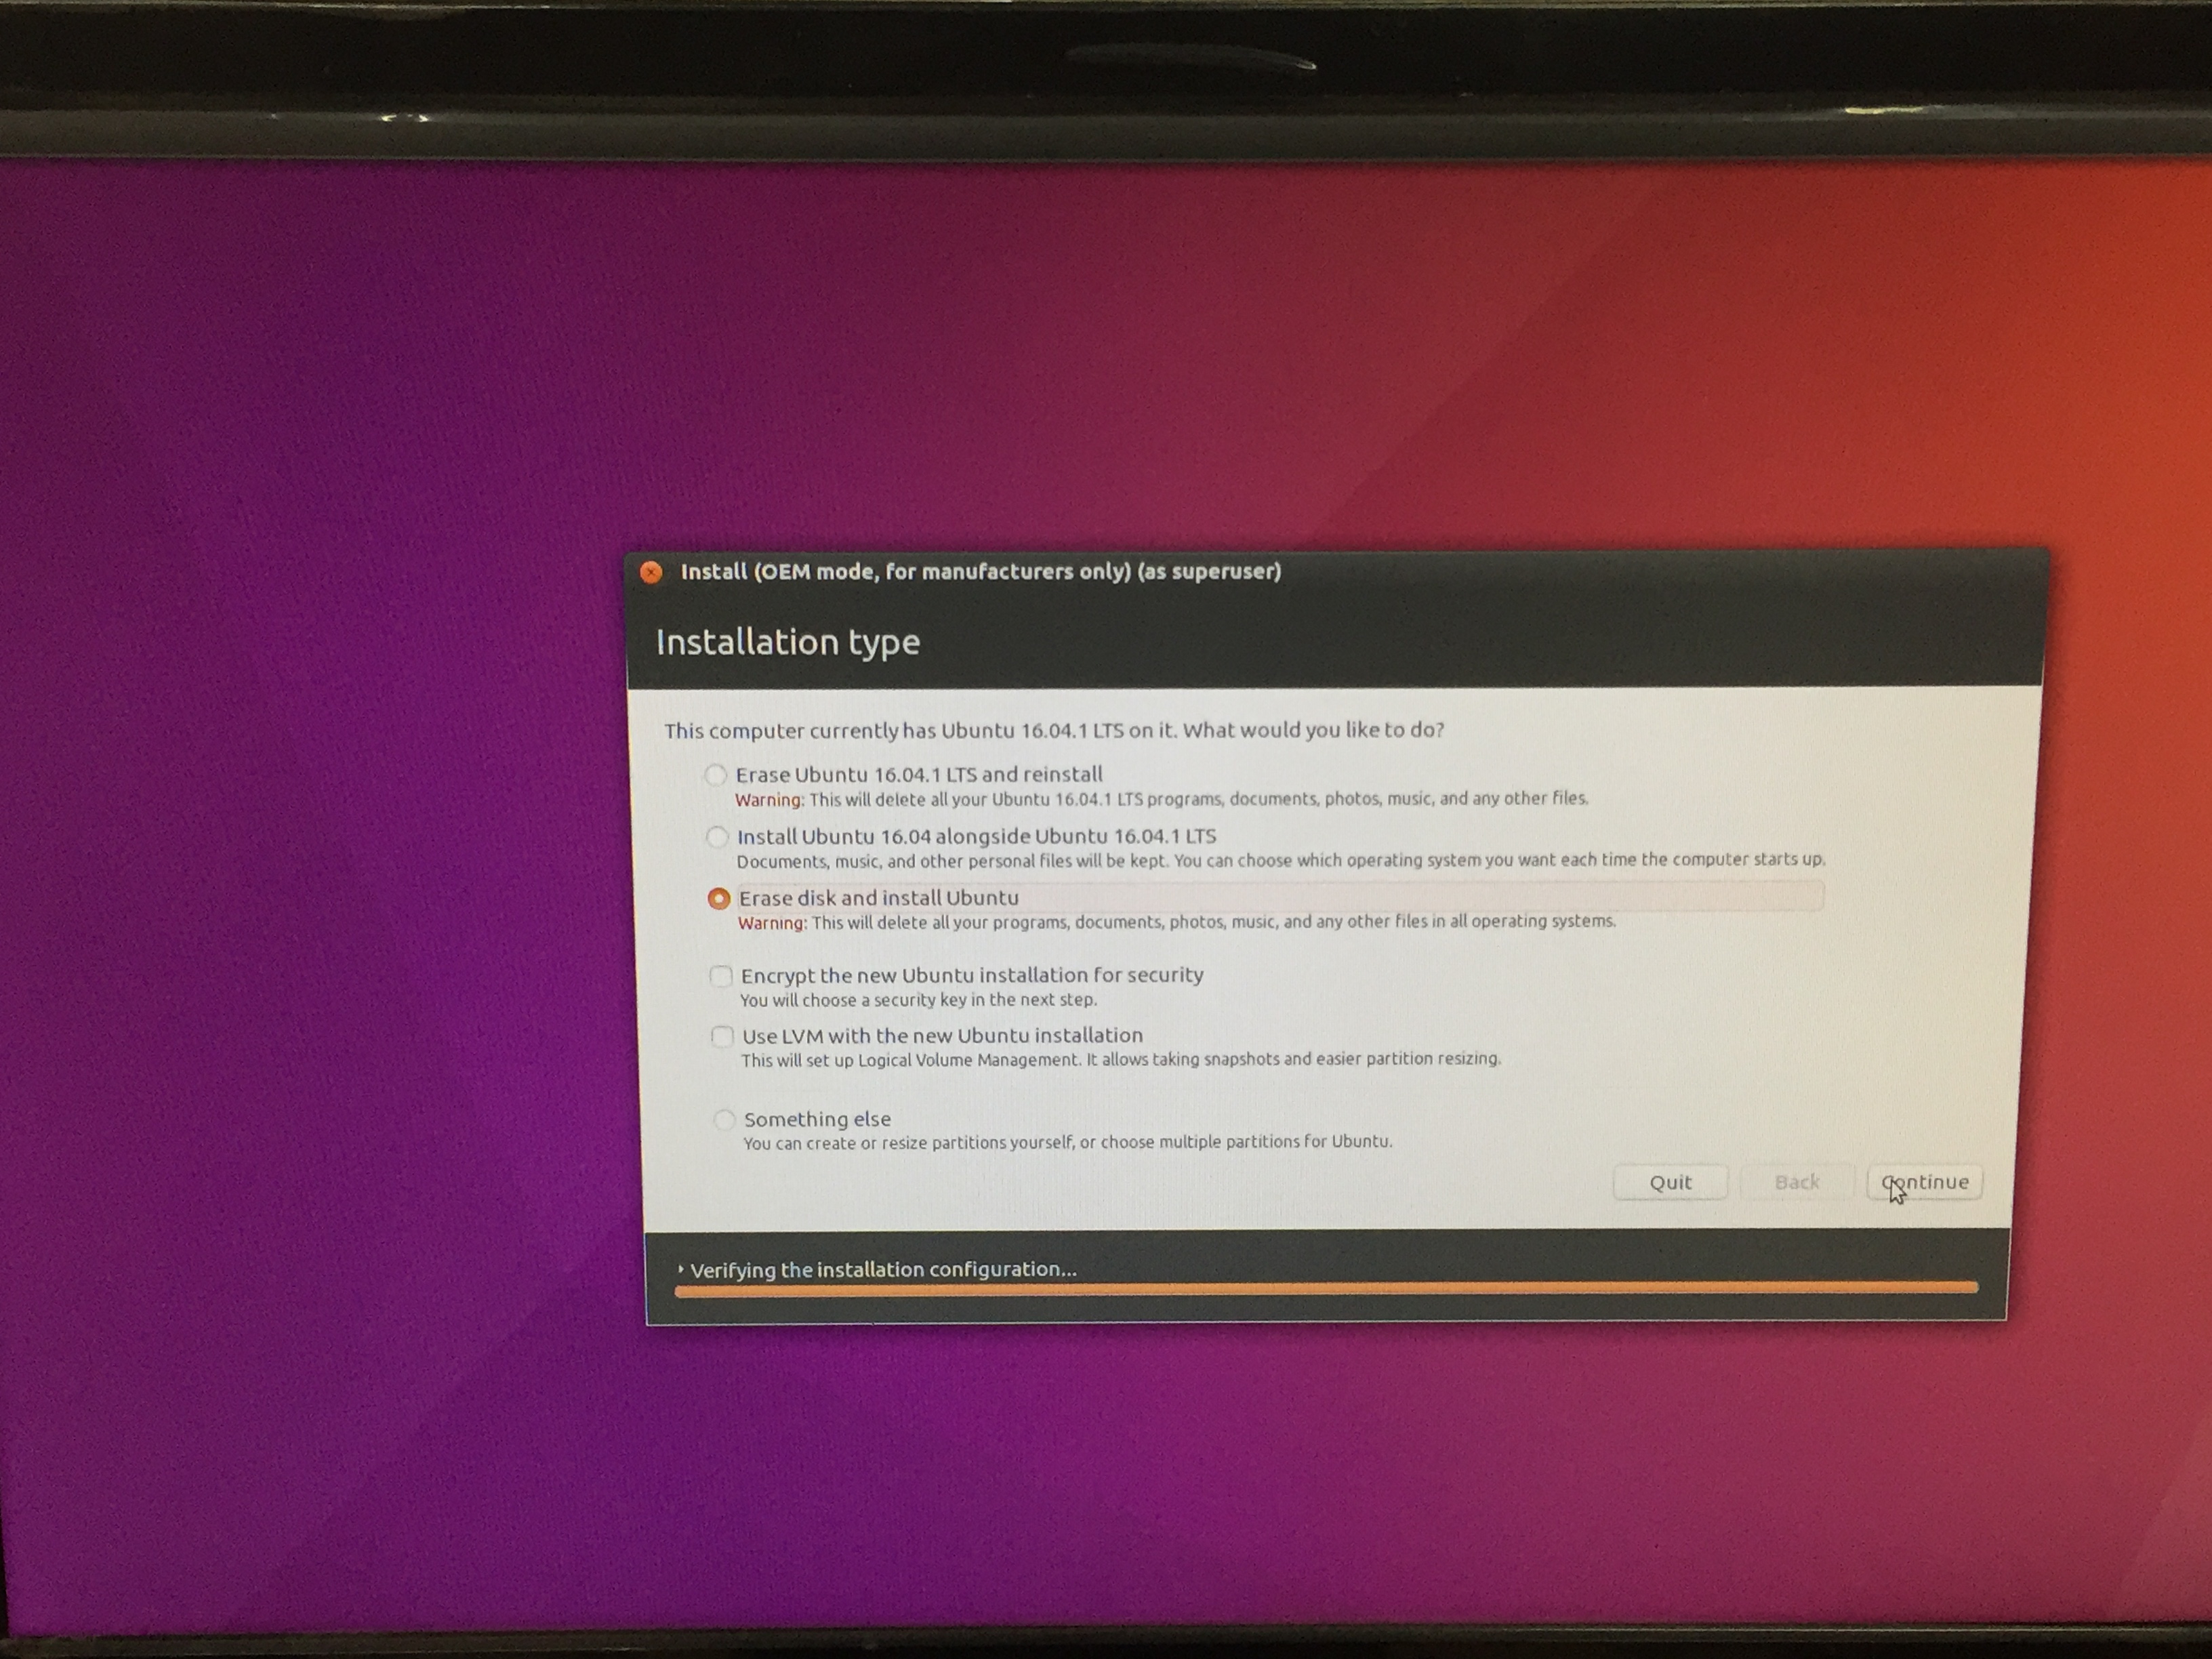
[Intel® Joule™] Select Erase disk and install Ubuntu then continue.
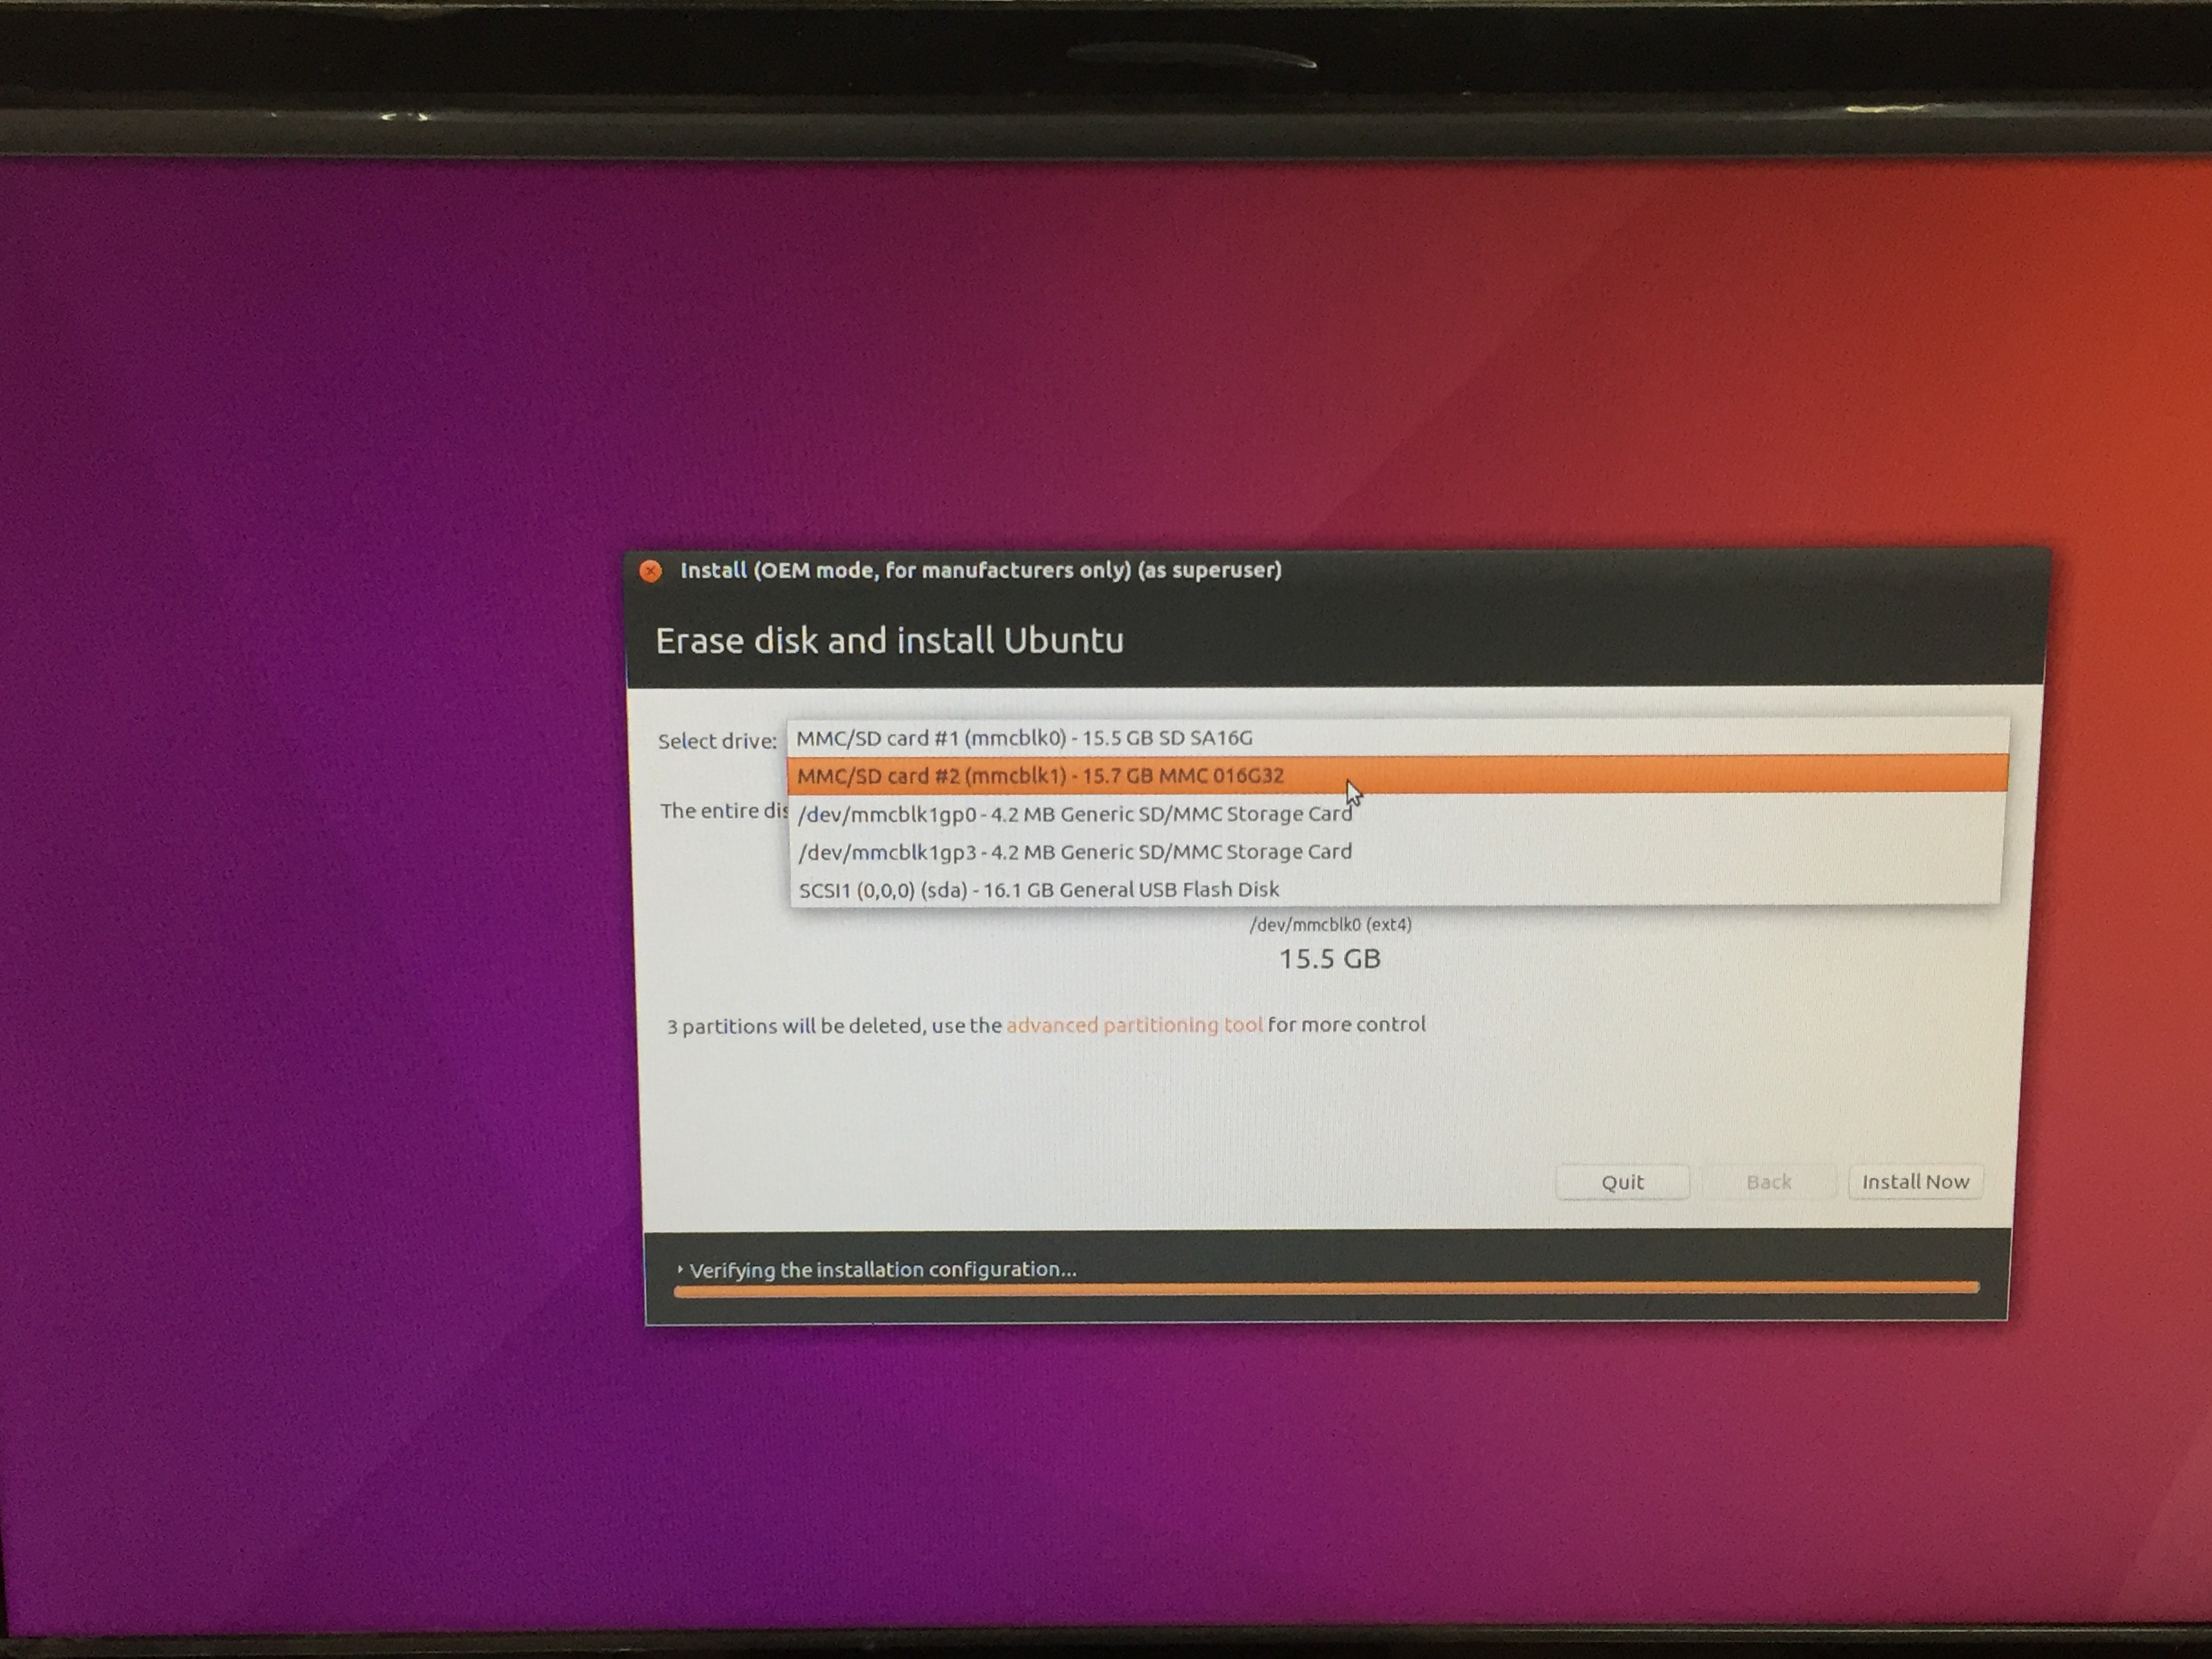
[Intel® Joule™] Intel® Joule™ has two different disk drives: 16GB micro SD Card and 16GB eMMC. In this instruction, it is highly recommended to install Alternarive Ubuntu for Joule on the 16GB eMMC. Select MMC/SD card #2 (mmcblk1) - 15.7 GB MMC 016G32 then continue.
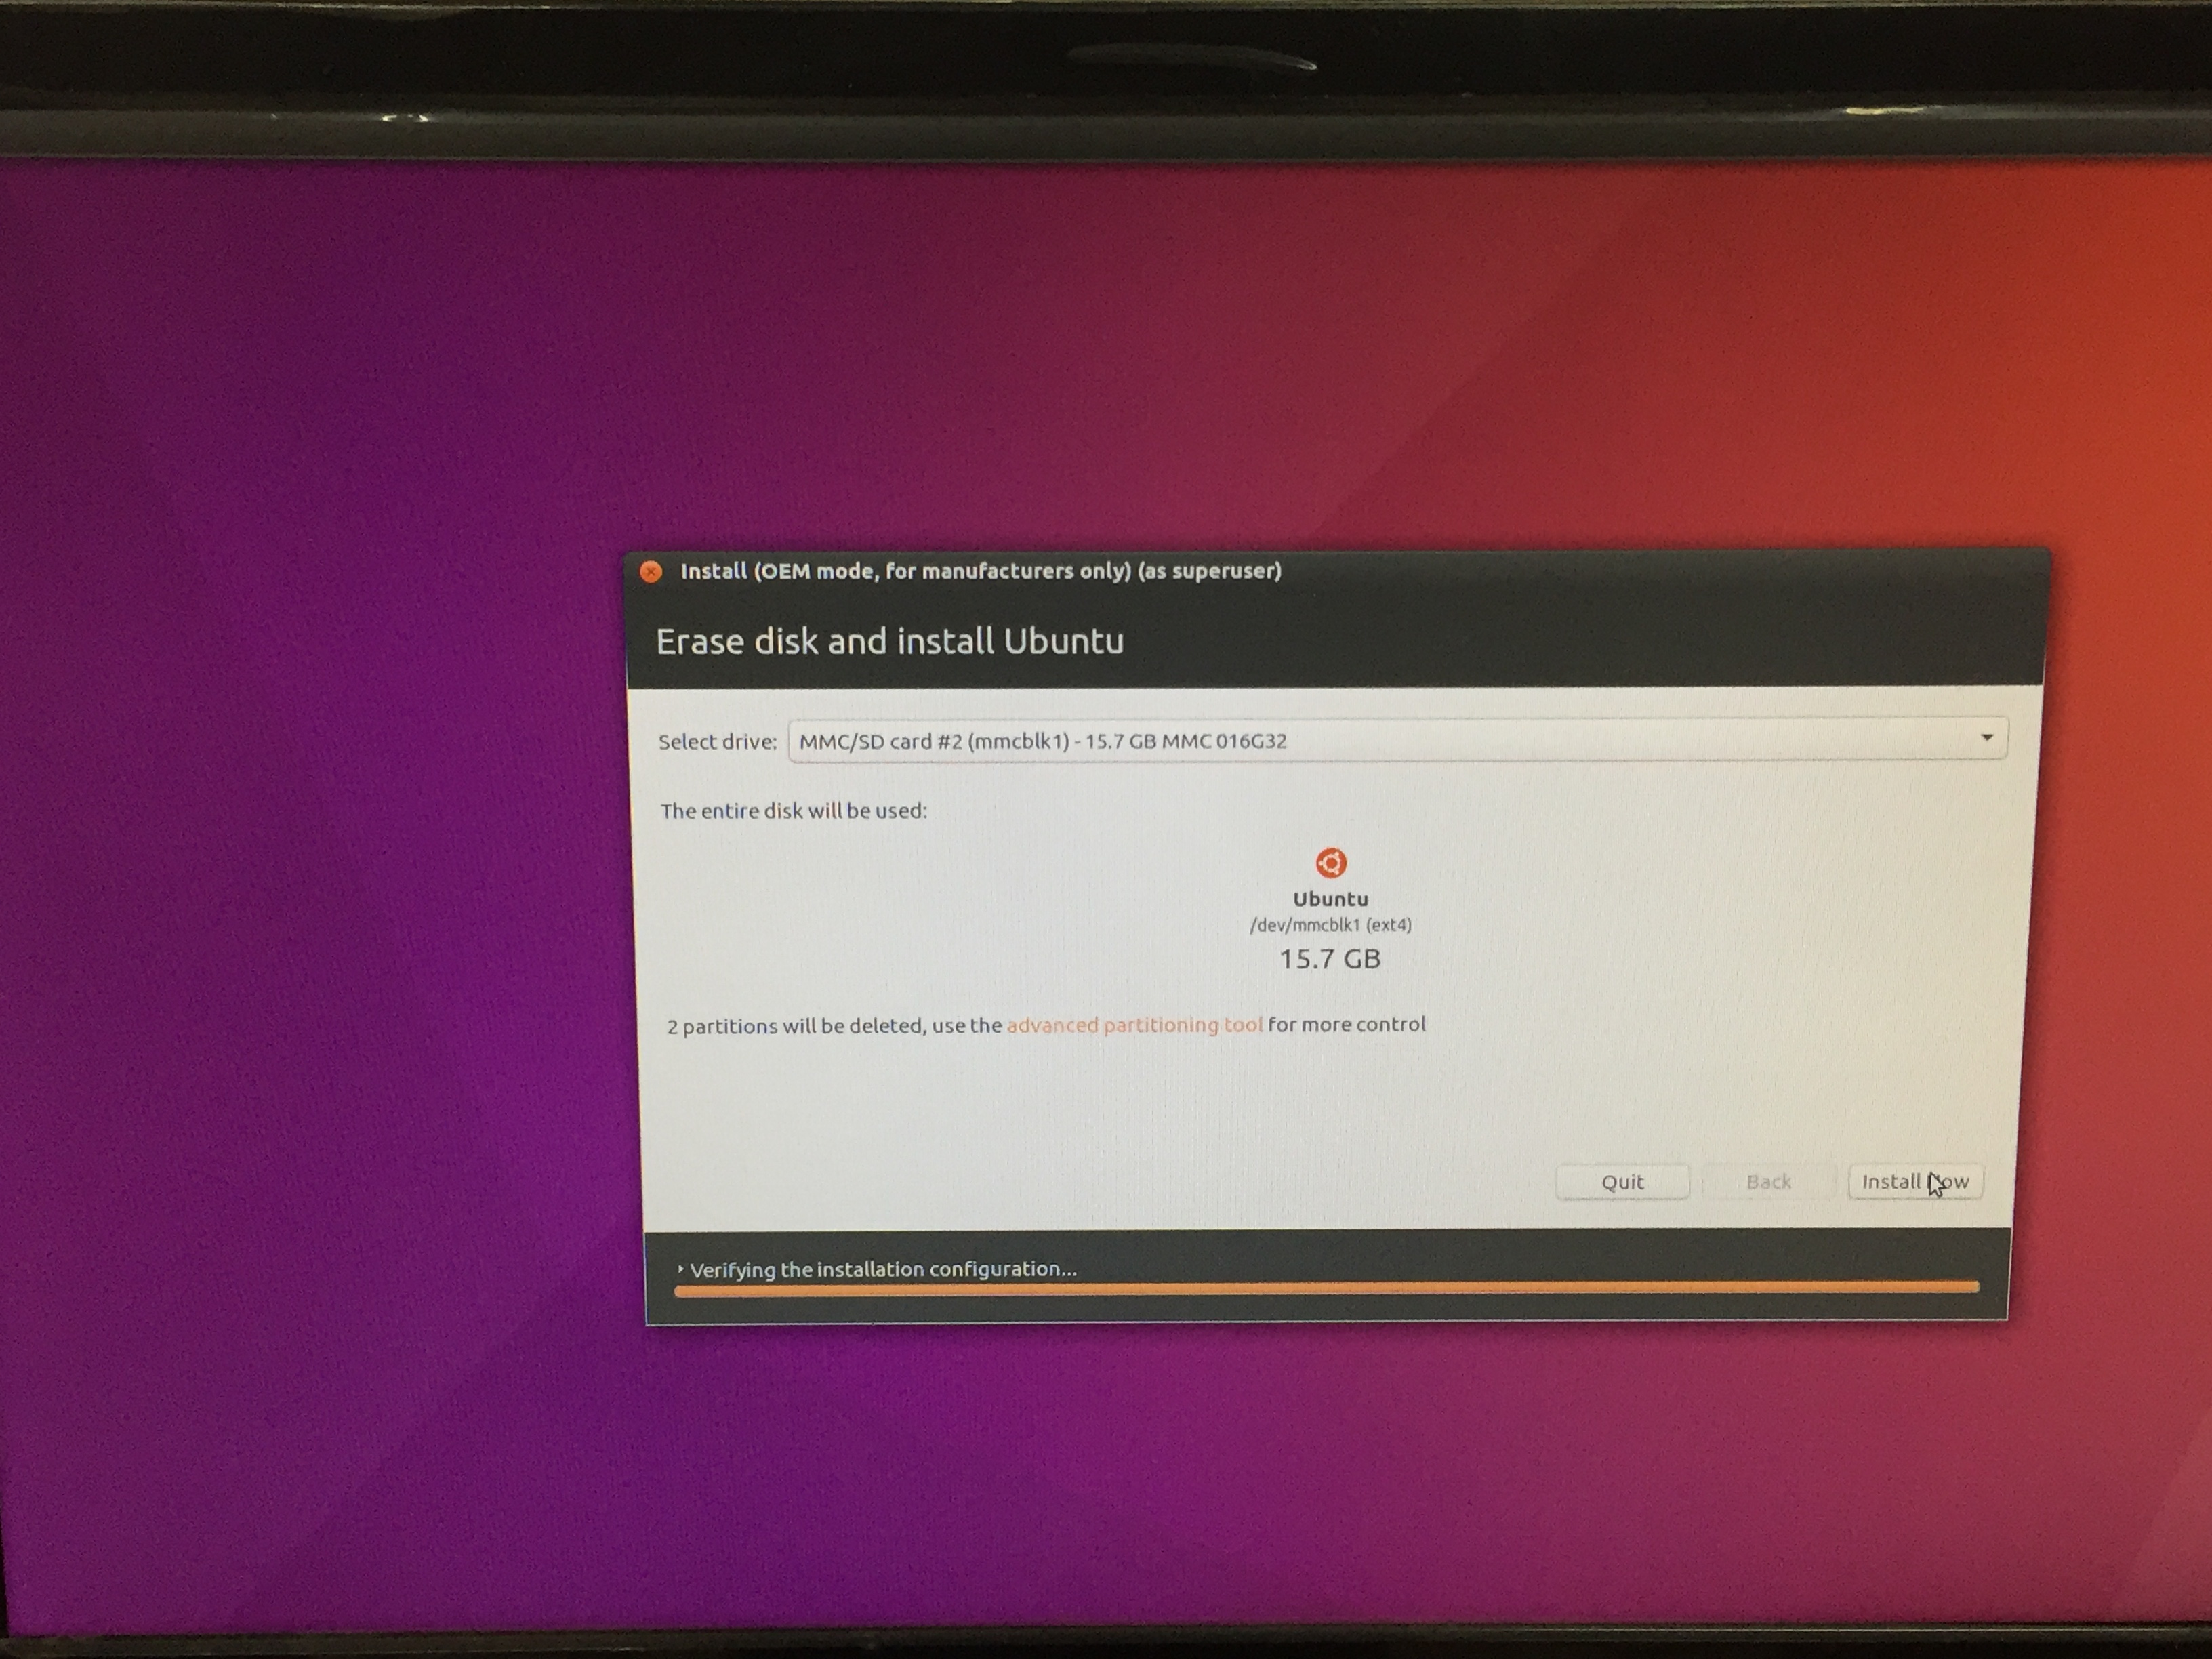
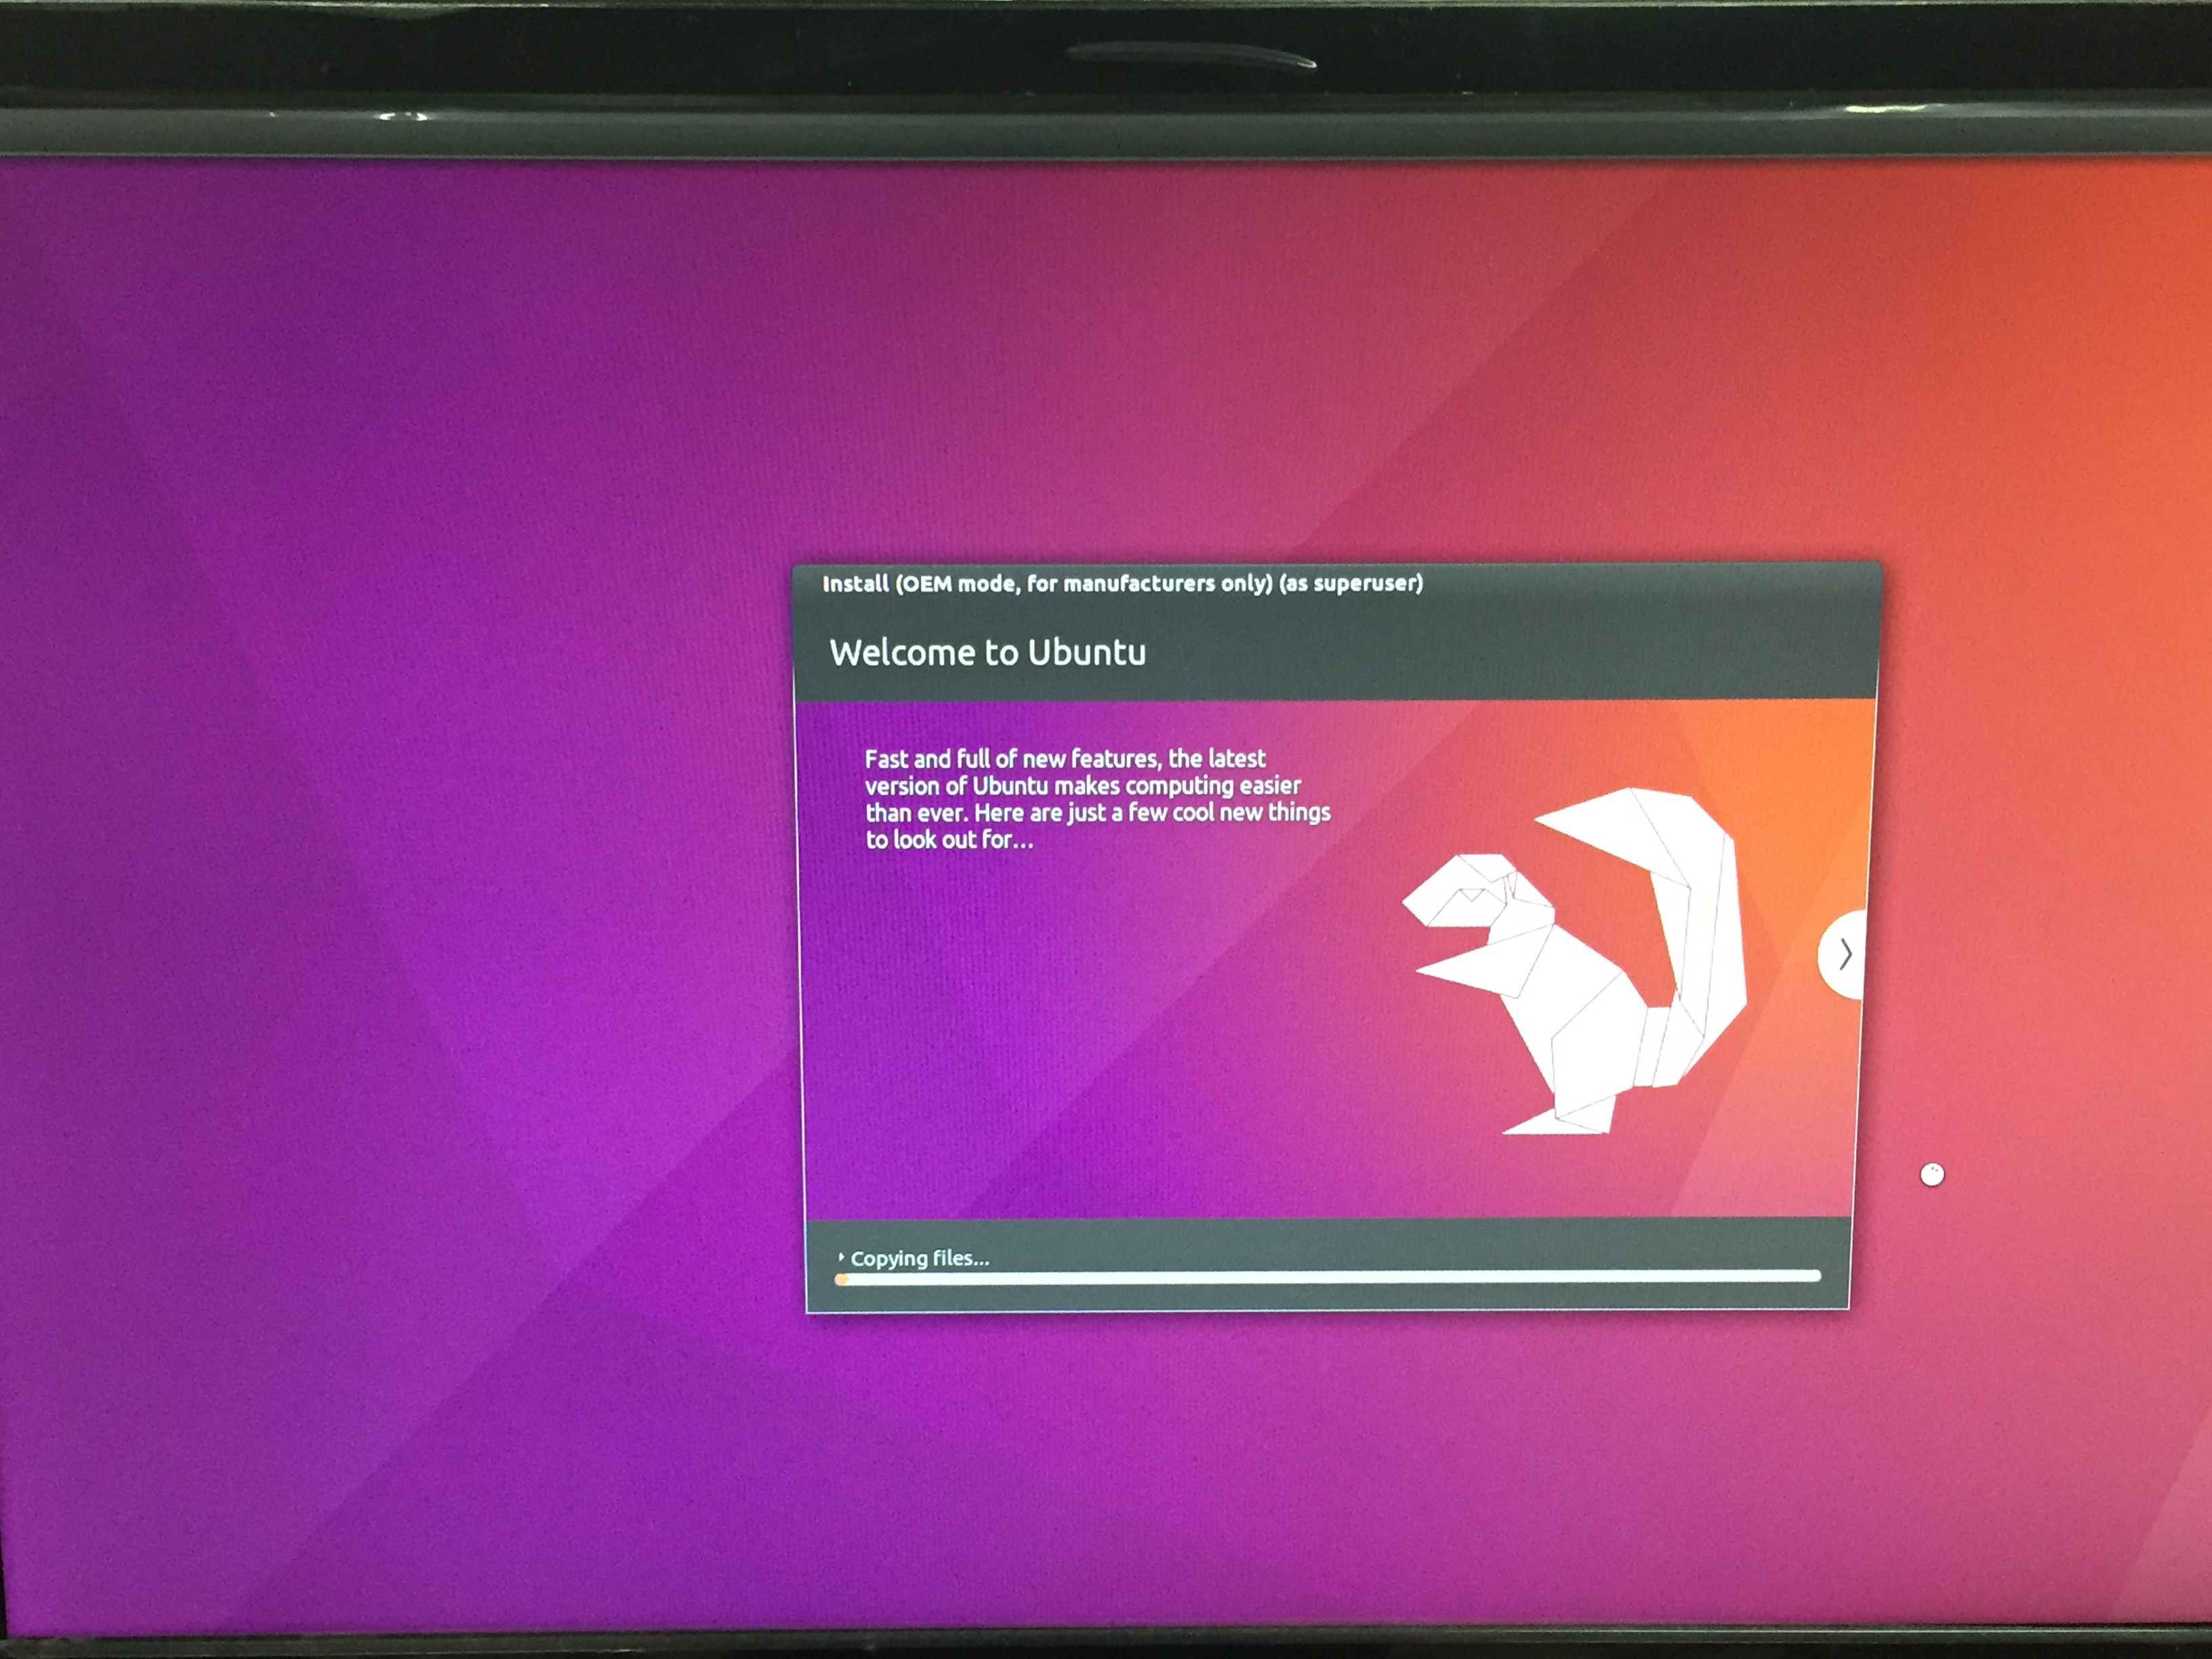
[Intel® Joule™] Installation will take about 10 minutes.
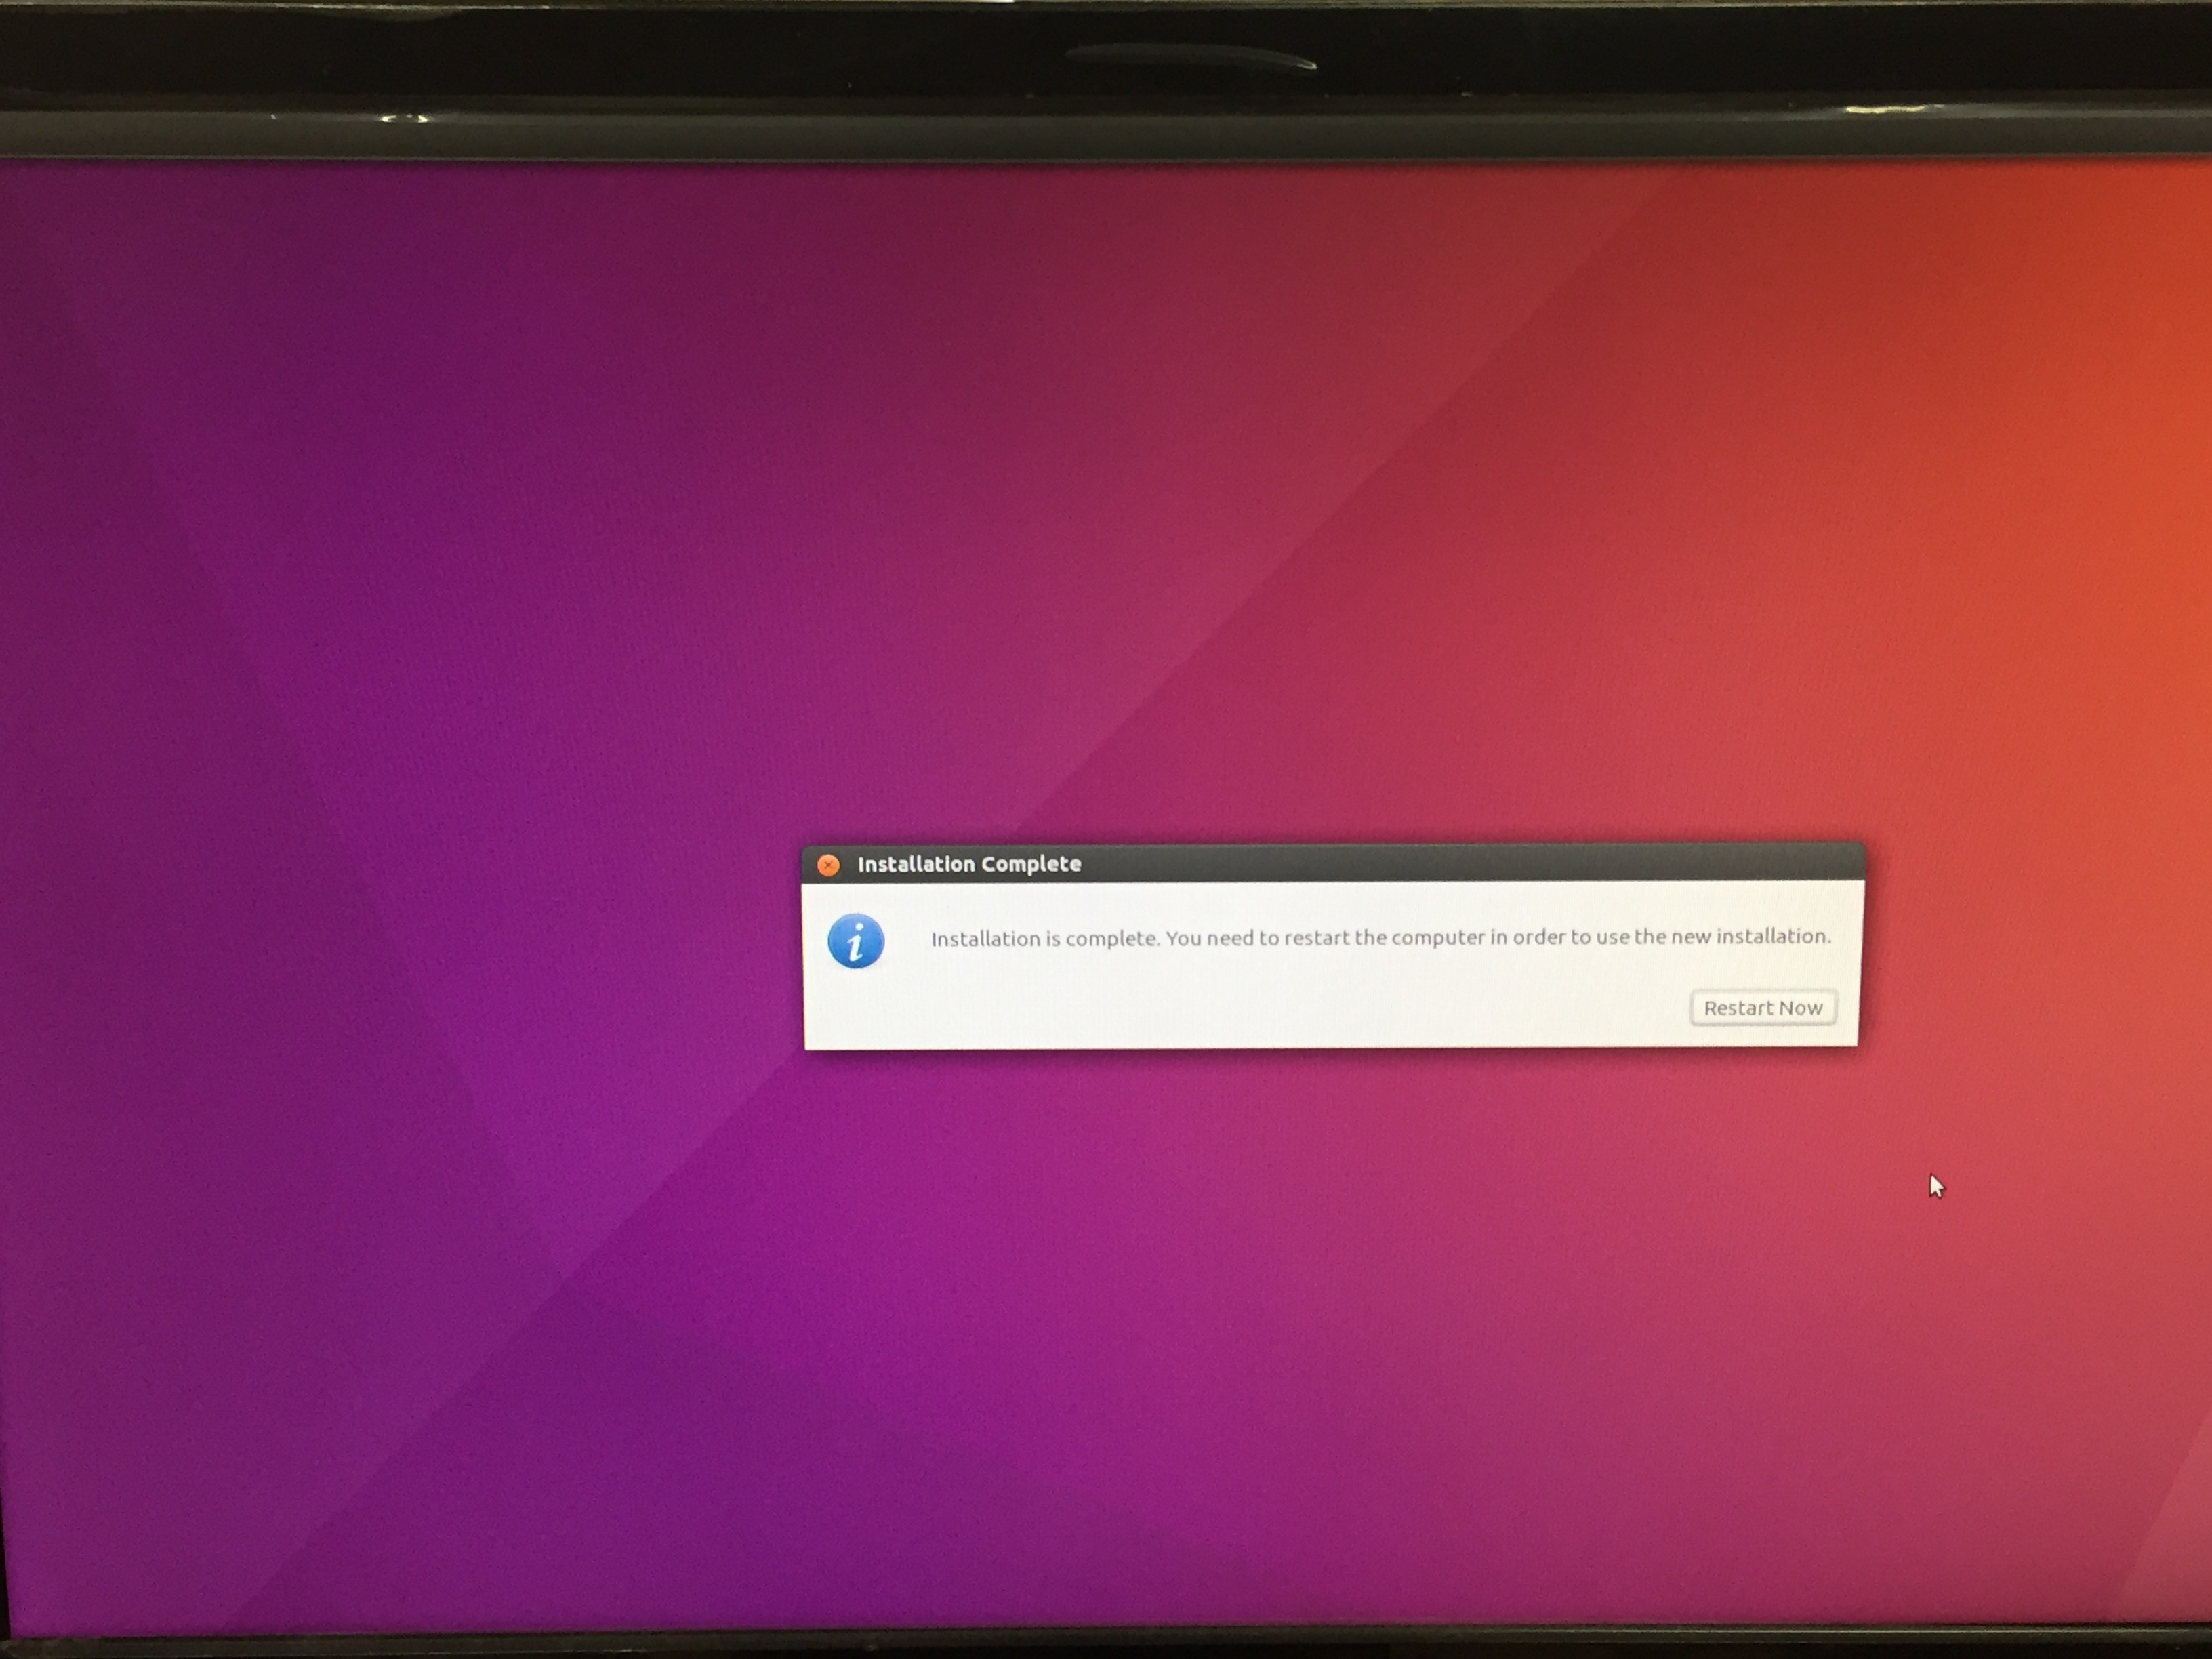
[Intel® Joule™] When installation is completed, click Restart Now.
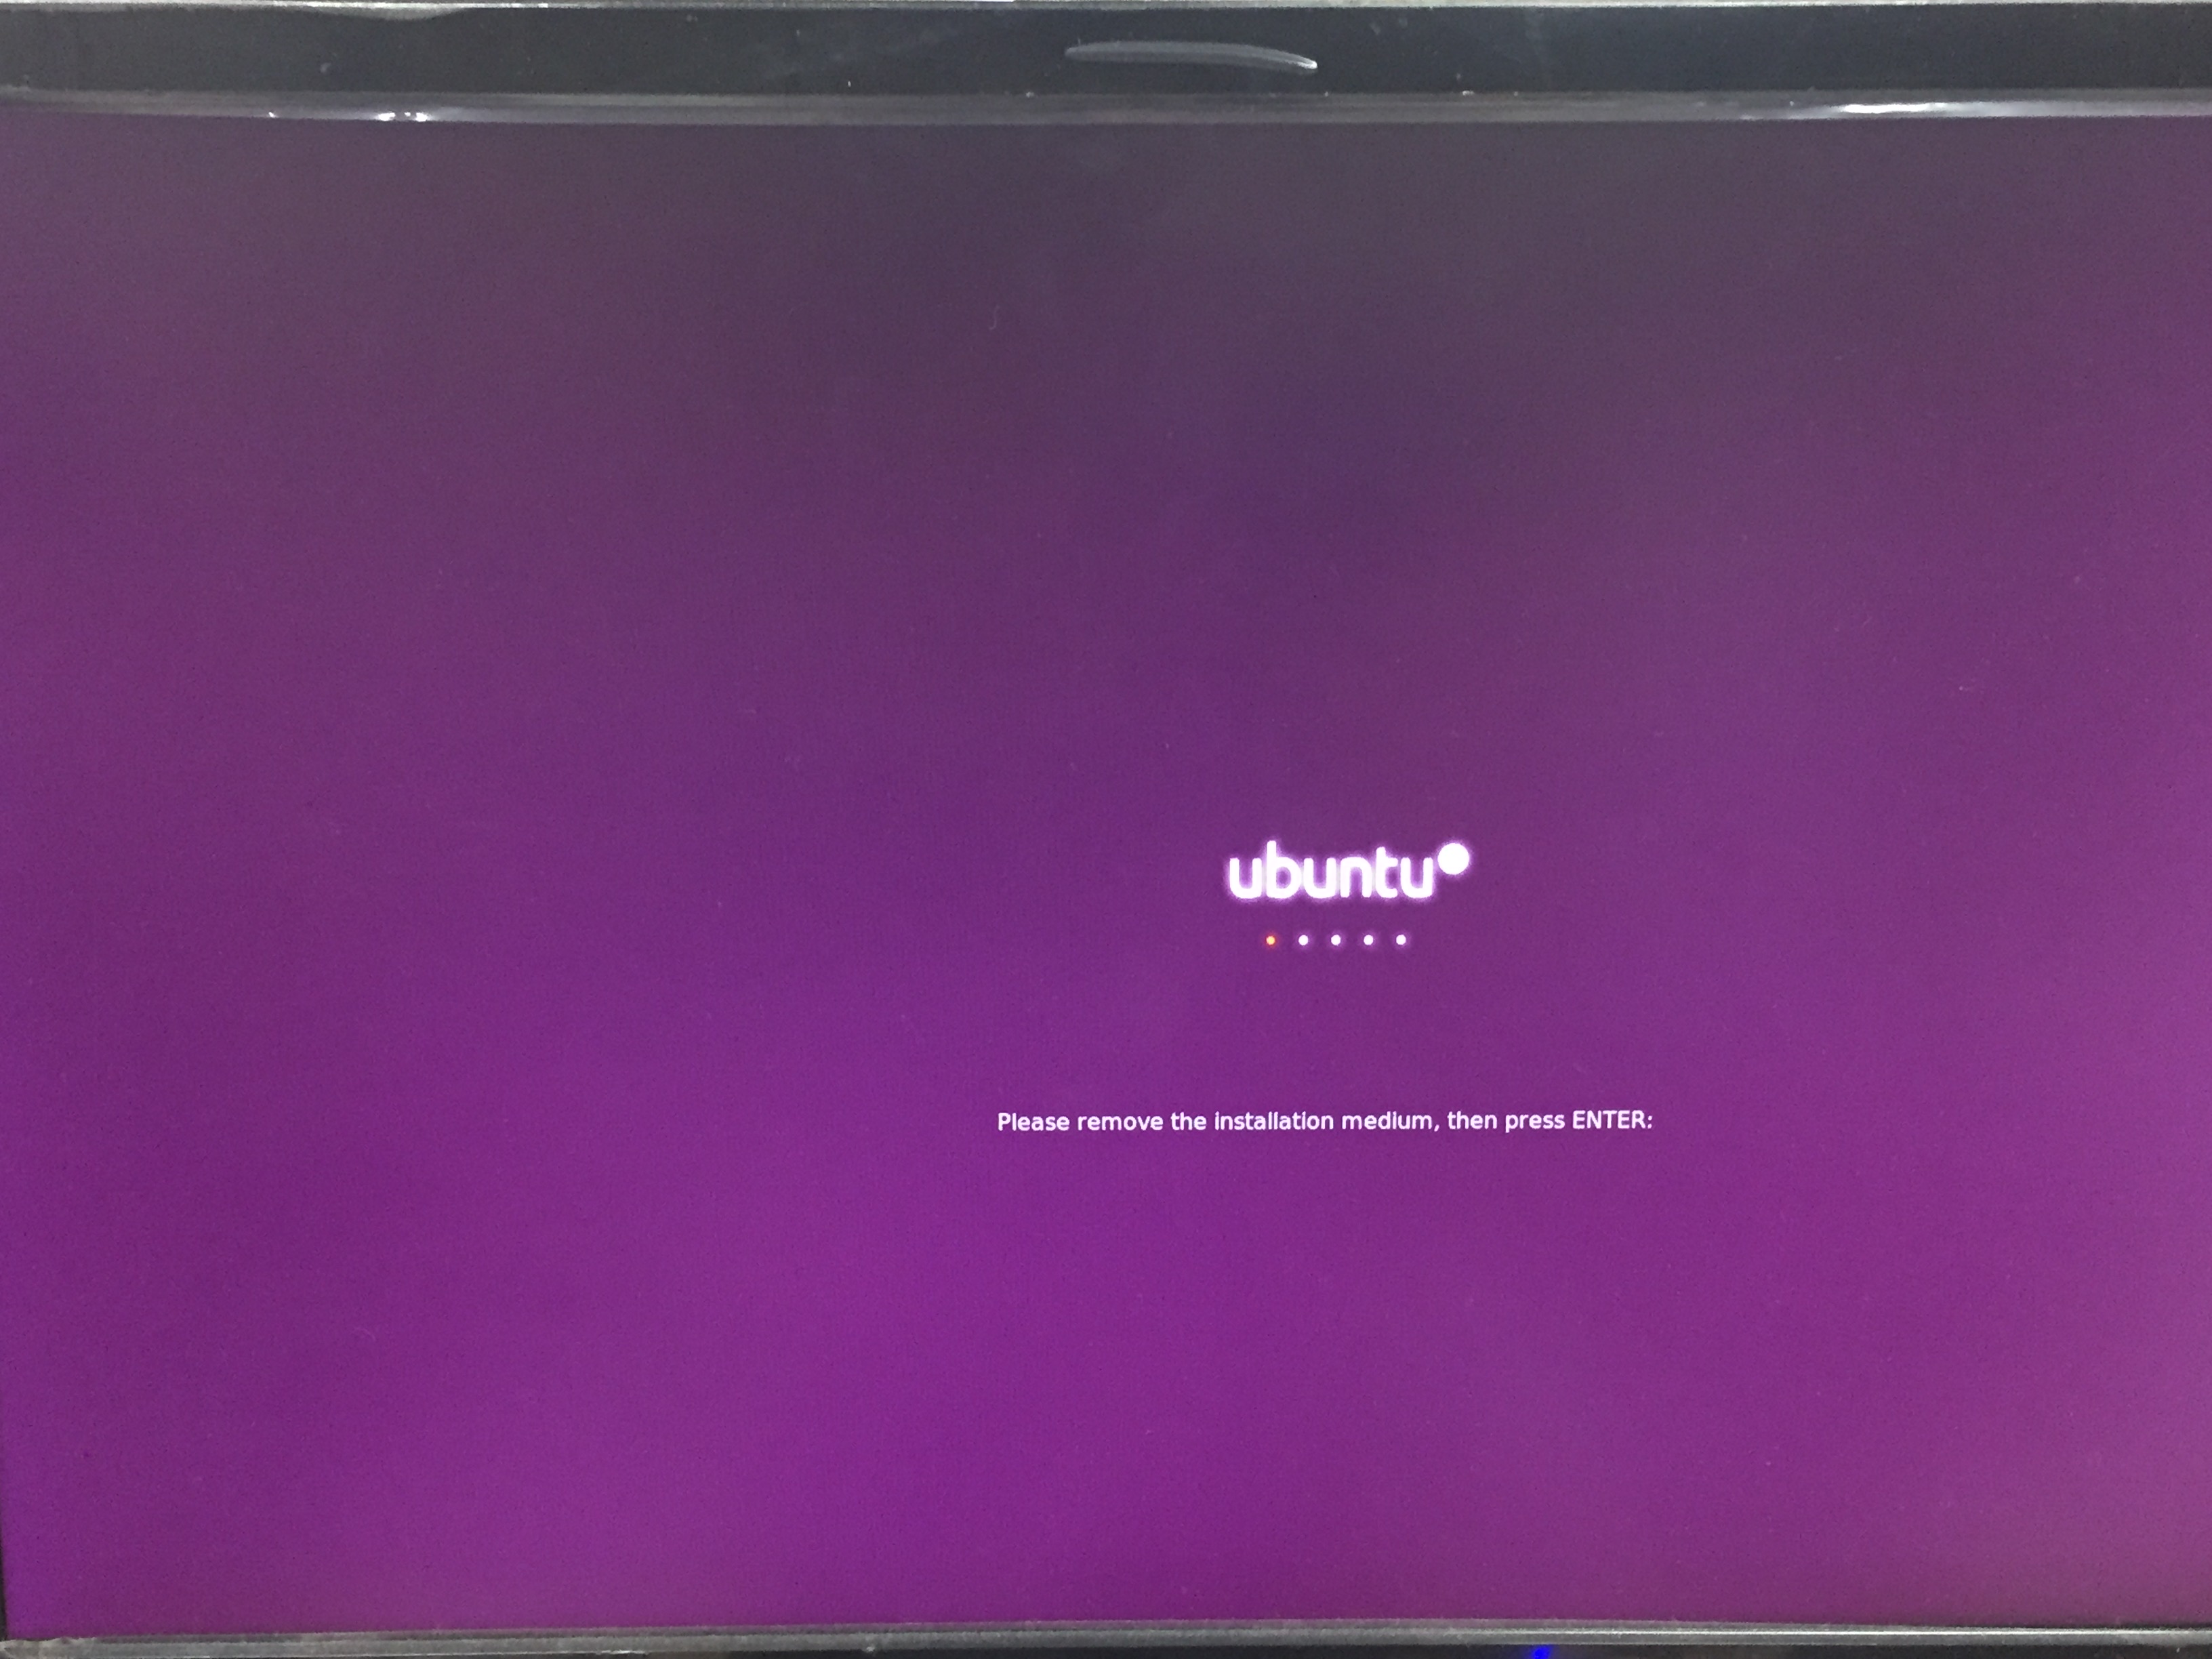
[Intel® Joule™] Remove bootable USB drive from Joule.
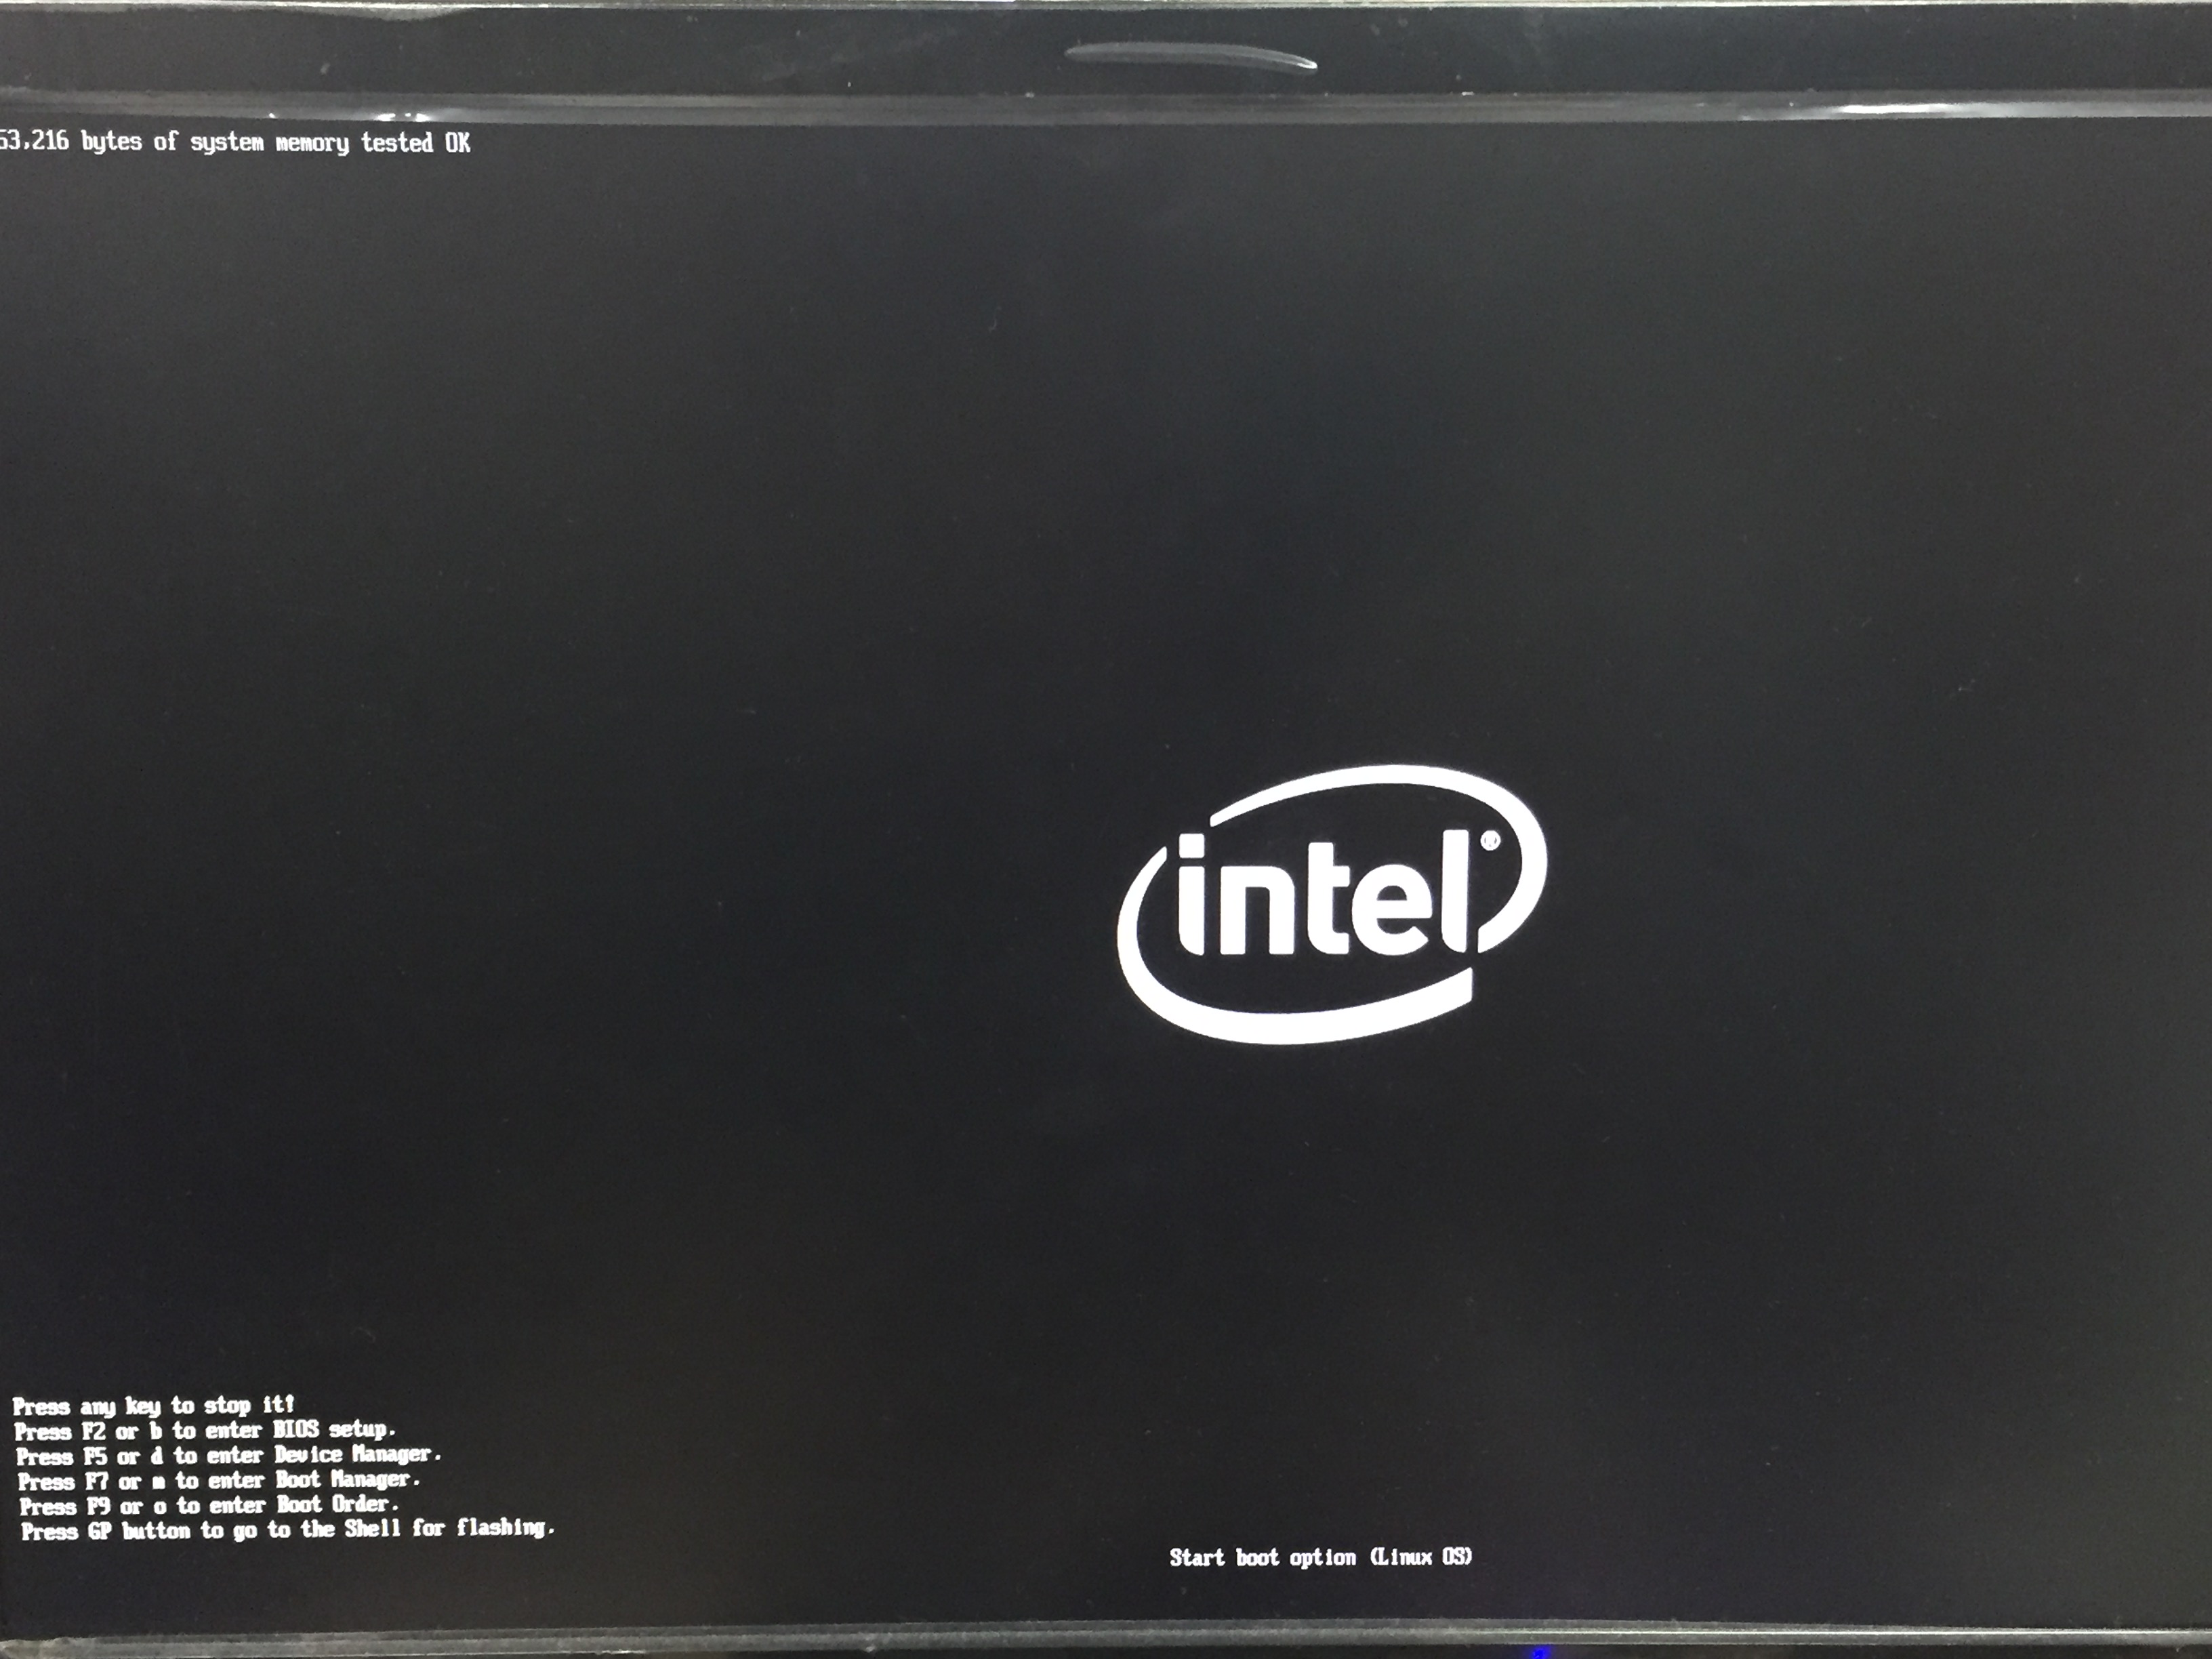
[Intel® Joule™] Don’t press any key. It will boot from 16GB eMMC which is a default boot device.

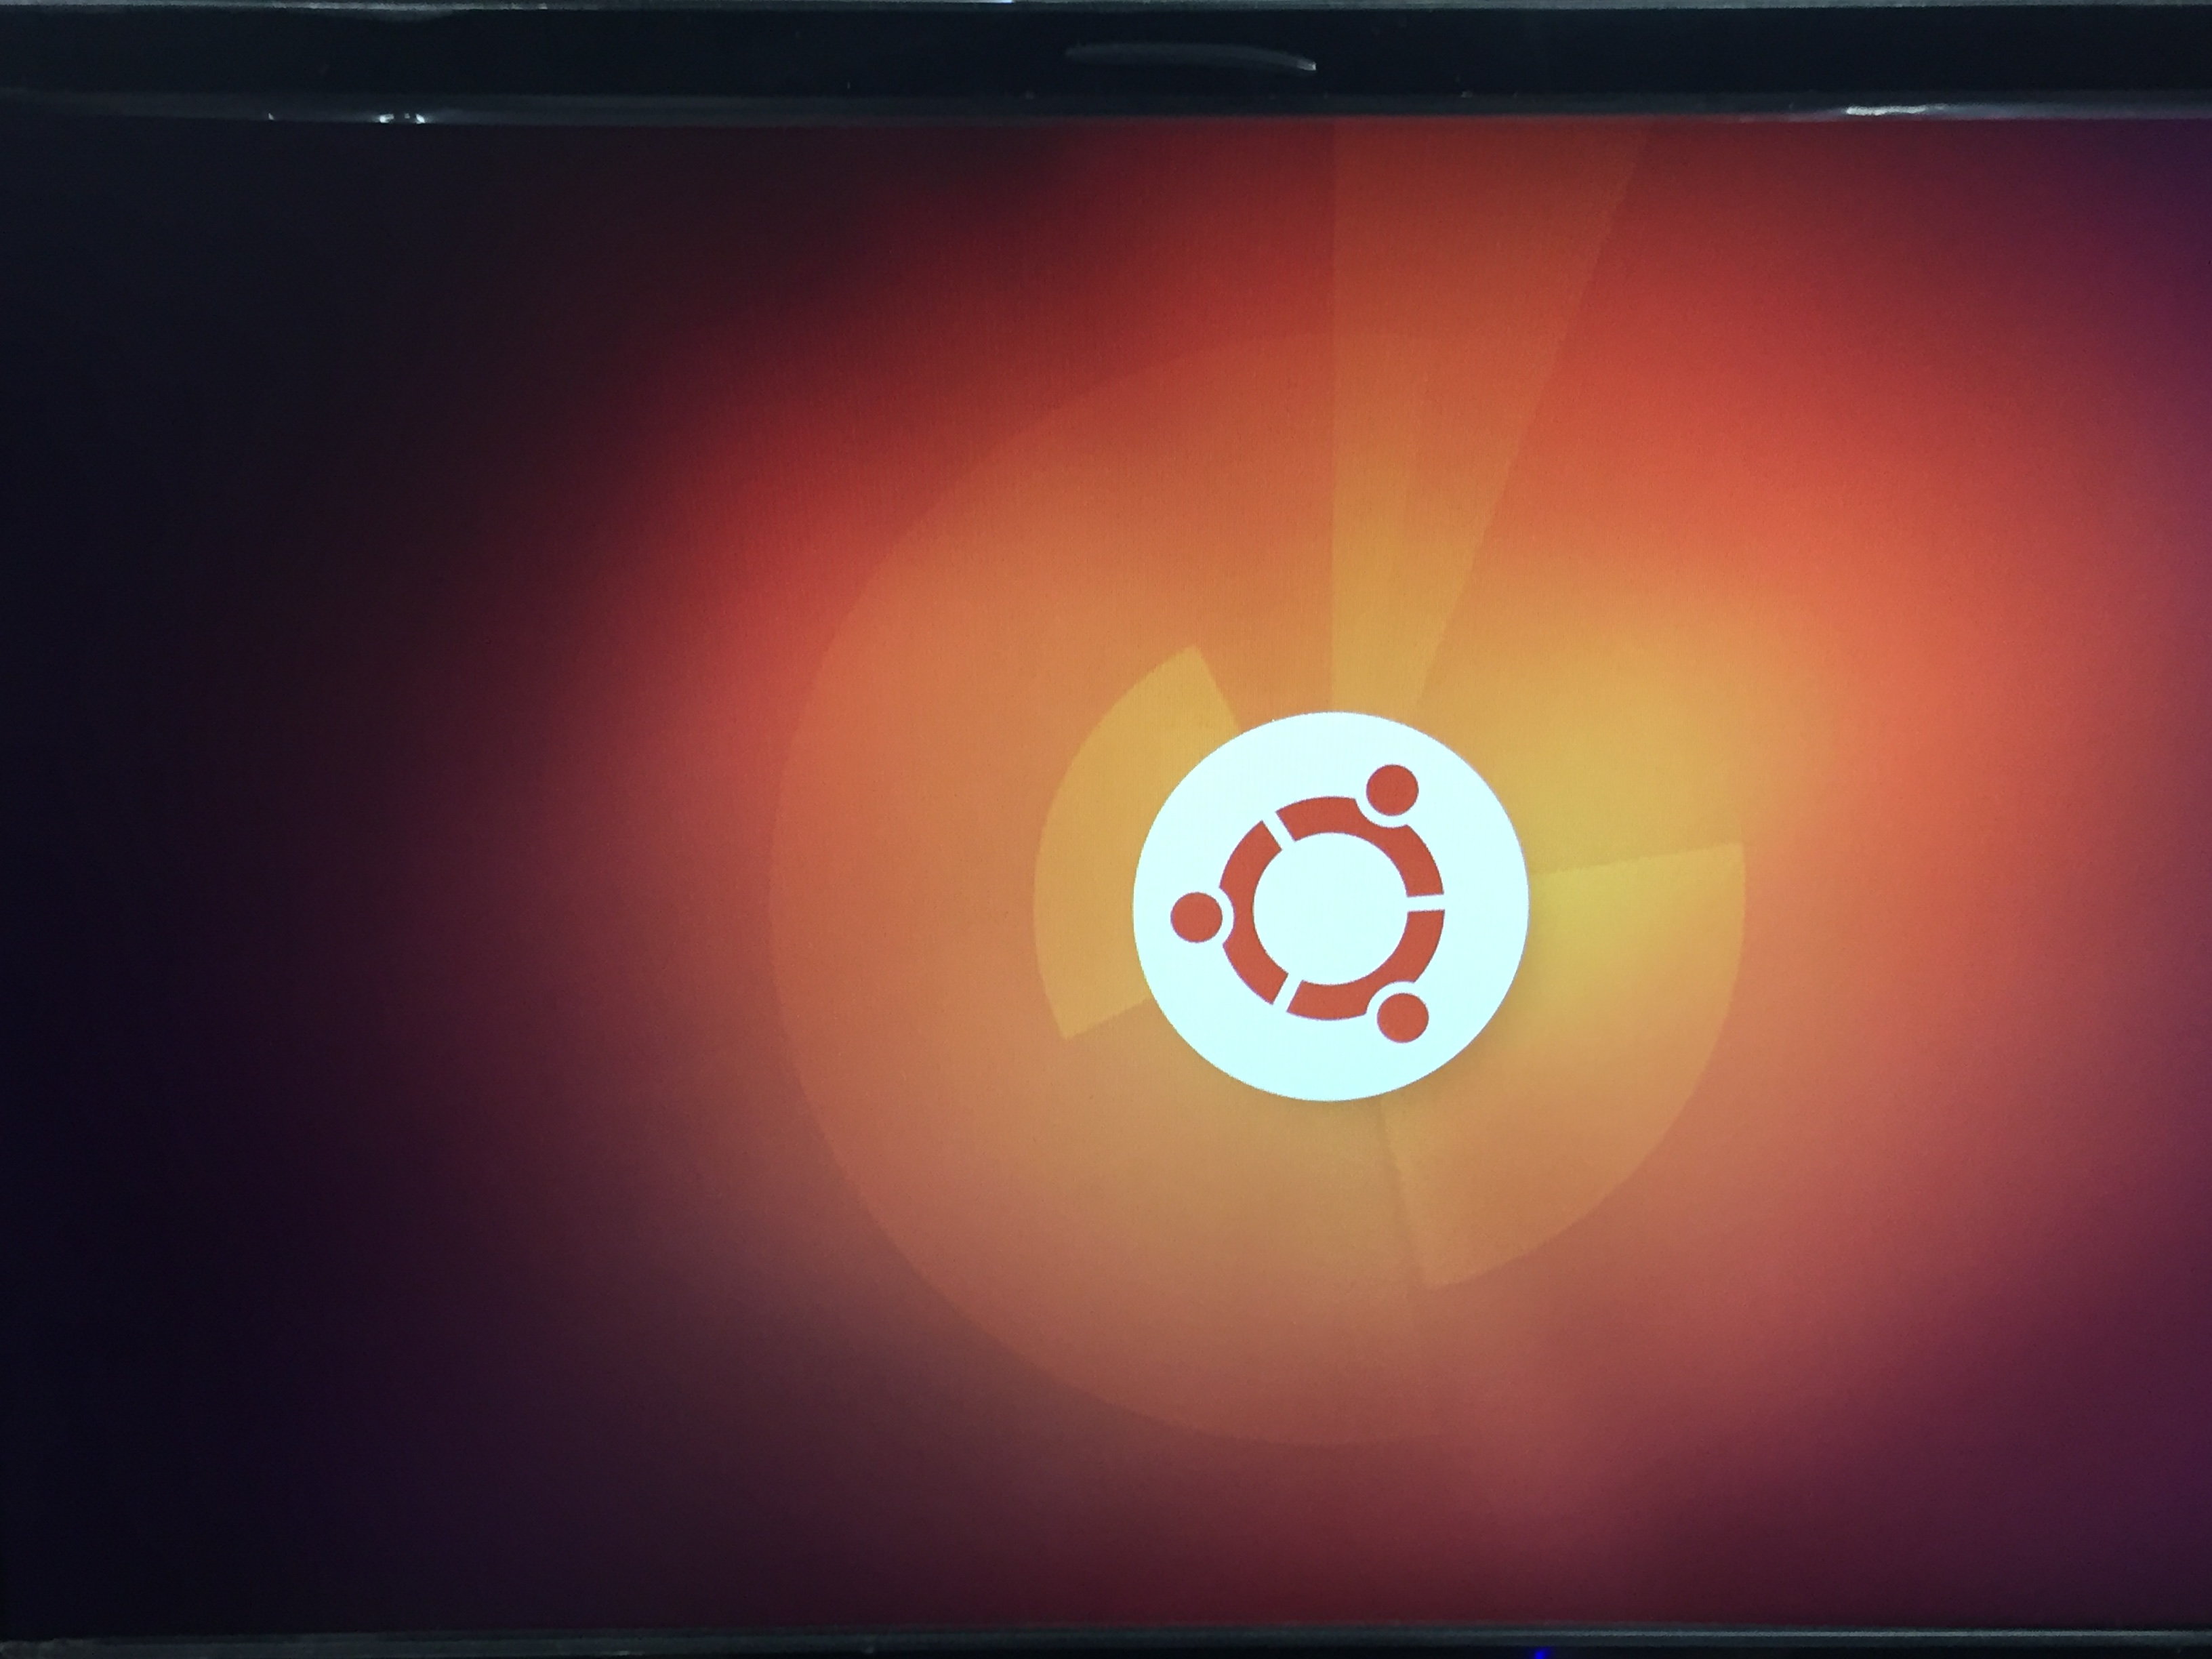
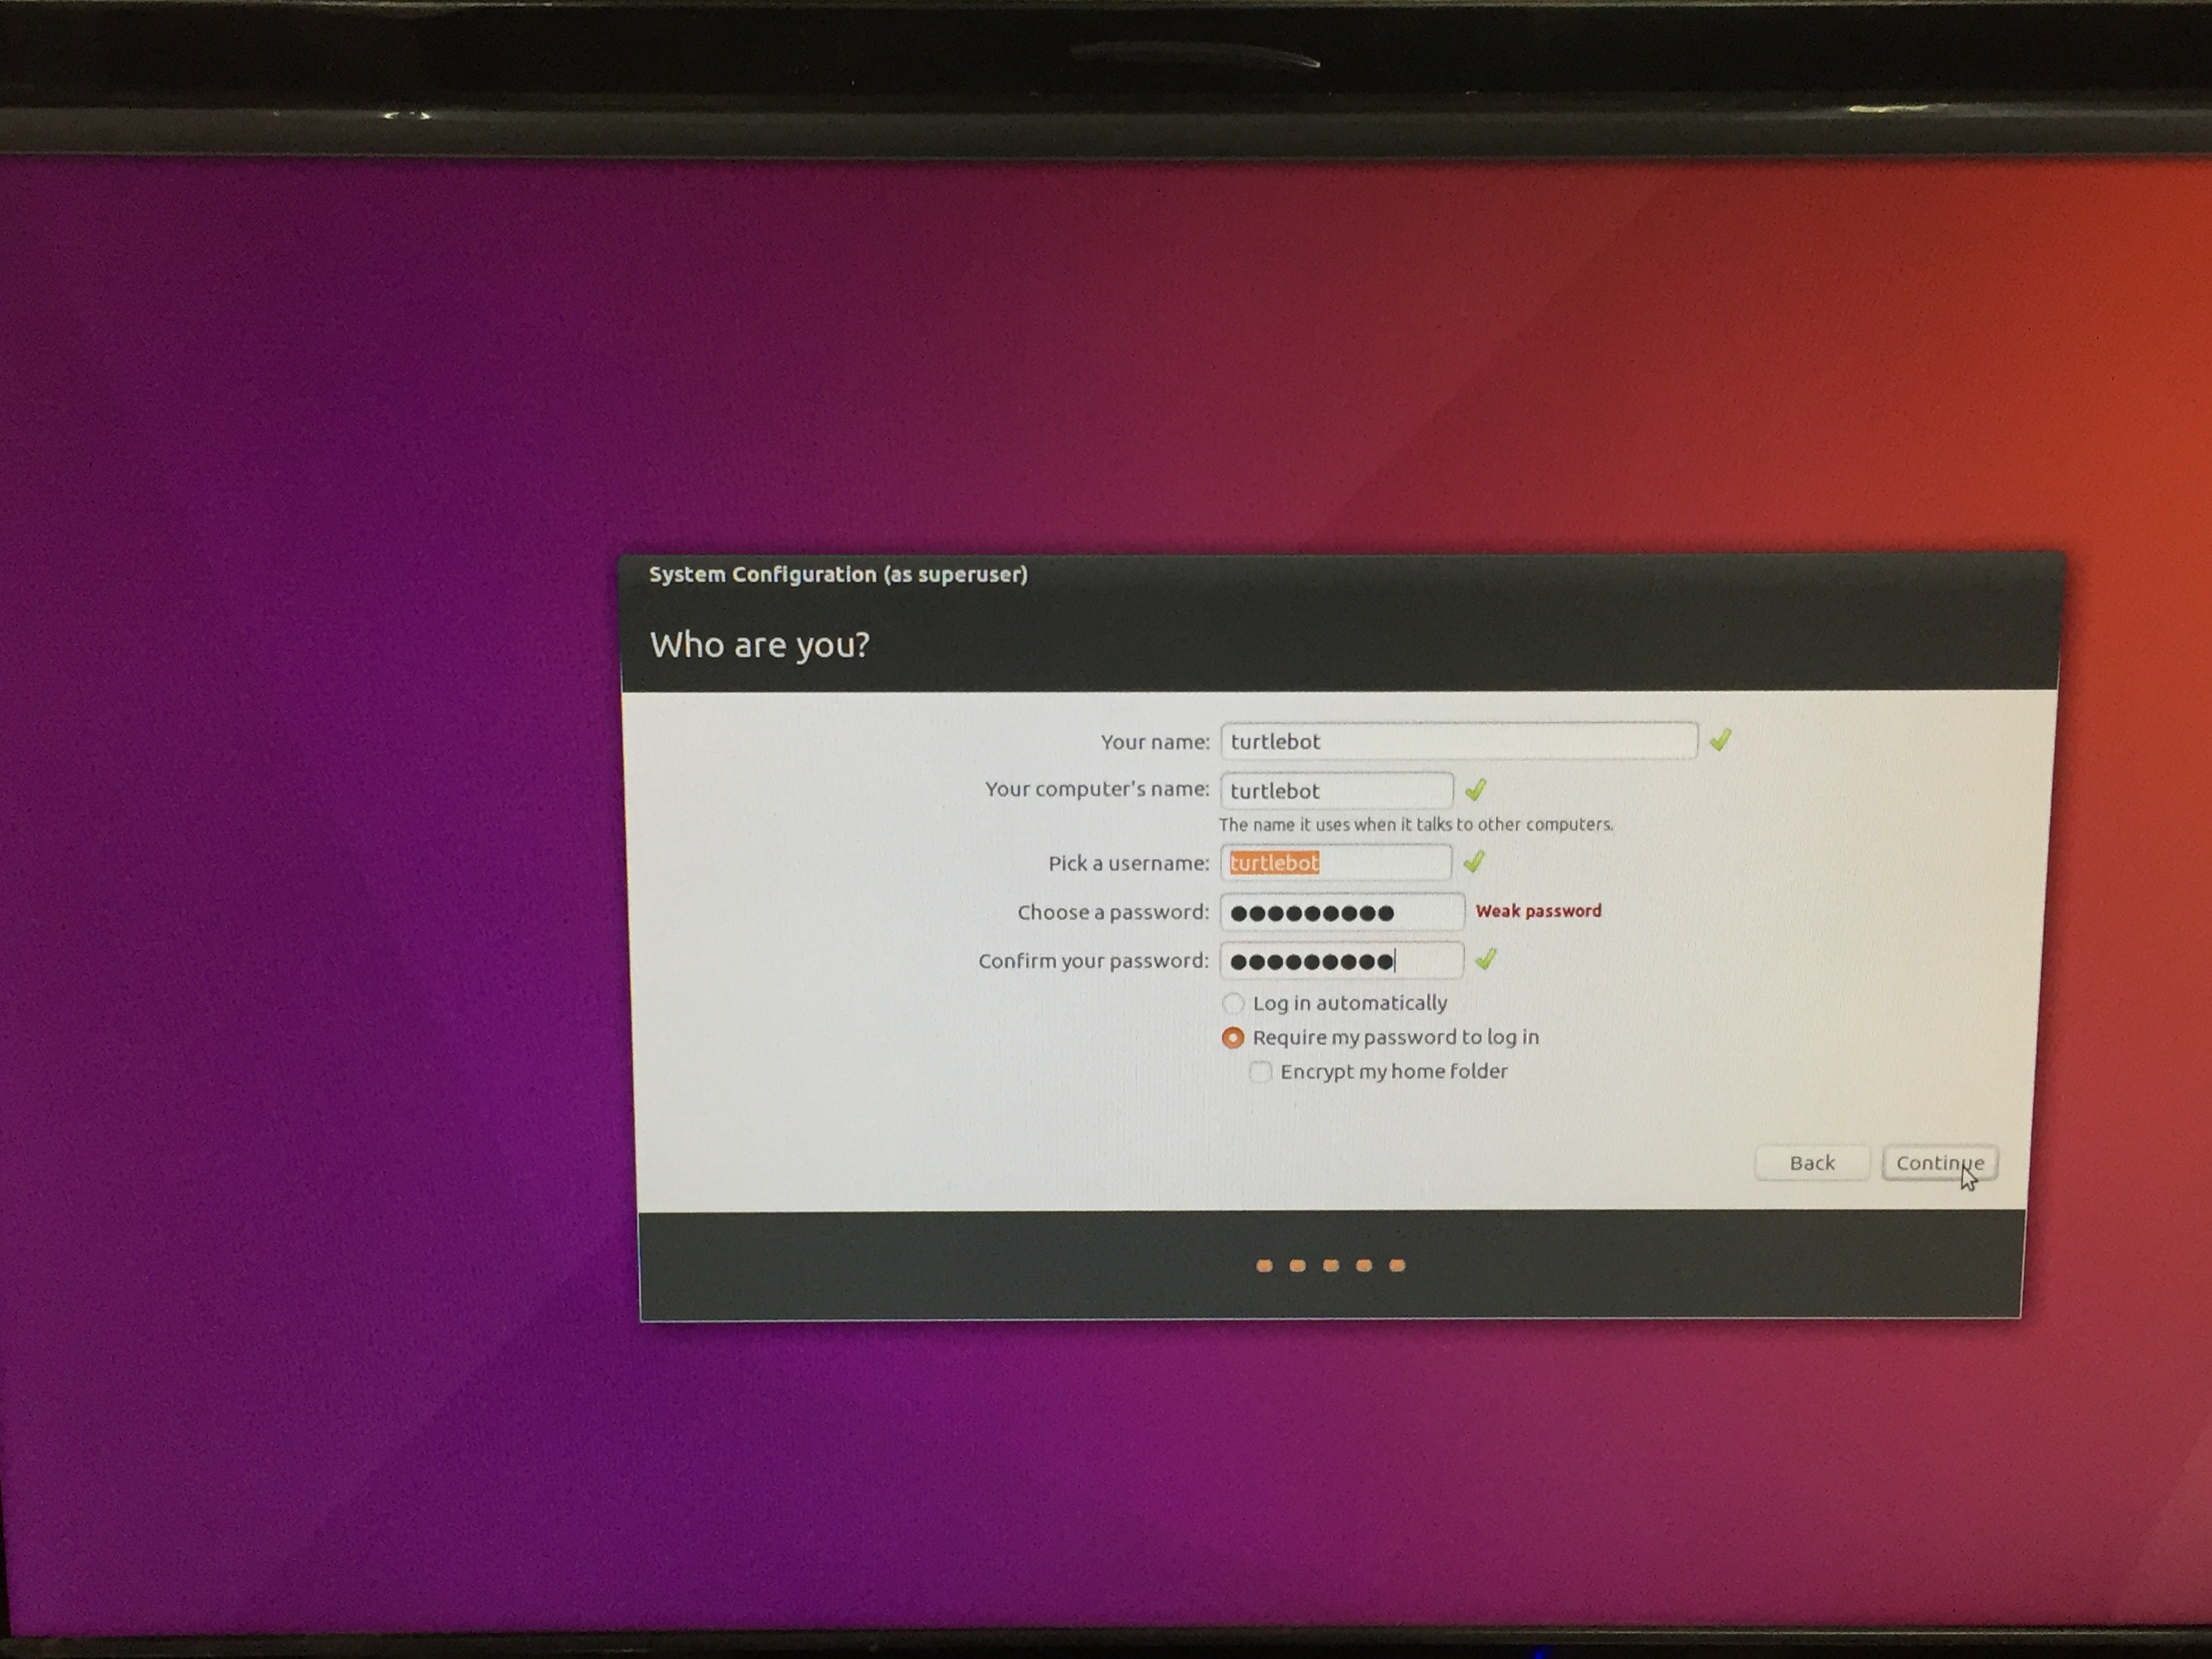
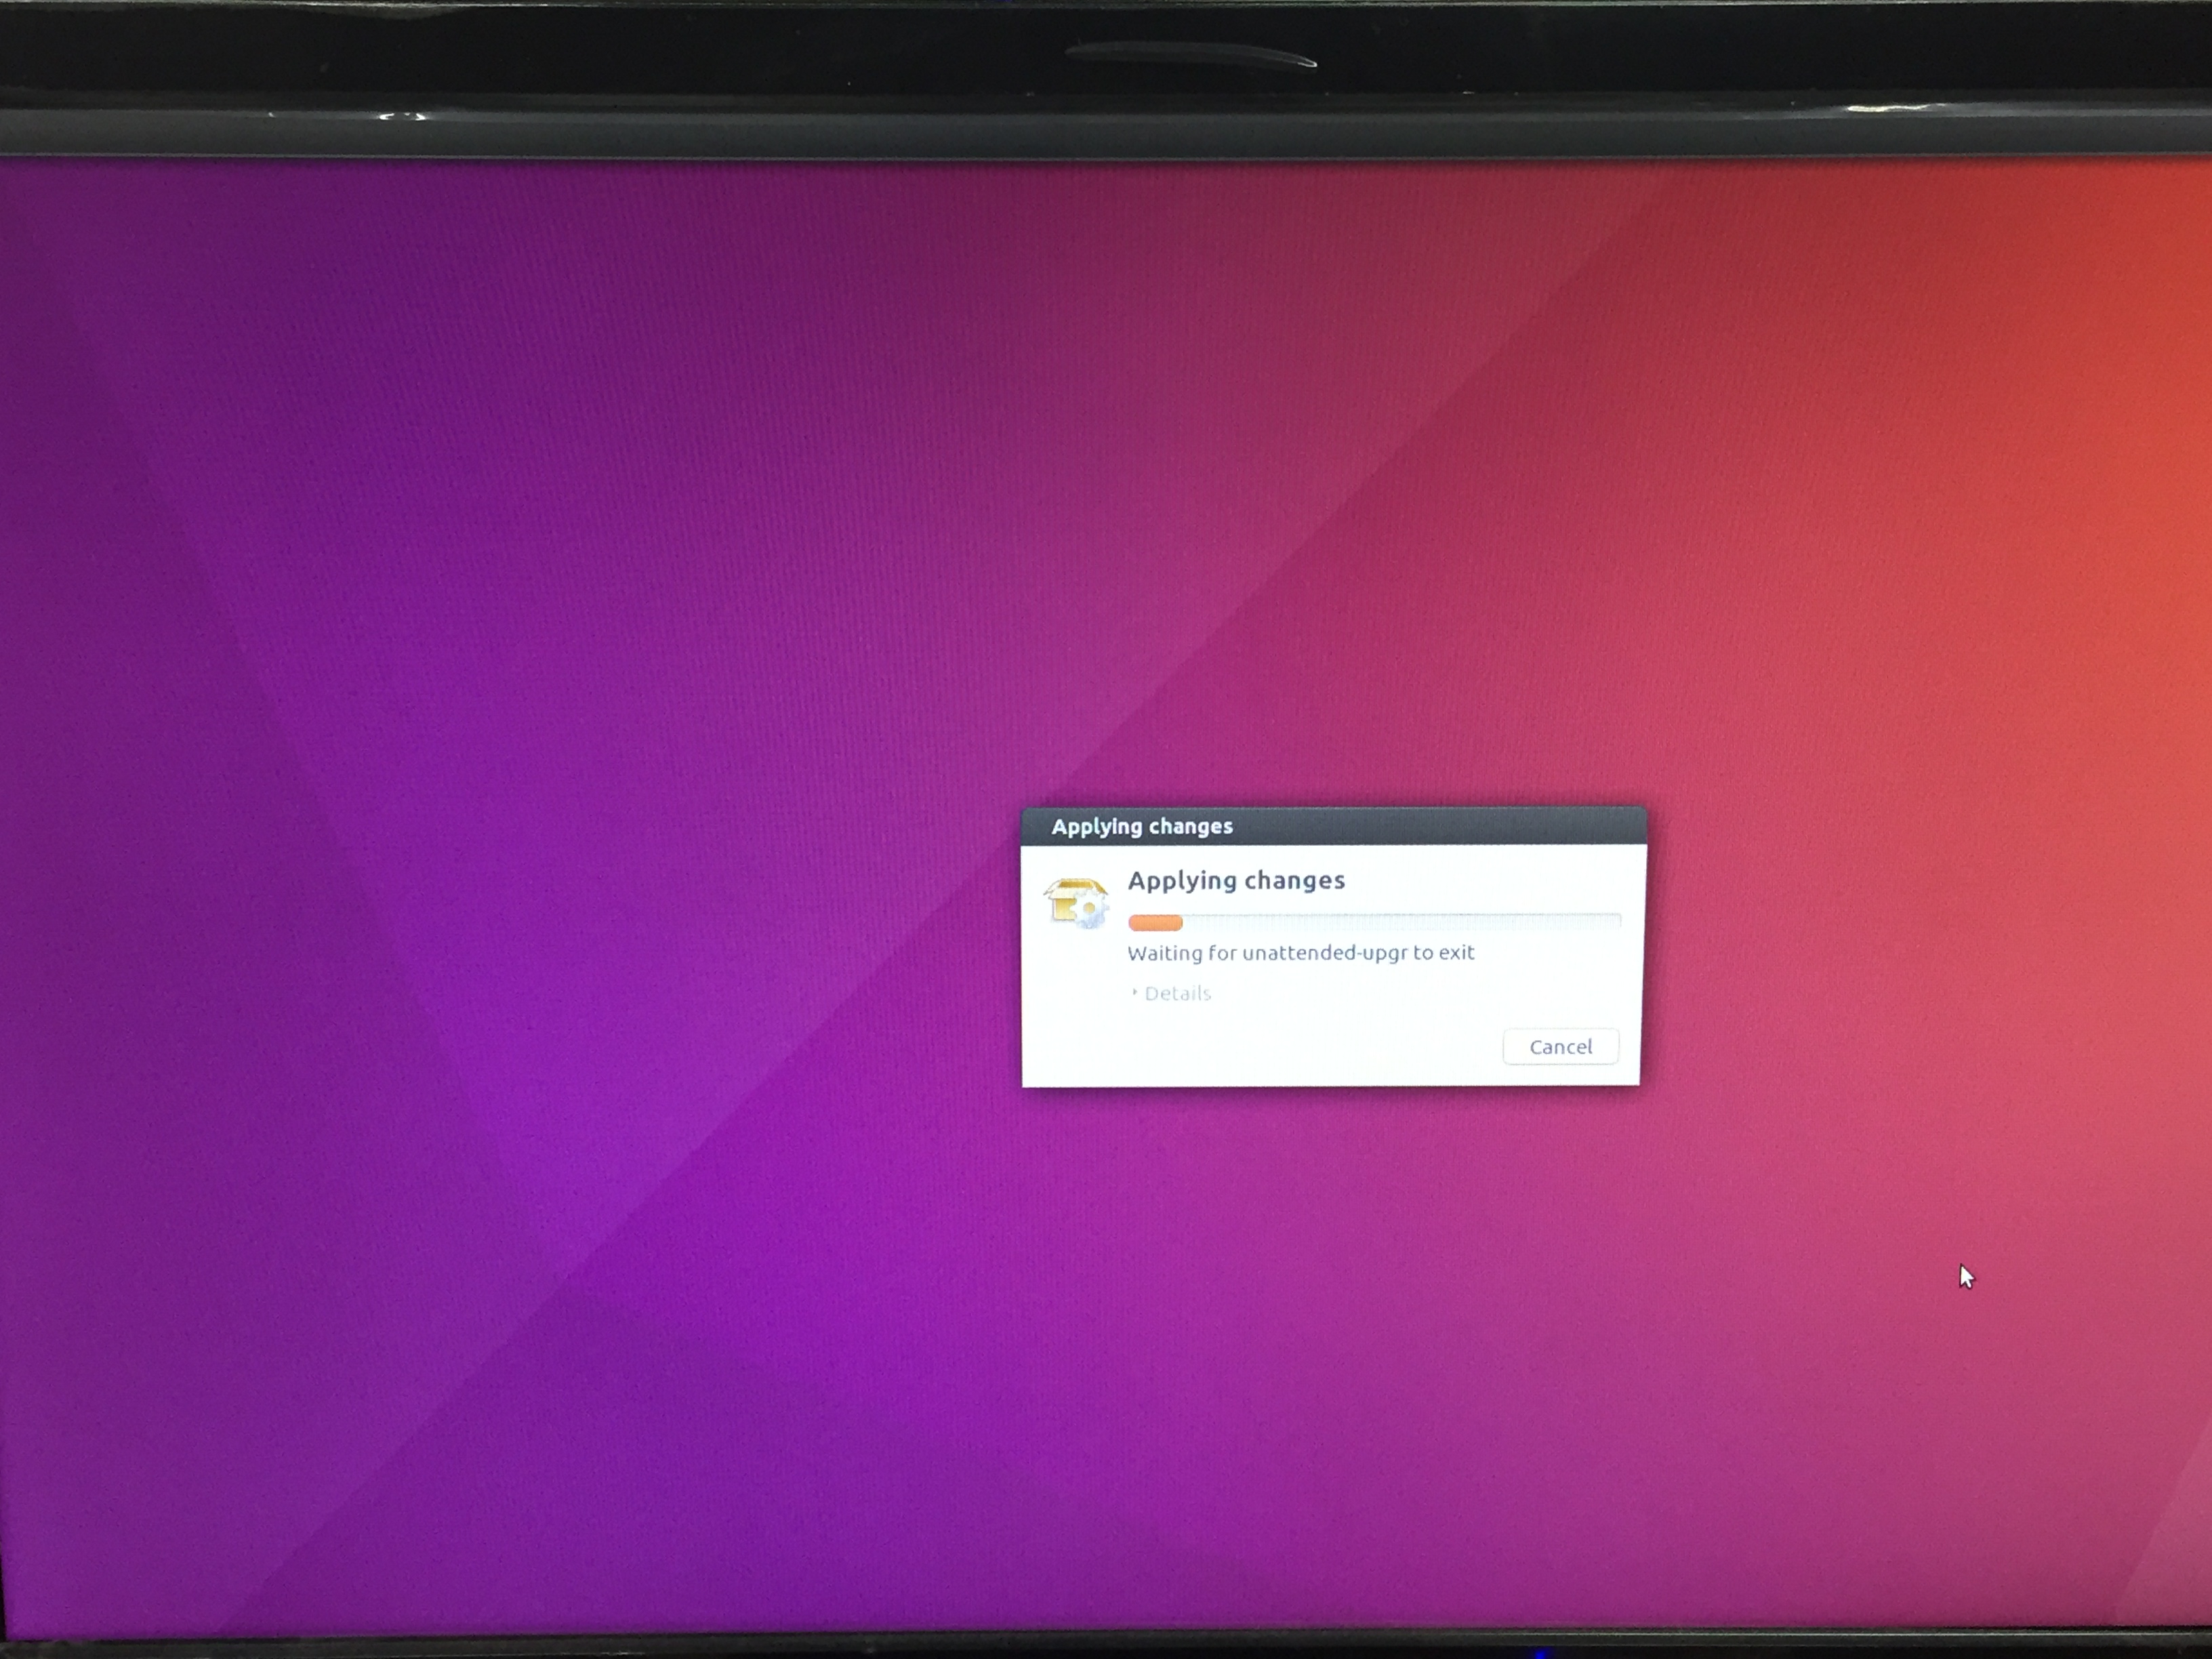
[Intel® Joule™] Finish the rest of settings.

WARNING: The contents in this chapter corresponds to the Intel® Joule™ which will be the main computer of TurtleBot3 Waffle. Do NOT apply this instruction to your Remote PC (your desktop PC or laptop).
NOTE: This instruction takes about 2 hours to install ROS and related packages for TurtleBot3. Elapsed time may vary depending on network environment.
![]()
[TurtleBot] Install ROS
$ sudo apt-get update
$ sudo apt-get upgrade
$ wget https://raw.githubusercontent.com/ROBOTIS-GIT/robotis_tools/master/install_ros_kinetic.sh && chmod 755 ./install_ros_kinetic.sh && bash ./install_ros_kinetic.sh
NOTE: In order to check which packages are installed, please check this link out. install_ros_kinetic
NOTE: After install ROS, please reboot Intel® Joule™.
If you prefer manual installation, please following the link below.
The next step is to install dependent packages for TurtleBot3 control.
[TurtleBot] Download packages from github
$ cd ~/catkin_ws/src
$ git clone https://github.com/ROBOTIS-GIT/hls_lfcd_lds_driver.git
$ git clone https://github.com/ROBOTIS-GIT/turtlebot3_msgs.git
$ git clone https://github.com/ROBOTIS-GIT/turtlebot3.git
NOTE: If you want to use Intel® RealSense™, please check related appendix for Intel® RealSense™
[TurtleBot] Delete some packages that are not needed in TurtleBot SBC
$ cd ~/catkin_ws/src/turtlebot3
$ sudo rm -r turtlebot3_description/ turtlebot3_teleop/ turtlebot3_navigation/ turtlebot3_slam/ turtlebot3_example/
[TurtleBot] Install dependent packages
$ sudo apt-get install ros-kinetic-rosserial-python ros-kinetic-tf
NOTE: After install packages, please reboot Intel® Joule™.
[TurtleBot] Build packages
$ cd ~/catkin_ws && catkin_make
If catkin_make command is completed without any errors, the preparation for TurtleBot3 is done.
[TurtleBot] The following commands allow to use USB port for OpenCR1.0 without acquiring root permission.
$ rosrun turtlebot3_bringup create_udev_rules
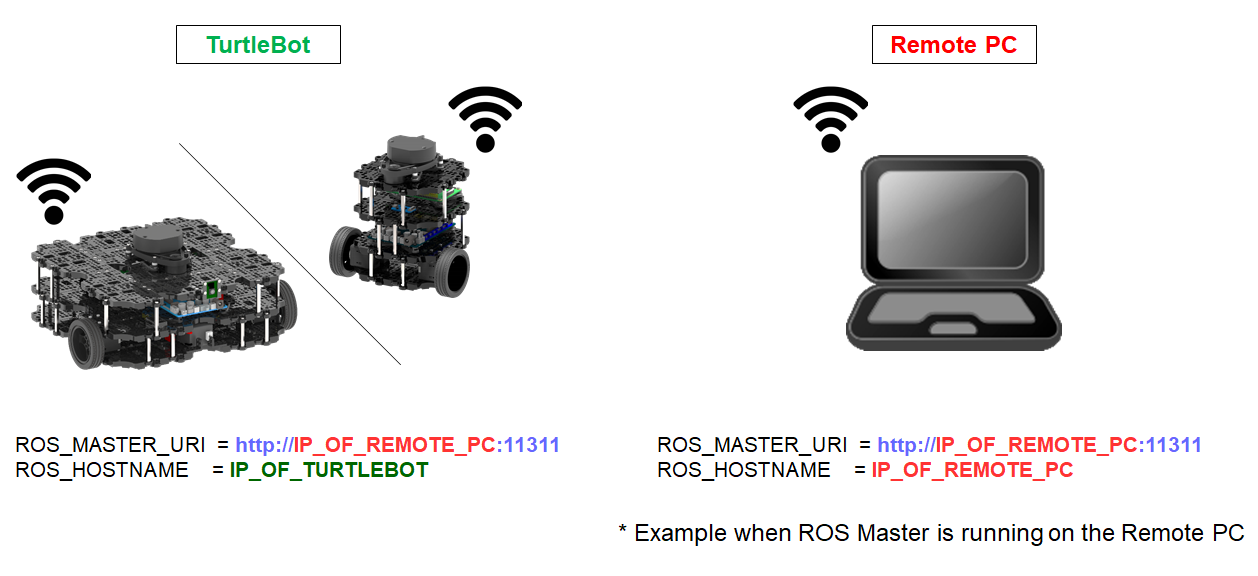
ROS requires IP addresses in order to communicate between TurtleBot3 and remote PC.
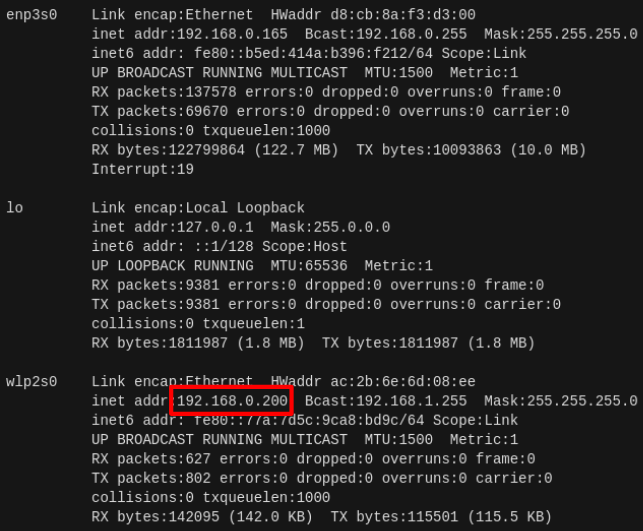
Enter the below command on the terminal window of the SBC in TurtleBot3 to find out the IP address of TurtleBot3.
$ ifconfig
Texts in the rectangle is the IP address of the TurtleBot.
Enter the following command.
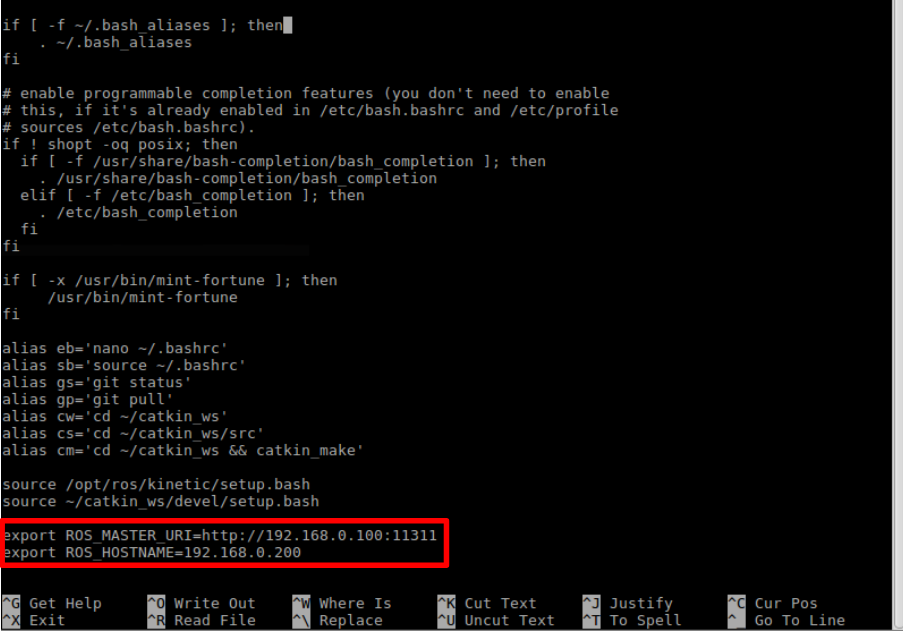
$ nano ~/.bashrc
Press ‘ alt+/ ‘ to end line of the file.
Replace the localhost in the ROS_MASTER_URI address with the IP address acquired from Remote PC Network Configuration. Also replace the localhost in the ROS_HOSTNAME address with the IP address acquired from the above terminal window, which is the IP address of TurtleBot3.
Then, source the bashrc with below command.
$ source ~/.bashrc