Introduction
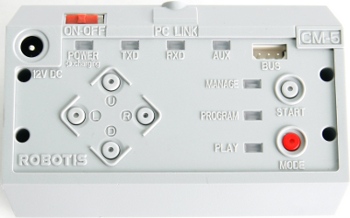
CM-5
NOTE : CM-5 is discontinued.
Specifications
| Item | Description |
|---|---|
| Weight | 125.95g |
| CPU | ATMega128 |
| Voltage Supply | Range : 7V ~ 12V Recommended : 11.1V (3S1P Li-Po) |
| Current Consumption | Standby : 50mA Max : 5A(Fuse) |
| Operation Temperature | -5°C ~ 70°C |
| External I/O Device | AX/MX Series DYNAMIXEL Connector x 2 |
Layout
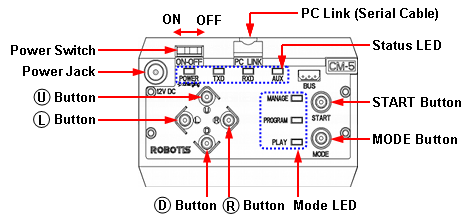
- Power Switch : The switch to connect the power.
- Power Jack : The socket to connect the power jack of SMPS.
- Start Button : The button to select the mode.
- Mode Button : The button to change the operation mode of CM-5.
- PC Link(Serial Cable) : The port to connect the serial port of CM-5 and PC using serial cable; It is used for task code download or communication with PC.
- U / L / D / R Button : The assigned buttons used for entering purpose during the program operation; commands to robots are transmitted by these buttons.
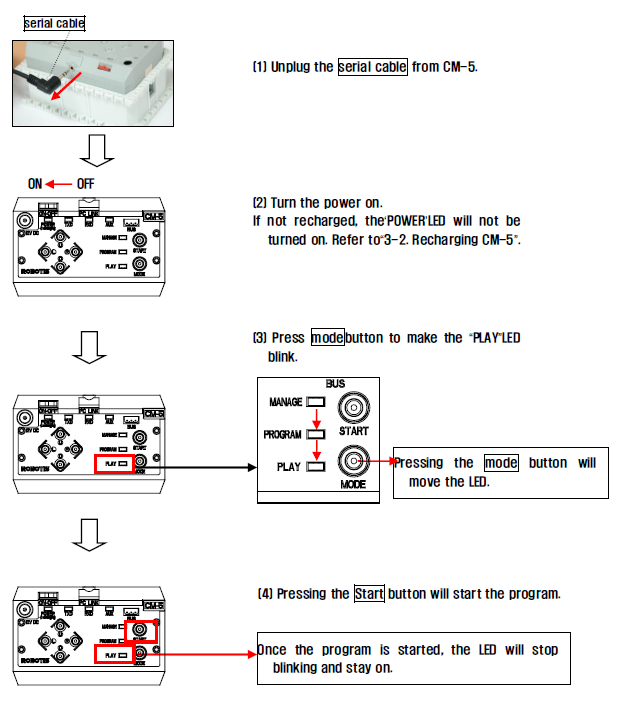
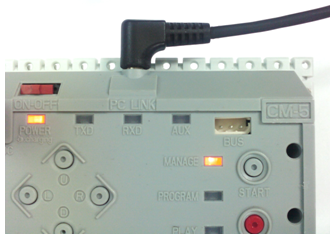
- Mode Display LED : LED to display current operation mode of CM-5; Detailed descriptions are provided as below.
- Status Display LED : The LED represents the current status of CM-5. Detailed descriptions are provided as below.
- POWER : Turned on if the power is ON; flickers if it is being charged.
- TXD : Turned on while CM-5 is transmitting the data to the outside.
- RXD : Turned on while CM-5 is receiving the data from the outside.
- AUX : Assigned LED to be used by the user in the program. It can be turned on or off using task code.
[MANAGE]
- It displays DYNAMIXEL Management Mode is in progress.
- It is used to set or test the operations of CM-5, AX/MX DYNAMIXEL using RoboPlus Manager.
- It is automatically executed when RoboPlus Manager and CM-5 are connected.
[PROGRAM]
- It displays the motion edit mode is in progress.
- It is used when the motions are editted with RoboPlus Motion.
- It is automatically executed when RoboPlus Motion and CM-5 are connected.
[PLAY]
- It displays the task code mode is in progress.
- It is used after downloading the written code to CM-5 with RoboPlus Task.
- The Start button must be pressed directly by the user to execute when PLAY LED flickers.
Connecting Power
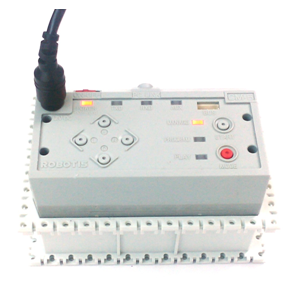
A rechargeable battery is installed in CM-5. If the rechargeable battery is charged, the device is ON when the power switch is set to ON. If you try to connect to external power without using the charger, the power is connected when SMPS is plugged and the power switch is set to ON. If the power is connected, the Power LED is turned on, and one of the mode LEDs flickers.
How to Operate
- Turning the Power on : The power is turned on by moving the switch from OFF to ON.
※ If the power is not turned on in spite of moving the switch to ON, the internal batteries may have been discharged.
Please refer to Charging to recharge, or connect the power using SMPS. - Start : Move to PLAY using Mode Button to operate robots. Press START Button to execute when the LED on PLAY flickers.
※ If START button is pressed, the LED on PLAY is not supposed to be flickering any more; that is the normal status of the execution. - End : If you want to stop the executed operations, press MODE Button to get back to waiting mode status, or turn OFF the power using Power Switch.
For CM-5, the firmware must be updated to use Roboplus instead of the Behavior Control Programmer(the old version).
Please refer to Firmware Update on how to updated firmware in RoboPlus Manager.
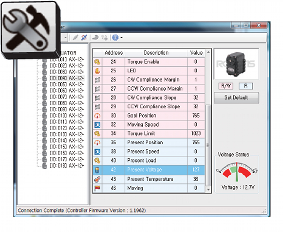
- It is used to control DYNAMIXEL and the peripherals, and it can connect DYNAMIXEL(AX/MX DYNAMIXEL… etc.).
-
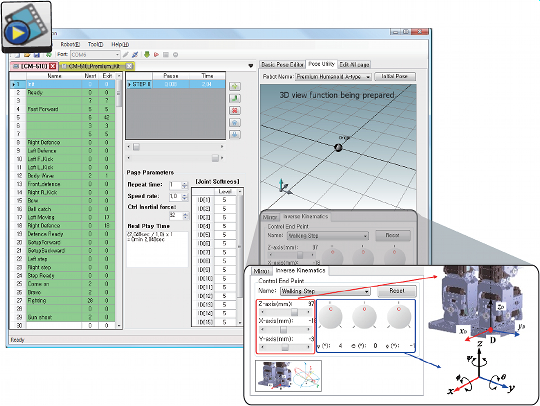
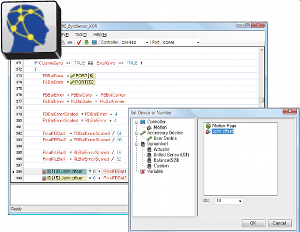
Specific motions can be edited and saved through RoboPlus Motion. The saved motion (mtn file) can be always executed by RoboPlus Task, and also the motions of each part can be controlled by writing the task codes for control.
-
RoboPlus Motion
-
RoboPlus Task
- RoboPlus Manager
Connect to PC
PC Link(Serial Cable) of CM-5 and Serial Port of PC must be connected using serial cable to communicaiton with PC. If you want to use Bioloid on the laptop without a serial port, you can communicate with PC using USB2DYNAMIXEL. (The USB2DYNAMIXEL is sold separately.)
Wireless Communication
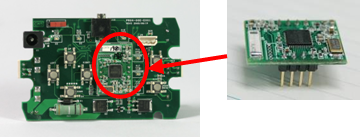
ZIG-100 Wireless Communication Module can be connected to CM-5.
Charging
To move a robot when it is not connected with SMPS, you have to use a battery. If the battery is discharged, please use by charging it according to following procedures.
-
Connect SMSPS to CM-5.

-
Turn on the CM-5 Power and press the
Ubutton
NOTE : While the CM-5 is being charged, the power LED blinks. The speed of blinking shows how much it is left before finishing the charging. It will be more faster as it completes the charging. Once the charging is done, it will blink for every 2 seconds.
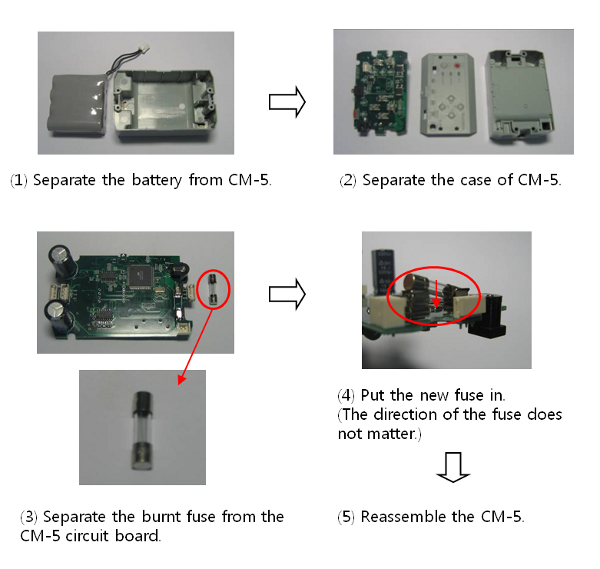
Fuse Replacement
The fuse prevents the over power that flows in the CM-5 which can damage the circuit. If the CM-5 does not turn on with the battery but turns on when connected to the SMPS, replace your fuse.
If the fuse is disconnected, followings will happen.
- Can turn on the power of CM-5 with SMPS only.
- The LED doesn’t blink even when you press the U button for charging.
The fuse used for CM-5 is available at electric shops( Fuse Volume : 220V/5A )
