Introduction
Dynamixel Wizard helps the users manage Dynamixel more easily.
The main roles of the program are as follows:
- Manage Dynamixel’s firmware.
- Check Dynamixel’s status.
- Set up the necessary modes.
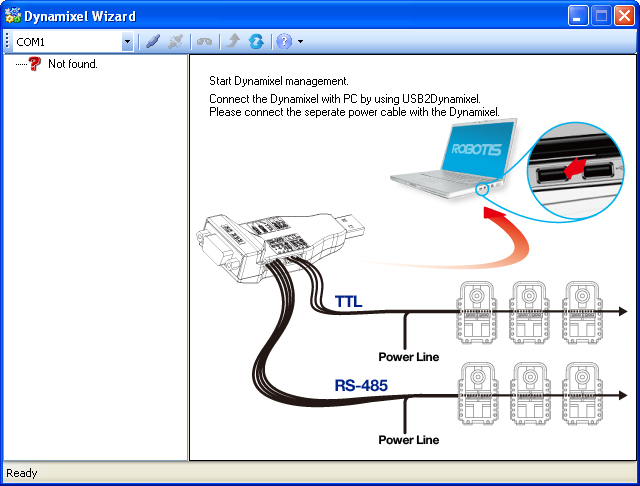
Connecting Dynamixel
- Connect Dynamixel to PC through USB2DYNAMIXEL.
- Please refer to USB2DYNAMIXEL for how to connect.
- The appropriate power cable for Dynamixel must be connected separately.
-
Select the communication port.
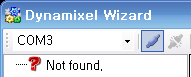
If the relevant port is appeared as “In Use,” then Dynamixel Wizard cannot be used.
-
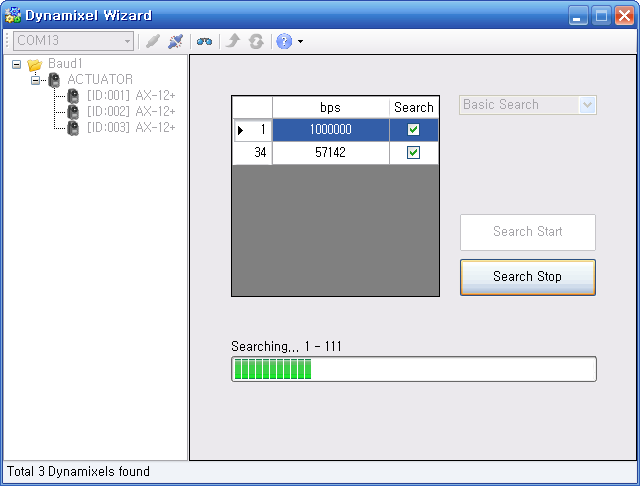
Search Dynamixel. The search range can be set, if necessary.

-
Check the searched Dynamixel in the list on the left.
-
Start the management. (Please refer to how to manage for each Dynamixel.)
Firmware Update
Firmware is a program installed in Dynamixel, and it controls Dynamixel.
Dynamixel Wizard automatically detects a new firmware through internet and always keeps it updated.
How to update Dynamixel Firmware
-
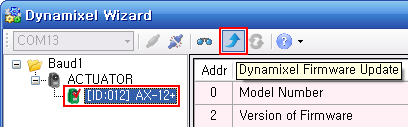
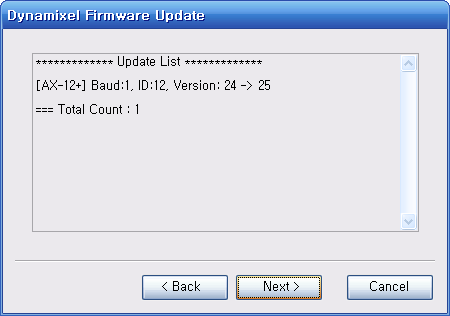
If Dynamixel is searched, the icon of Dynamixel is checked, and it announces the update is possible as below. Select the relevant Dynamixel, and then click firmware update button.
-
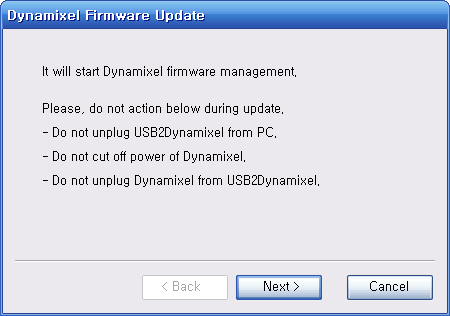
The firmware update is started with simple messages. Especially, please be careful not to disconnect or turn off the power during the update.
-
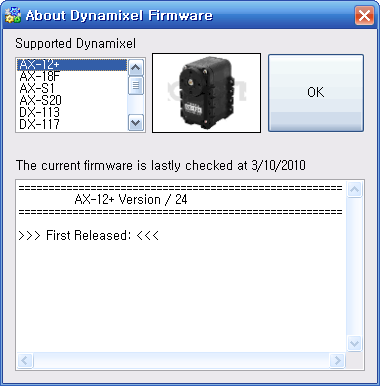
The name of currently connected Dynamixel model and firmware information can be checked.
-
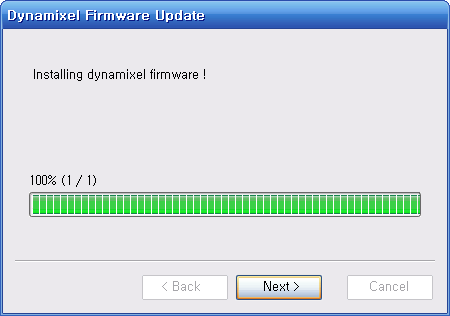
If “Next” button is clicked, the firmware update is started. Please be careful not to disconnect or turn off the power until the update is completed.
-
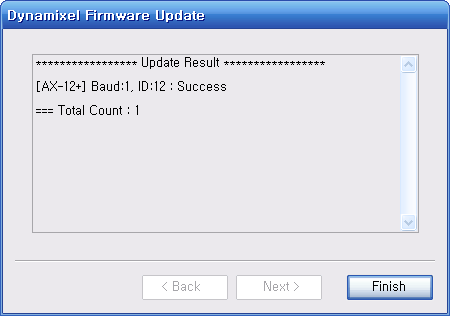
The installation result of Dynamixel firmware is checked.
Firmware Recovery
If any problems occur in Dynamixel firmware, Dynamixel Wizard can restore the firmware.
CAUTION : Every data value will be initialized after the firmware restoration. Please check once again the ID and Baud rate before executing the program if you restored the firmware.
Please check the mode on the USB2DYNAMIXEL. 3 pin cables should be set to TTL and 4 pin cables should be set to the RS485 switch.
How to Restore Dynamixel Firmware
-
Execute Dynamixel Firmware Restoration Wizard.
Execute Dynamixel Firmware Wizard by clicking firmware restoration button on the tools.
When COM port is connected, the corresponding button will be inactivated. Then, please disconnect the port, and start the firmware restoration wizard.
-
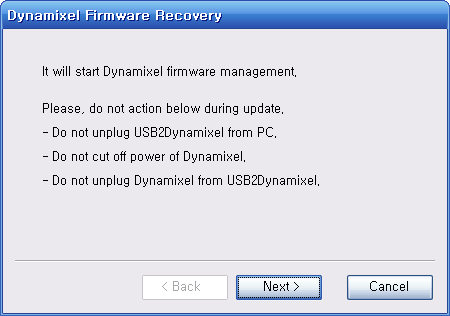
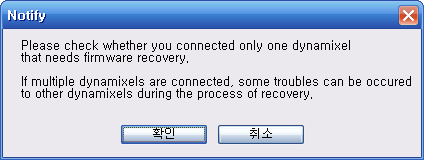
Dynamixel Firmware Restoration Wizard is started with simple messages.
-
Connect only 1 Dynamixel when Dynamixel firmware is being restored.
-
Select Dynamixel Connection Port
Dynamixel cannot be searched automatically because the firmware is not recognized. Therefore, the users must set the Dynamixel connected port manually. Since Dynamixel cannot be recognized if the port is in use, finish other programs, and then continue the procedure.
Select USB2DYNAMIXEL-connected port and press “Search” button.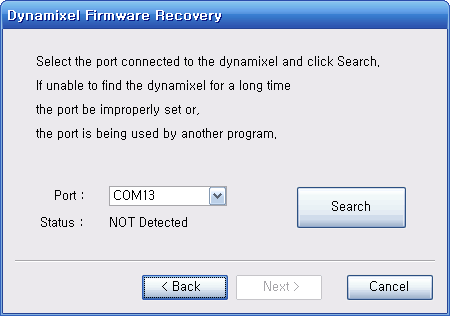
-
Turn off the power of Dynamixel and then turn it back on.
Turn off the power of Dynamixel for restoration and then turn it on again to detect Dynamixel.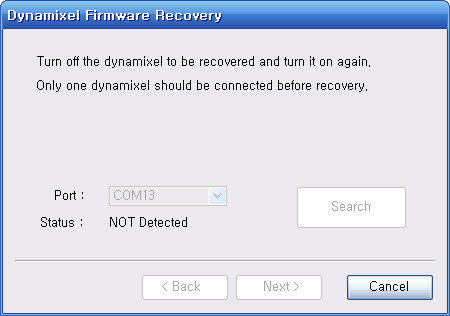
-
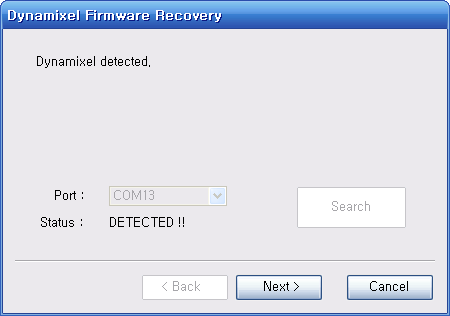
If Dynamixel search is succeeded, you can see the window as below.
-
Select Dynamixel Firmware
If Dynamixel is found, the information of downloadable firmware is appeared. The users must select the correct model because the model name cannot be recognized automatically in Dynamixel firmware restoration mode. If an incorrect model is chosen, it is not operated normally.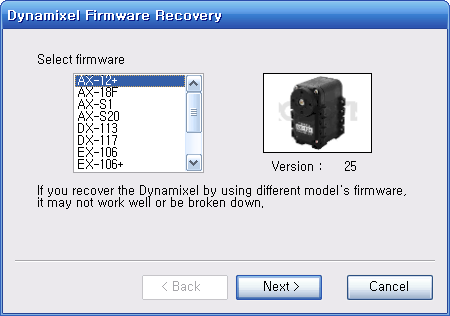
-
Restore Firmware
Click “Next” button to start firmware restoration. Please be careful not to disconnect or turn off the power until it is completed.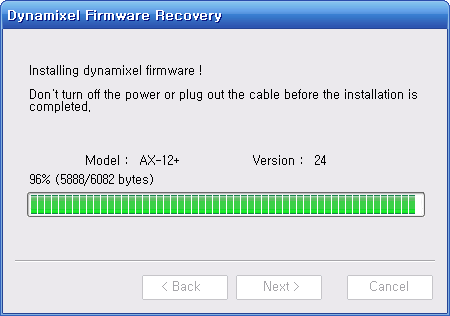
-
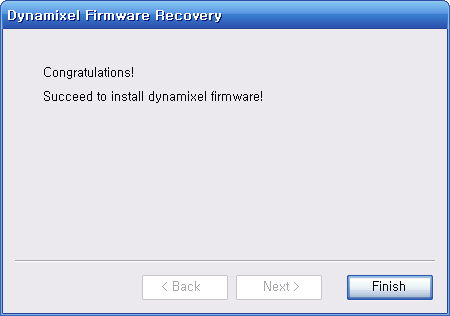
Check Dynamixel Firmware Restoration Result.
Test and Setup
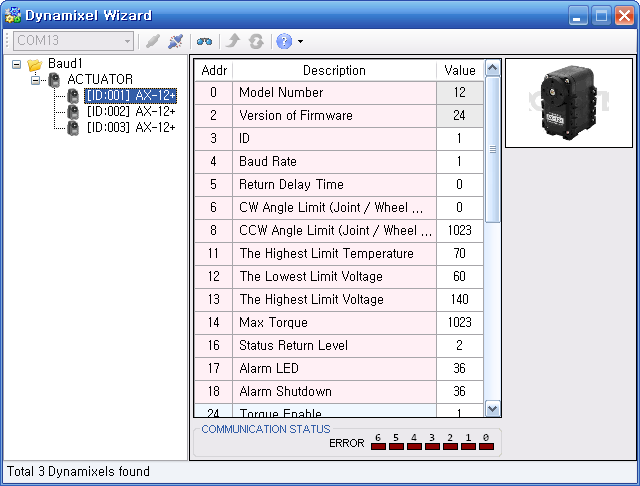
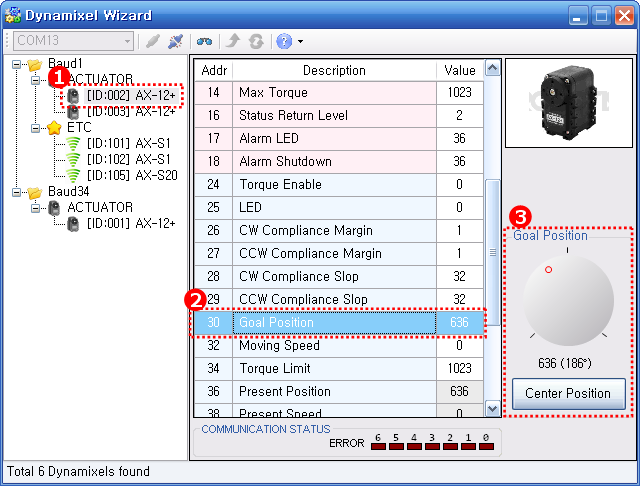
Management Window
The window for Dynamixel test and set up is as below.
If the search is complete, the searched Dynamixel is appeared on the left of the list.
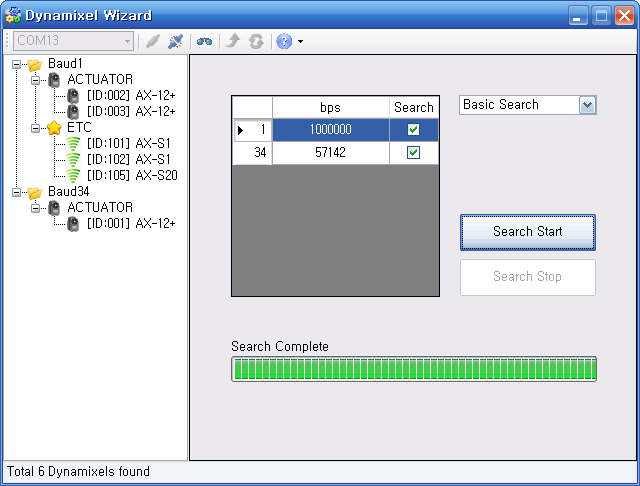
When the correct Dynamixel is selected from the list to test/setup as below, a appropriate management window is displayed on the right.
The window helps the users manage Dynamixel more easily. Please refer to Dynamixel manual for more information regarding each function.
MX Series Calibration
If during gear replacement the horn’s position becomes misaligned position can be realigned with calibration.
Attention This feature is only available in the MX series.
MX Series Calibration Procedure
-
Connect hardware
Connect the MX hardware to USB2DYNAMIXEL. Select the switch to either TTL or RS485.
Use a separate power supply for the calibration adapter.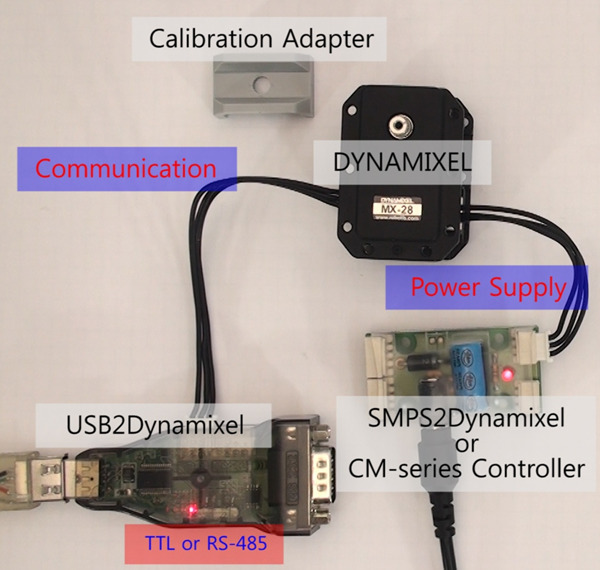
-
Run Dynamixel Wizard and click on the calibration icon.
Click on the calibration icon before selecting the COM port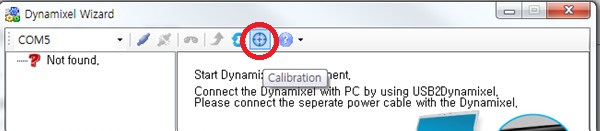
-
Begin Dynamixel calibration
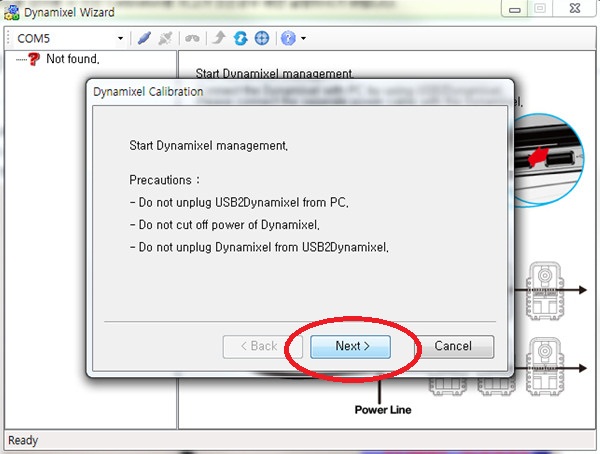
-
Connect only one Dynamixel at a time.
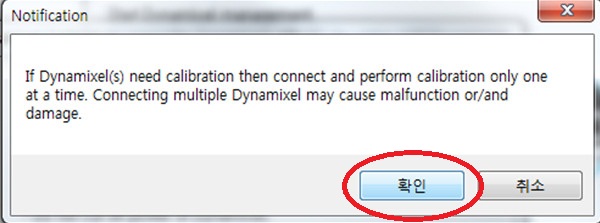
-
Select Dynamixel connection port.
If the firmware does not allow connection then automatic connection is not possible. In such case select the port manually and connect.
If Dynamixel cannot be detected by the port due use by another program then close that other program and start again. Select the port and click on the search icon.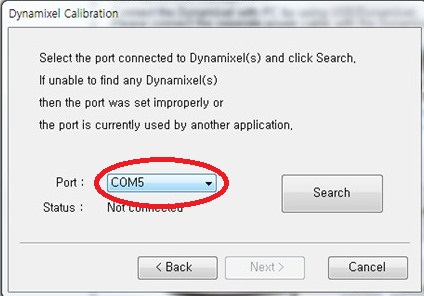
-
Dynamixel power on/off
Turn power off and on for search. A message will pop for successful search.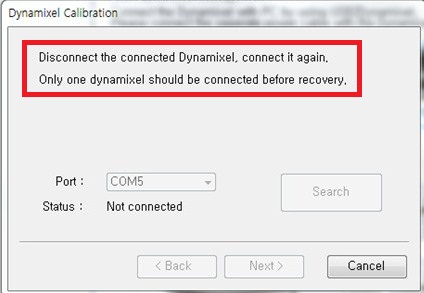
-
Select connected Dynamixel
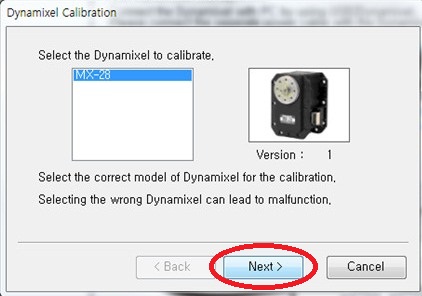
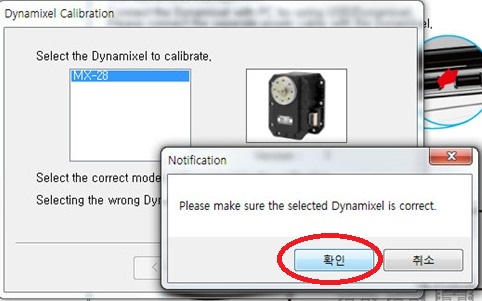
-
Install Dynamixel calibration firmware.
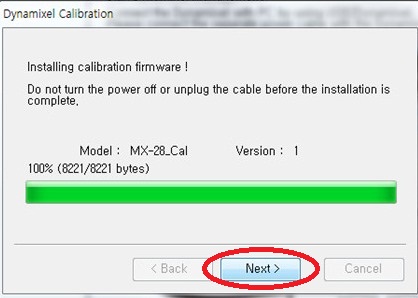
-
Select first position.

-
Select second position
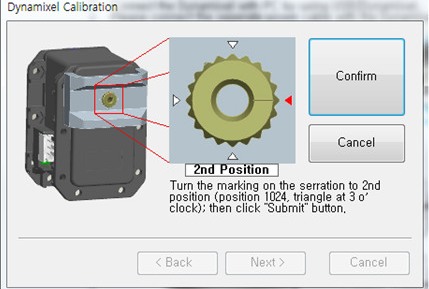
-
Select third position
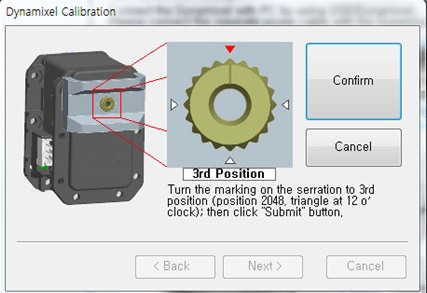
-
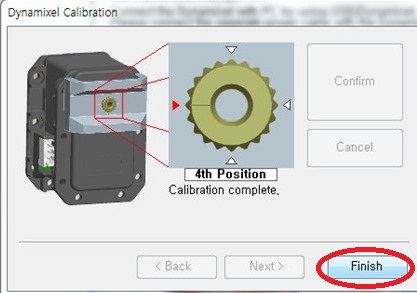
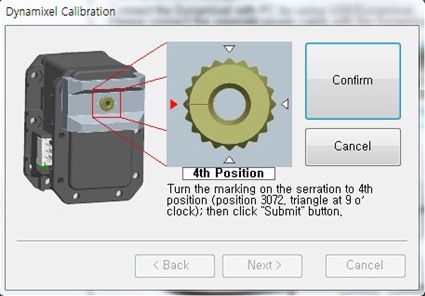
Select fourth position
-
Calibration complete