Task Programming
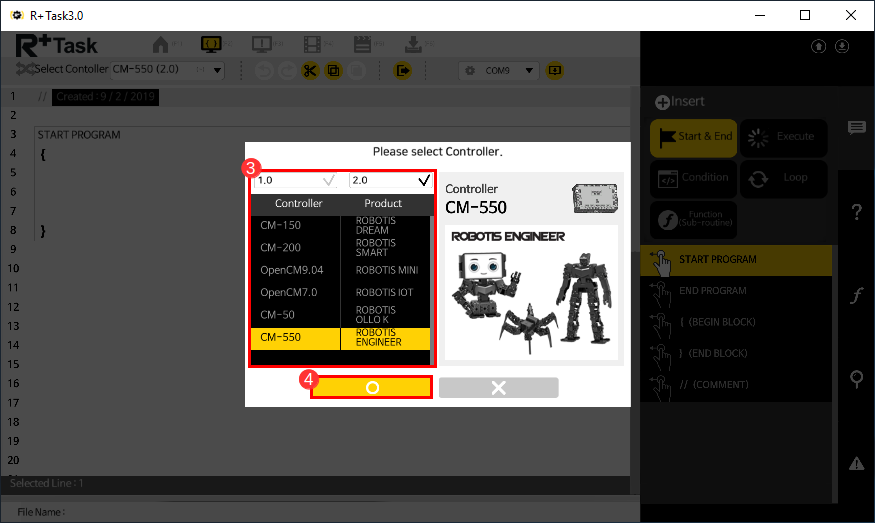
Create New File
- Move to Home Tab (Home Tab is the default screen at start up).
-
Click the
Newbutton.
- Choose the controller and Protocol Version.
- Click
Confirmbutton to create a new Task file.
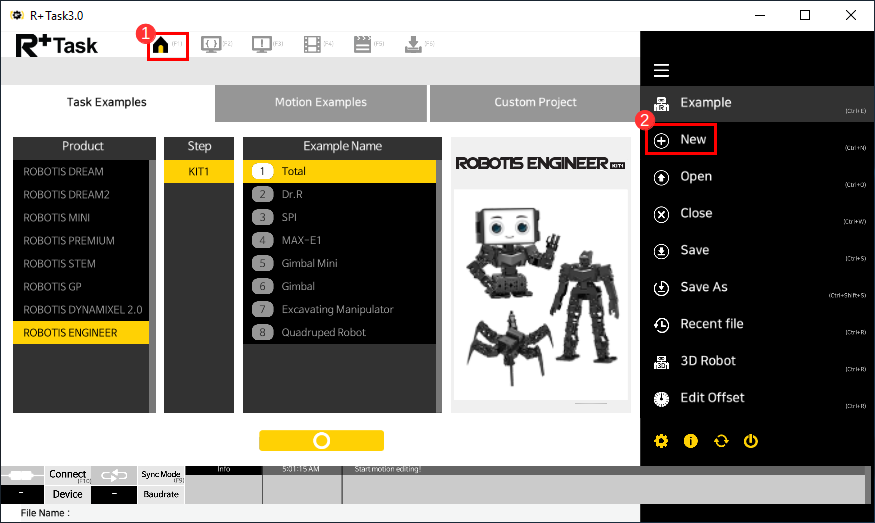
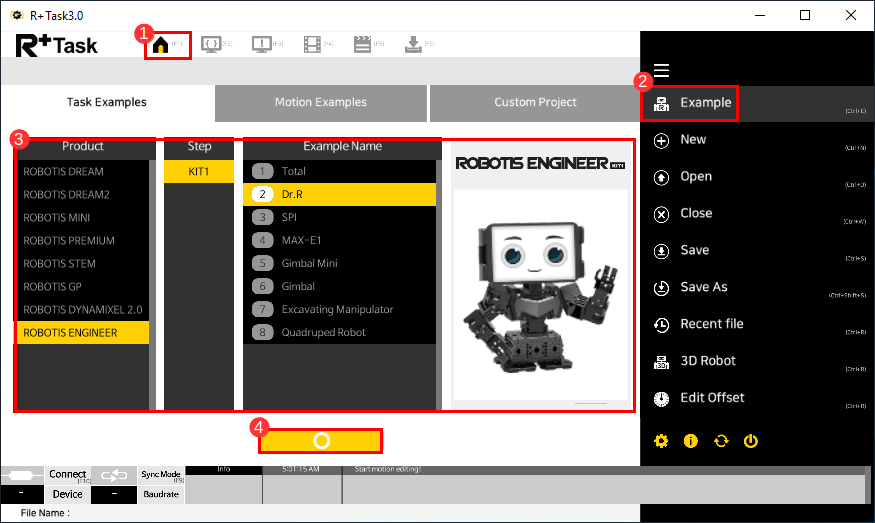
Open Task File
- Move to Home Tab (Home Tab is the default screen at start up).
- Click the
Examplebutton. - Select the product and example.
- Click
Confirmbutton to open the Task file.
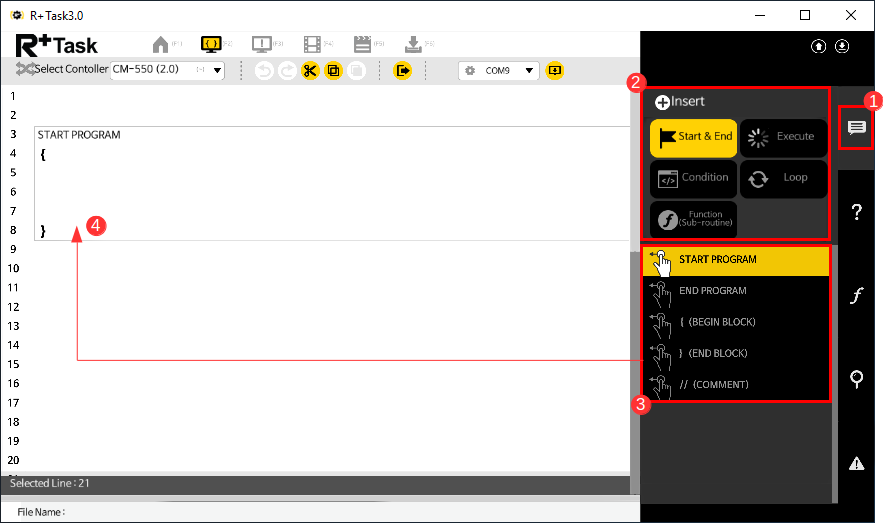
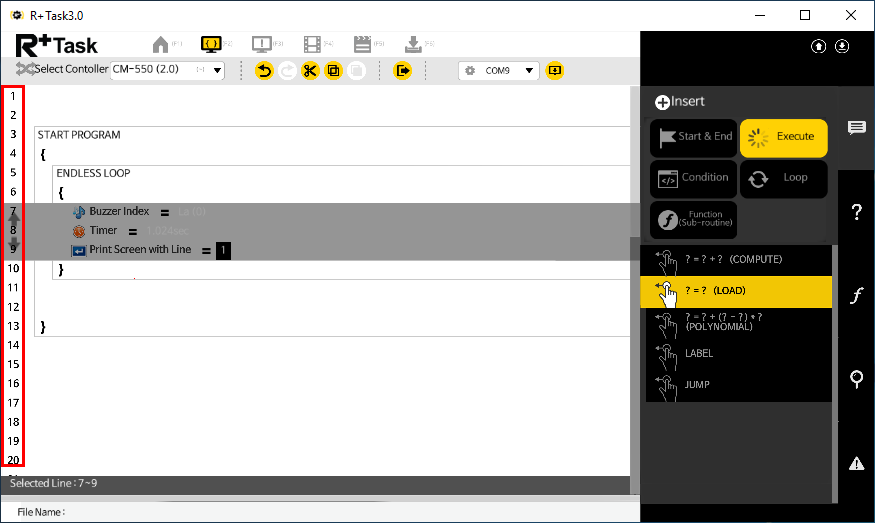
Insert/Change Instruction
- Click the
Instructionstab on the right (or double-click the location you wish to insert the instruction). - Select the instruction.
- Double click the item or
- Drag and drop the item into the code.
Select Multiple Lines
-
Multiple lines can be selected by dragging the line numbers on the left.
-
Click on the source code to cancel the selection.

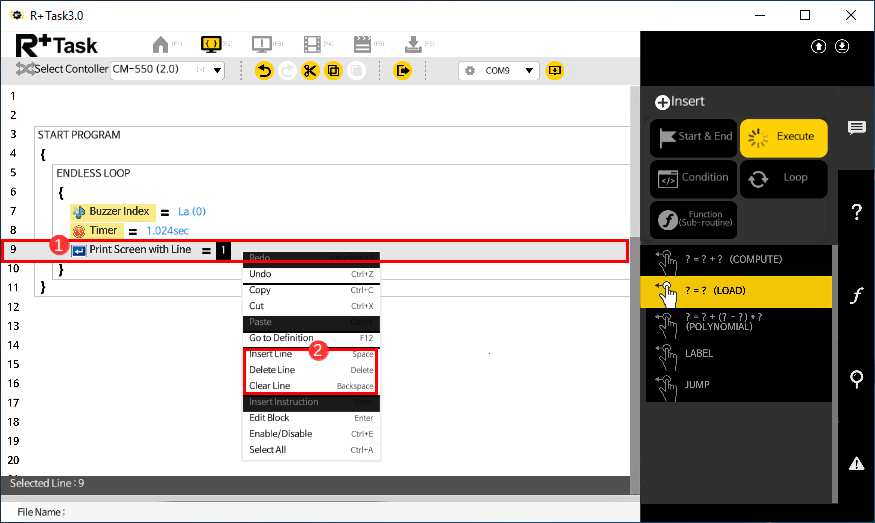
Insert/Delete Line
- Select the code where to insert (or delete) the line. Click the right mouse button to show the option menu.
- Click
Insert Lineto insert a new line above the selected line (keyboard shortcut :Space) - Click
Delete Lineto delete the selected line (keyboard shortcut :Delete) - Click
Clear Lineto erase the code and keep the line (keyboard shortcut :Backspace)
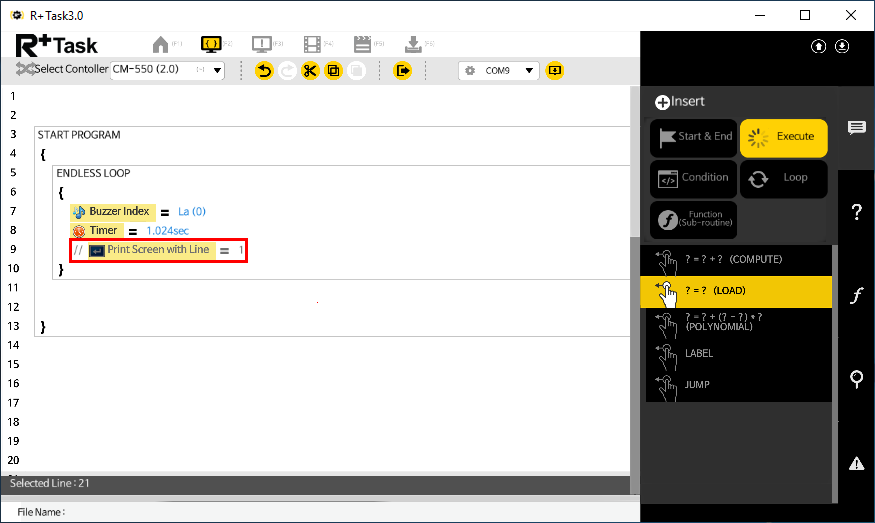
Enable/Disable Line
- Select the line which you wish to enable/disable with the left mouse button.
-
Click
Enable/Disableto switch the enabled/disabled status of the selected line (keyboard shortcut :Ctrl+E)
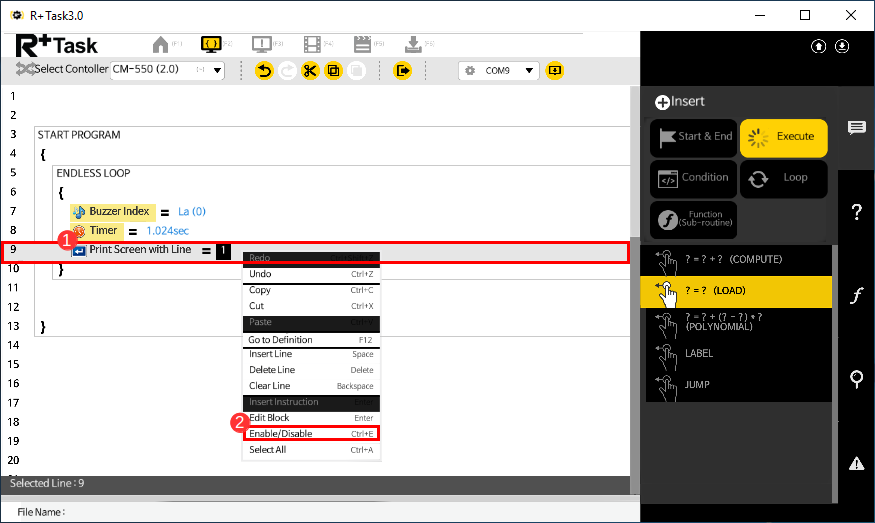
- Disabled code will be shown in gray text and will be excluded from compilation.
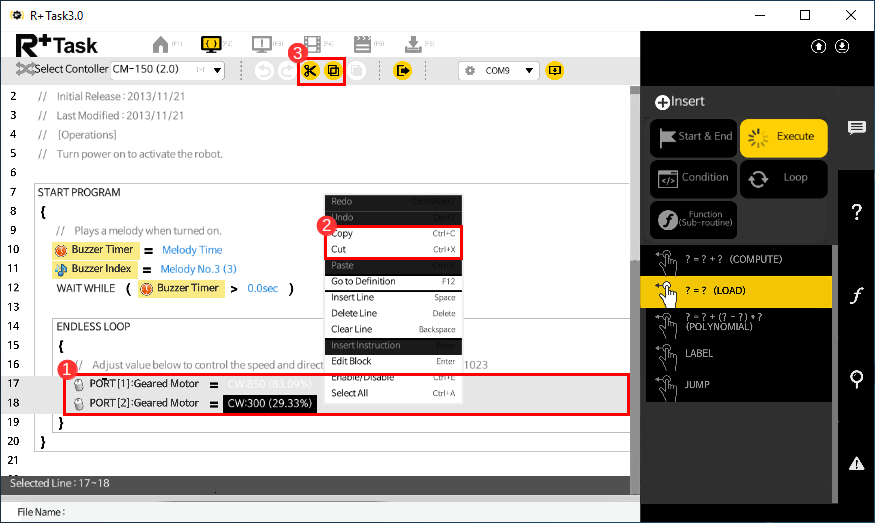
Copy/Cut/Paste
- Select the line to copy (or cut).
-
Click
Copy(orCut) to copy the code into the clipboard.
Cutoption will copy the code into the clipboard and delete the code line. -
Copy(orCut) buttons from the toolbar on top can be used (keyboard shortcut :Ctrl+C,Ctrl+X)
- Right click on the line to paste the code to show the option menu.
- Select
Pasteto place the code in the clipboard. -
Pastebutton from the toolbar on top can be used (keyboard shortcut :Ctrl+V)
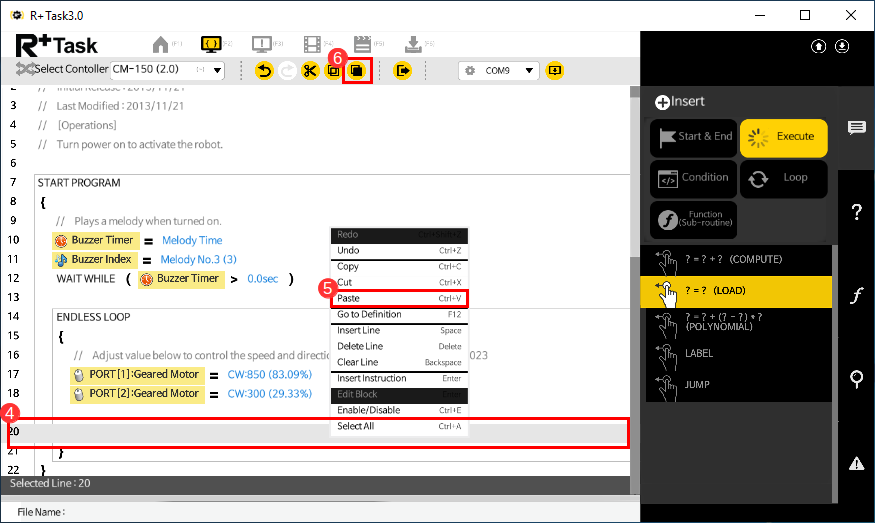
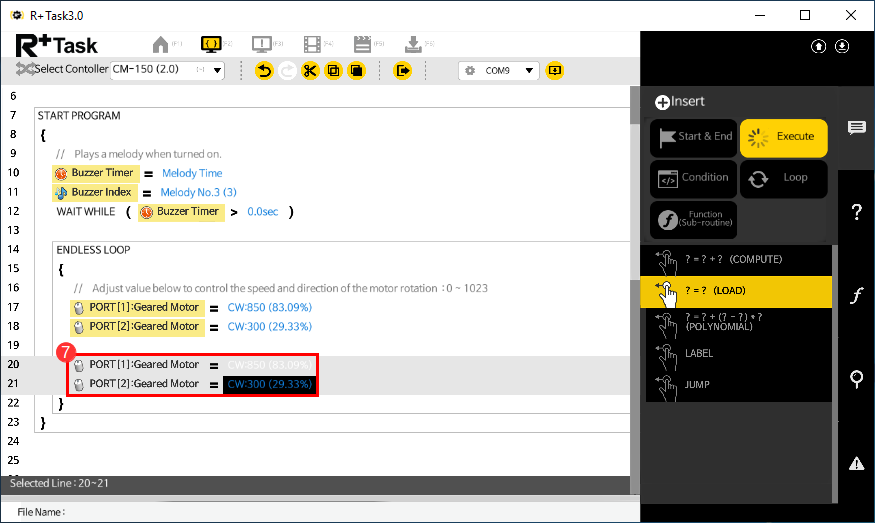
- The code will be inserted as shown below.
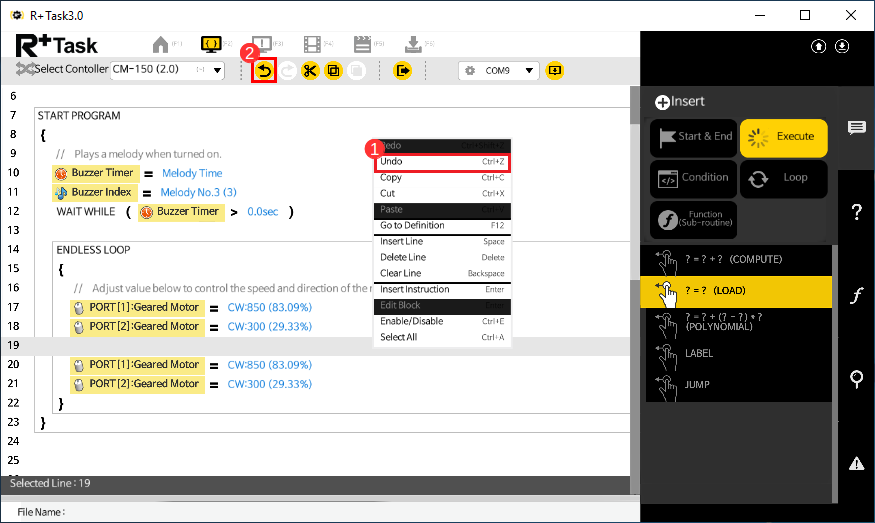
Undo/Redo
- Select
Undofrom the option menu or -
Click the
Undobutton from the toolbar to revert the last change in the code (keyboard shortcut :Ctrl+Z)
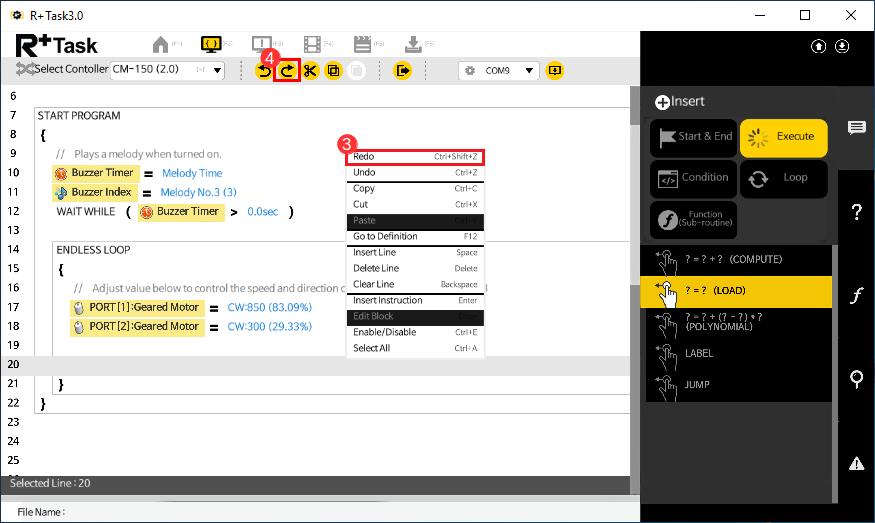
- Select
Redofrom the option menu or - Click the
Redobutton from the toolbar to cancel the reverted change (keyboard shortcut :Ctrl+Shift+Z)
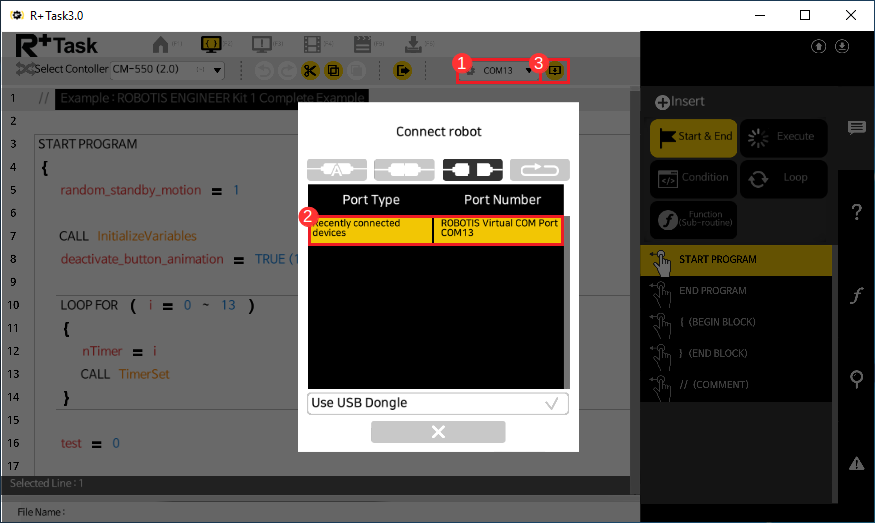
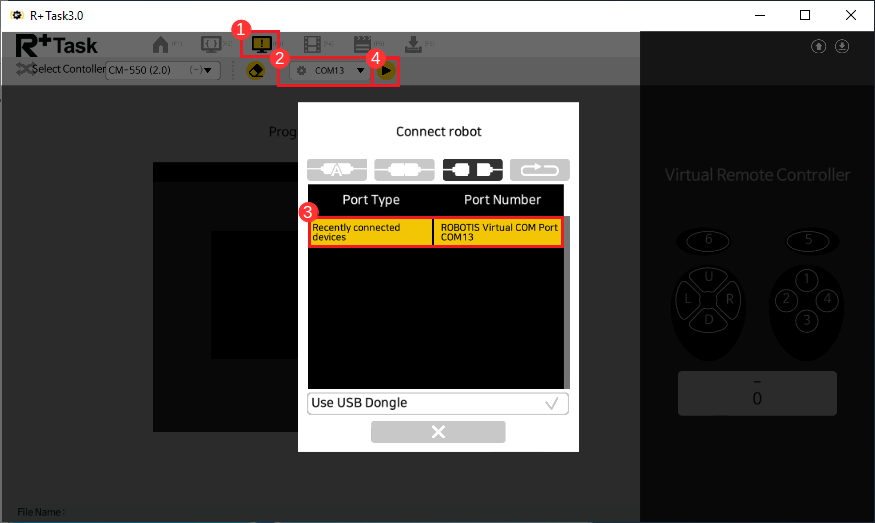
Download Task Code
- Click
Select Portbutton. (keyboard shortcut :Shift+F5) - Select the port that is connected to the robot and click
Connectbutton. -
If the robot is connected, click
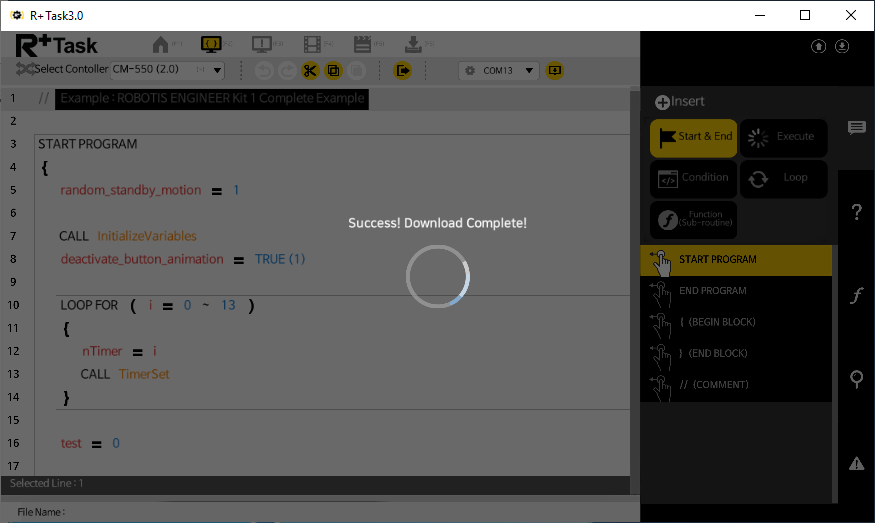
Downloadbutton to download the task code to the robot controller.
- Ater task download, disconnect the connected cable from PC, and then turn on the controller to run the loaded task. (some controllers may be turned off instead of executing the task).
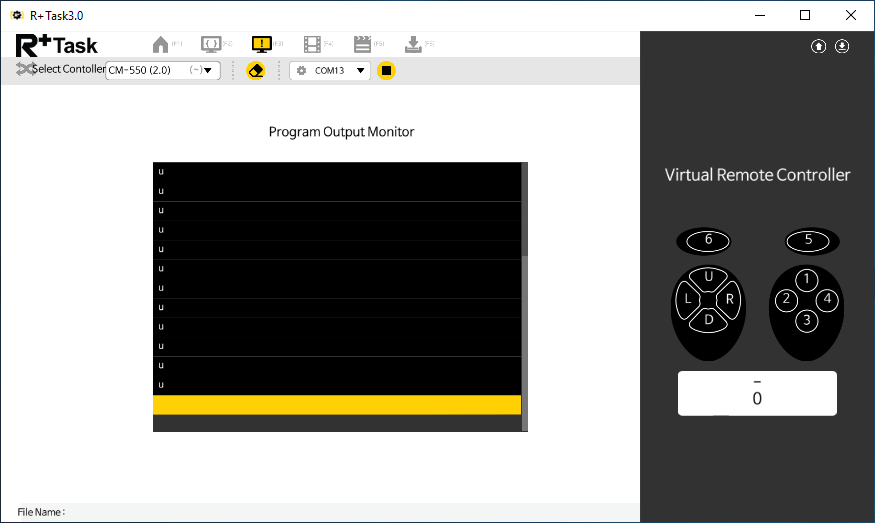
Print Output
Select the device connected to the robot Click the Confirm button When the window closes, click the “Start” button
- Move to Debugging Tab.
- Click the
Select Portbutton. (keyboard shortcut :Shift+F5) - Select the port that is connected to the robot and click
Connectbutton. -
If the robot is connected, click
Terminal Start / Stopbutton (keyboard shortcut :Ctrl+F6).
- If the robot is connected,
Program Output MonitorandVirtual Remote Controlleris enabled.