
[ROS] Perceptions
Camera
NOTE:
- This instructions were tested on
Ubuntu 16.04andROS Kinetic Kame. - This instructions are supposed to be running on PC ROS packages installed in. Please run the instructions below on your PC ROS packages installed in.
The OpenMAIPULATOR-X can work with some cameras to recognize a front object. Use the following packages with introduced cameras: Astro Pro, Realsense D435, Raspberry Pi Camera V2.
Install Camera Package
Astra Pro
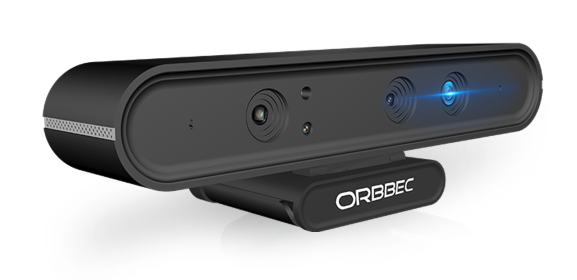
The Astra Series was designed to further improve on the attributes that set Orbbec 3D cameras apart from existing 3D cameras on the market. Astra 3D cameras provide computer vision that enables dozens of functions such as face recognition, gesture recognition, human body tracking, three-dimensional measurement, environment perception, and three-dimensional map reconstruction.
| Items | Specifications |
|---|---|
| RGB Image Resolution and Frame Rate | 1280 x 720, @30fps |
| Depth Imgae Resolution and Frame Rate | 640 x 480, @30fps |
| FOV (Field-of-View) | 60°H x 49.5°V x 73°D |
| Range | 0.6m - 8m |
| USB Port | USB 2.0 |
| Dimensions | 165mm x 30mm x 40mm |
| Operating Systems | Android/Linux/Windows 7/8/10 |
| SDK | Astra SDK or OpenNI |
| Microphones | 2 (Built - in) |
Specification
Install Astra Camera Library
The following commands will install relevant Astra Pro library.
$ sudo apt-get install ros-kinetic-rgbd-launch ros-kinetic-libuvc-camera
  $ cd ~/catkin_ws/src
  $ git clone https://github.com/orbbec/ros_astra_camera.git
  $ git clone https://github.com/ROBOTIS-GIT/ros_astra_launch.git
  $ cd ~/catkin_ws && catkin_make
  $ roscd astra_camera && ./scripts/create_udev_rules
Run Astra Launch File
Run the following command.
  $ sudo chmod a+rw /dev/bus/usb/${USB}/${PORT}
  $ roslaunch ros_astra_launch astra_pro.launch
You can use RViz or image_view to verify driver. You can select data topic name related to Astra Pro from drop down menu at the top of the application.
$ rqt_image_view
Reference
Realsense D435
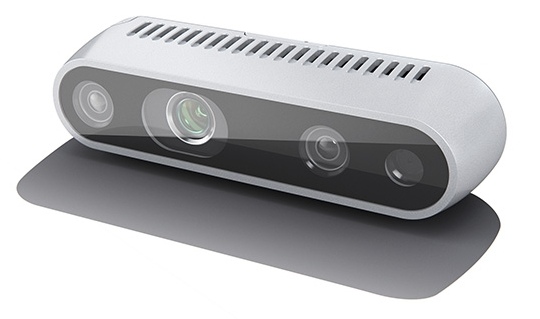
The Intel® RealSense™ Depth Camera D435 is a USB-powered depth camera and consists of a pair of depth sensors, RGB sensor, and infrared projector. It is ideal for makers and developers to add depth perception capability to their prototype development. The D435 is designed to best fit your prototype.
| Items | Specifications |
|---|---|
| Use Environment | Indoor/Outdoor |
| RGB Sensor Resolution and Frame Rate | 1920 x 1080 at 30 fps |
| RGB Sensor FOV | 69.4°(H) x 42.5°(V) x 77°(D) (+/- 3°) |
| Depth Stream Output Resolution | Up to 1280 x 720 |
| Depth Stream Output Frame Rate | Up to 90 fps |
| Depth Field of View (FOV) | 85.2°(H) x 58°(V) x 94°(D) (+/- 3°) |
| Minimum Depth Distance (Min-Z) | 0.2m |
| Maximum Range | Approx.10 meters |
| Dimension | 90 mm x 25 mm x 25 mm |
| Connectors | USB 3.0 Type - C |
Specification
Install Realsense D43 Library
The following commands will install relevant Intel® RealSense™ Depth Camera D435 library.
  $ sudo apt-key adv --keyserver keys.gnupg.net --recv-key C8B3A55A6F3EFCDE || sudo apt-key adv --keyserver hkp://keyserver.ubuntu.com:80 --recv-key C8B3A55A6F3EFCDE
  $ sudo add-apt-repository "deb http://realsense-hw-public.s3.amazonaws.com/Debian/apt-repo xenial main" -u
  $ sudo apt-get install librealsense2-dev librealsense2-utils ros-kinetic-rgbd-launch
  $ cd ~/catkin_ws/src
  $ git clone https://github.com/intel-ros/realsense.git
  $ cd ~/catkin_ws && catkin_make
Run Realsense D43 Launch File
Run the following command.
$ roslaunch realsense2_camera rs_camera.launch
You can use RViz or image_view to verify driver. You can select data topic name related to Intel® RealSense™ Depth Camera D435 from drop down menu at the top of the application.
$ rqt_image_view
Reference
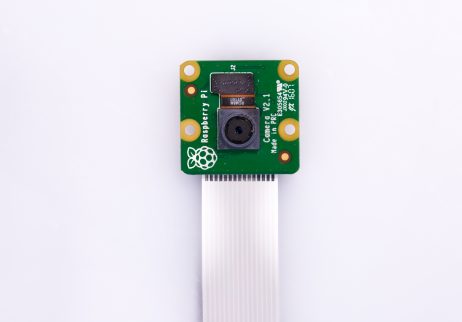
Raspberry Pi Camera V2
-
See more details about Raspberry Pi Camera V2
-
See more details about Camera Sepecification
Setup Raspberry Pi Camera
Warning!: Raspberry pi must be installed before setting up the Raspberry Pi Camera V2. See Raspberry Pi 3 Setup in order to install it.
-
[Raspberry Pi] Setting up the camera hardware.
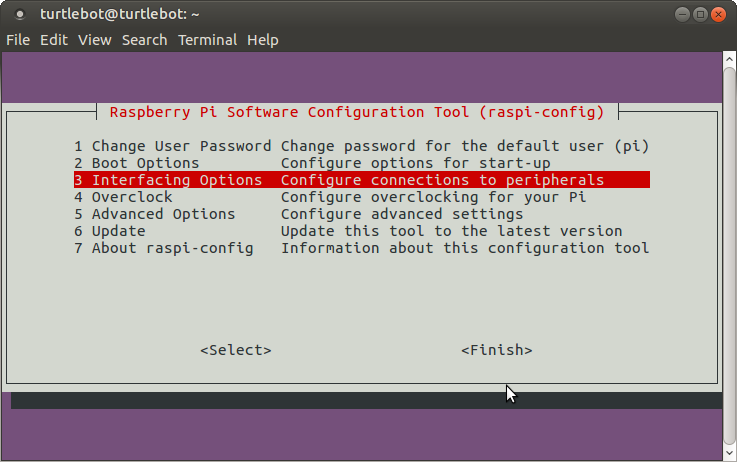
$ sudo raspi-config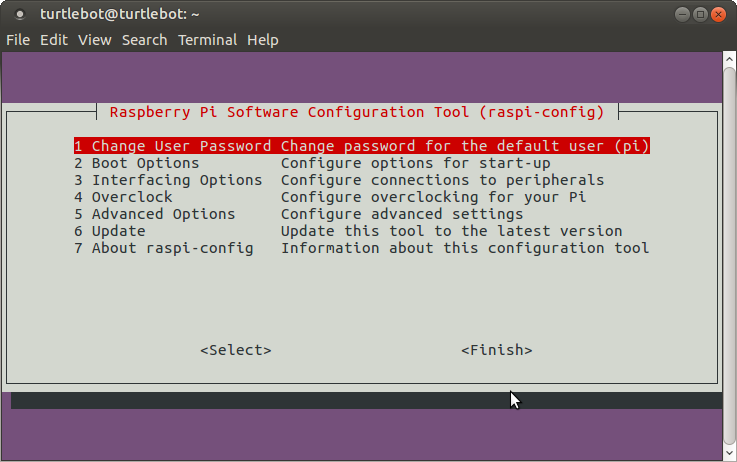
-
Select 3 Interfacing Options.
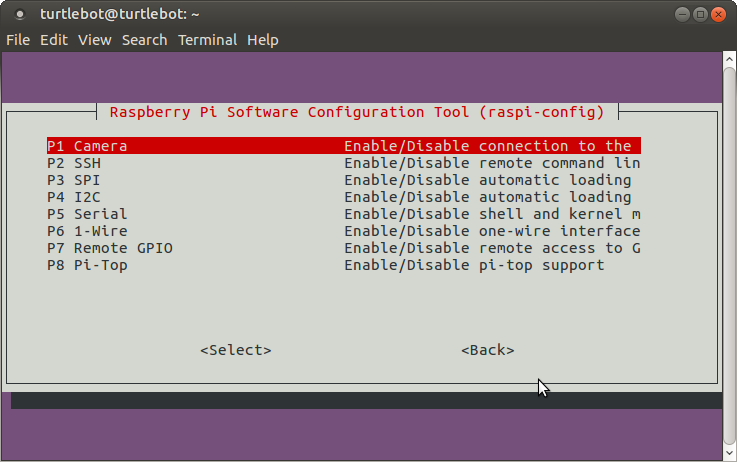
-
Select P1 Camera.
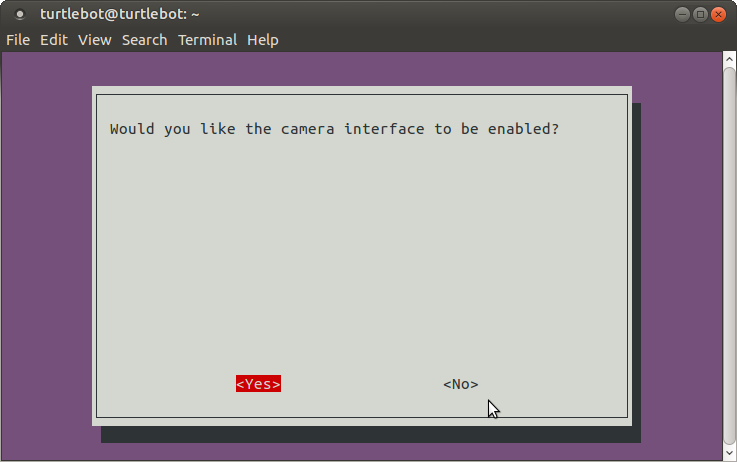
-
Enable camera interface.
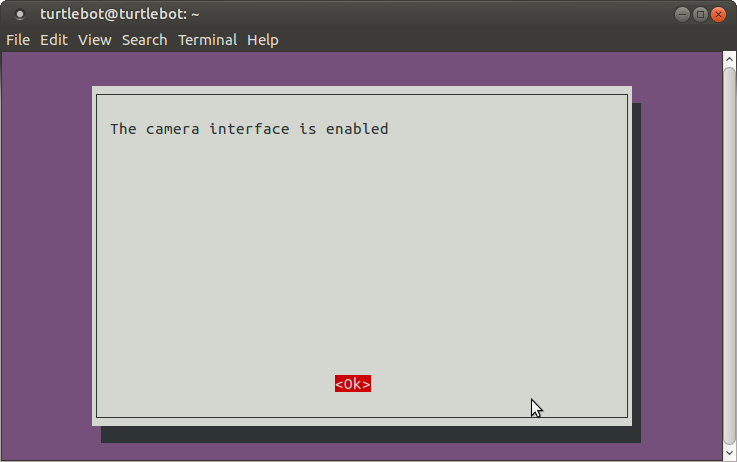
-
After reboot Raspberry Pi, to test that the system is installed and working, try the following command:
$ raspistill -v -o test.jpgThe display should show a five-second preview from the camera and then take a picture, saved to the file test.jpg
The following commands will install relevant Raspberry Pi Camera packages on your ROS system.
$ sudo apt-get install ros-kinetic-compressed-image-transport ros-kinetic-camera-info-manager ros-kinetic-ar-track-alvar ros-kinetic-ar-track-alvar-msgs ros-kinetic-image-proc -
Clone the relevant packages from Git, and build.
 $ cd ~/catkin_ws/src
 $ git clone https://github.com/UbiquityRobotics/raspicam_node.git
 $ git clone https://github.com/ROBOTIS-GIT/open_manipulator_perceptions.git
 $ cd ~/catkin_ws && catkin_make
Run Raspberry Pi Camera Launch File
-
[Remote PC] Run the following command.
$ roscore $ rqt_image_viewWarning!: Before running
rqt_image_viewin Remote PC, be sure Raspberry Pi and Remote PC are connected under the same IP address. If not, refer to Raspberry Pi 3 Setup and Remote PC Setup and connect the board and PC under the same IP address. Otherwise,rqt_image_viewscreen will not show any images from the camera. -
[Raspberry Pi] Run the following command.
$ roslaunch roslaunch open_manipulator_camera raspicam.launch
Reference
Install AR Marker Package
NOTE:
- This instructions were tested on
Ubuntu 16.04andROS Kinetic Kame. - The
open_manipulator_perceptionspackage requiresar_track_alvarpackage. - Make sure to run the Openmanipulator controller instructions before use of the instruction
-
If you use the
ar_track_alvarpackage to recognize the ar marker, print out the ar marker here. - Install AR Marker Packages on Remote PC.
$ sudo apt-get install ros-kinetic-ar-track-alvar ros-kinetic-ar-track-alvar-msgs ros-kinetic-image-proc - Clone the relevant package from Git, and build.
$ cd ~/catkin_ws/src
$ git clone https://github.com/ROBOTIS-GIT/open_manipulator_perceptions.git
$ cd ~/catkin_ws && catkin_make
Run AR Marker with a Camera in Use
In order to use AR Marker properly with your camera, be sure to add the camera model to the launch command when using AR Marker.
See the following section and use the provided command to enable AR Marker feature with your camera.
AR Marker With Astra Pro
-
Install Astra Pro ROS package.
-
Run AR Marker with the camera model in use, astra_pro.
$ roslaunch open_manipulator_ar_markers ar_pose.launch camera_model:=astra_pro
AR Marker With Realsense D435
-
Install Realsense D435 ROS package.
-
Run AR Marker with the camera model in use, realsense_d435.
$ roslaunch open_manipulator_ar_markers ar_pose.launch camera_model:=realsense_d435
AR Marker With Raspberry Pi Camera V2
-
Install Raspberry Pi Camera V2 ROS package.
- [Raspberry Pi] Run a Raspberry Pi camera.
$ roslaunch open_manipulator_camera raspicam.launch - [Remote PC] Run AR Marker with the camera model in use, raspicam
$ roslaunch open_manipulator_ar_markers ar_pose.launch camera_model:=raspicam
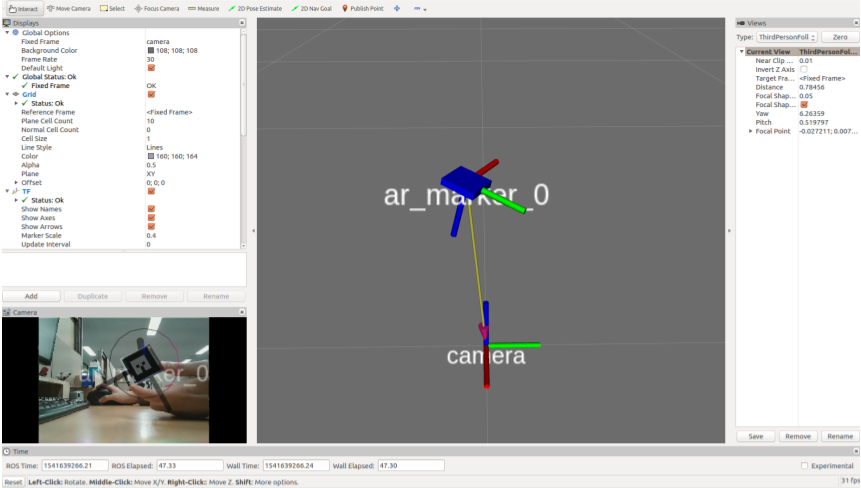
AR Marker displayed on RViz
When the camera recognizes the object with the AR marker, the pose of the AR marker will be displayed on a RViz screen.
Control OpenMANIPULATOR-P with Camera
$ roslaunch open_manipulator_p_controller open_manipulator_p_controller.launch with_gripper:=true
$ roslaunch open_manipulator_p_ar_markers ar_pose.launch camera_model:=realsense_d435
Simulation
Simulate OpenMANIPULATOR-P using Gazebo simulator with the following commands.
$ roslaunch open_manipulator_p_gazebo open_manipulator_p_gazebo.launch with_gripper:=true
$ roslaunch open_manipulator_p_controller open_manipulator_p_controller.launch with_gripper:=true use_platform:=false
$ roslaunch open_manipulator_p_ar_markers ar_pose.launch camera_model:=realsense_d435 use_platform:=false