
Library Setup <C Linux>
This tutorial is written assuming you are using the latest version of Ubuntu. Commands may not be the same for alternative distributions of Linux.
Install requirements
- The DYNAMIXEL SDK requires GNU gcc ver. 5.4.0 20160609 or higher
- To check the version of your gcc compiler
$ gcc -v - Download the requirements
$ sudo apt-get install gcc
$ sudo apt-get install build-essential
$ sudo apt-get install gcc-multilib g++-multilib # For cross-compiling
Build the SDK
- Check your system architecture
$ uname -m - Enter the appropriate build folder depending on your system and build the SDK
$ cd DynamixelSDK/c/build/linux64 # for 64-bit systems $ sudo make install - make sure to enter the correct folder according to your system architecture.
linux64for 64-bit systemslinux32for 32-bit systemslinux_sbcfor ARM-based SBCs like Raspberry Pi
- If the build completes successfully, you should see the .so file generated inside the build folder.
$ ls libdxl_x86_c.so Makefile - Grant permission to access the port
$ sudo chmod 666 /dev/ttyUSB0
- Common
makecommands for building the SDK$ make # Compile the source code and generate binaries $ make install # Install the library files to the system $ make clean # Remove all build files and reset the build environment $ make uninstall # Remove files installed by 'make install' from the system $ make reinstall # Reinstall by cleaning, rebuilding, and installing again
Building and Running the Sample Code
The DYNAMIXEL SDK example code for C uses a .so (Linux Shared Object) library built in C.
The previous instructions walk you through building the latest library files in [DynamixelSDK folder]/c/build/[linuxXX]/libdxl_xYY_c.so built by its own source code.
-
Go to the Makefile’s directory using
cd:$ cd [DynamixelSDK folder]/c/example/protocol1.0/read_write/linux32OR
$ cd [DynamixelSDK folder]/c/example/protocol1.0/read_write/linux64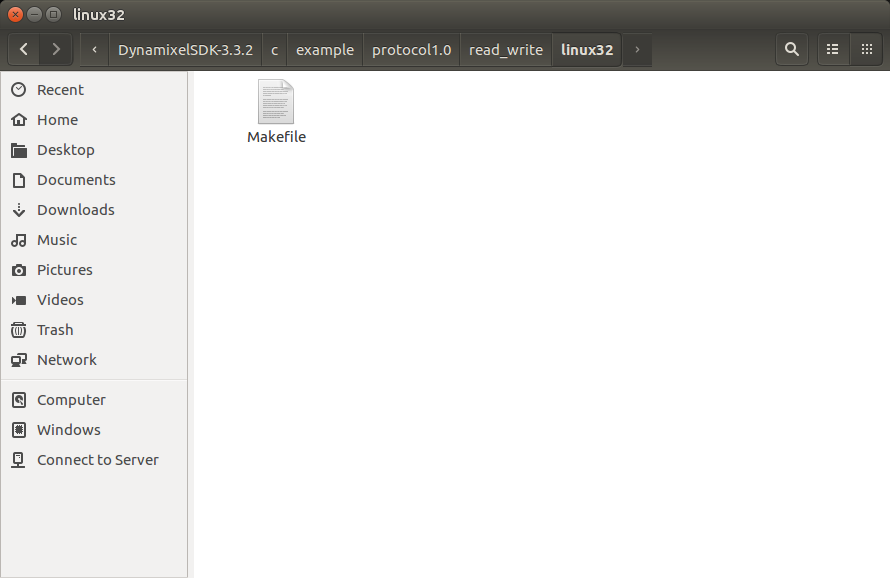
-
Build the executable file:
$ make
-
If there is an error,
$ make cleanthen$ makeagain. -
To delete the executable file,
$ make clean.
-
Access the port you will be using to communicate with DYNAMIXEL:
$ sudo chmod a+rw /dev/ttyUSB0
-
Run the executable file:
$ ./read_write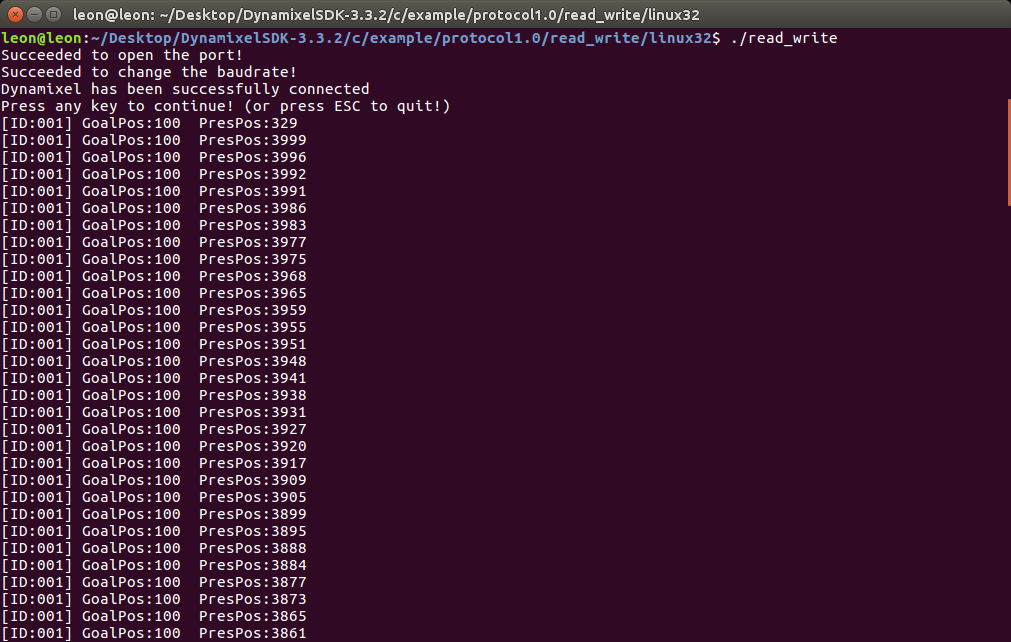
Library Setup <C Windows>
Install requirements
Build the SDK
-
Open the project solution file (.sln) located in the
[DynamixelSDK folder]/c/build/win32directory OR[DynamixelSDK folder]/c/build/win64directory).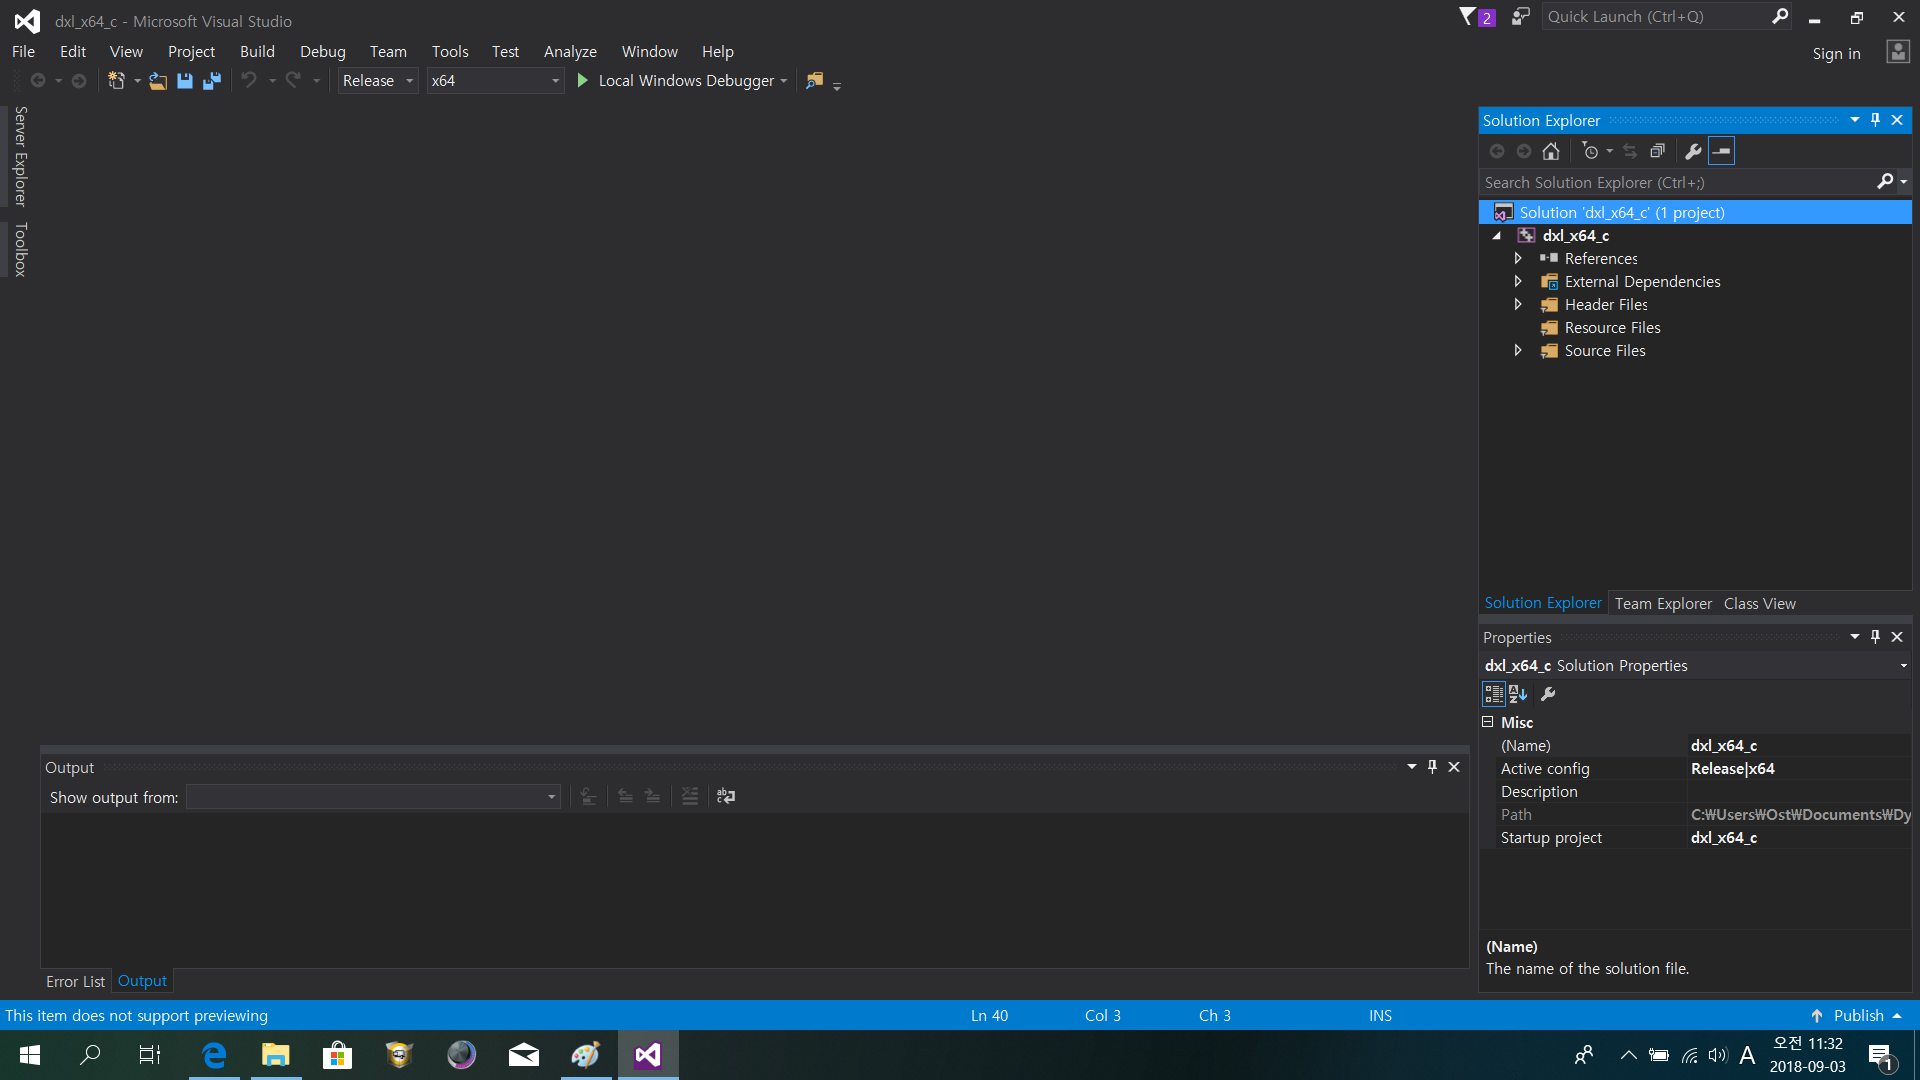
-
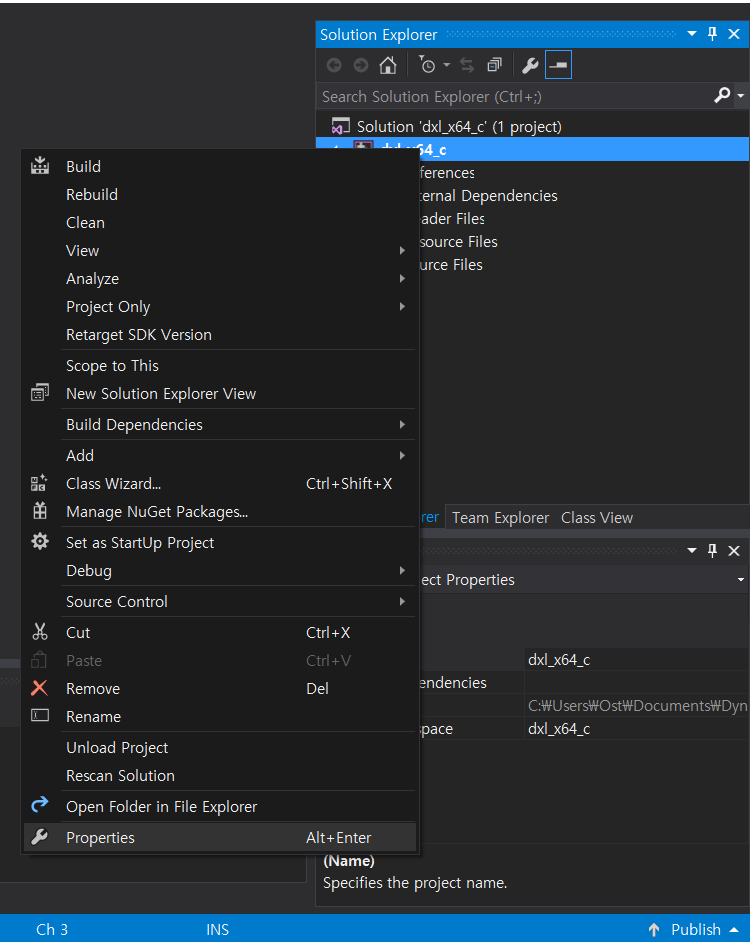
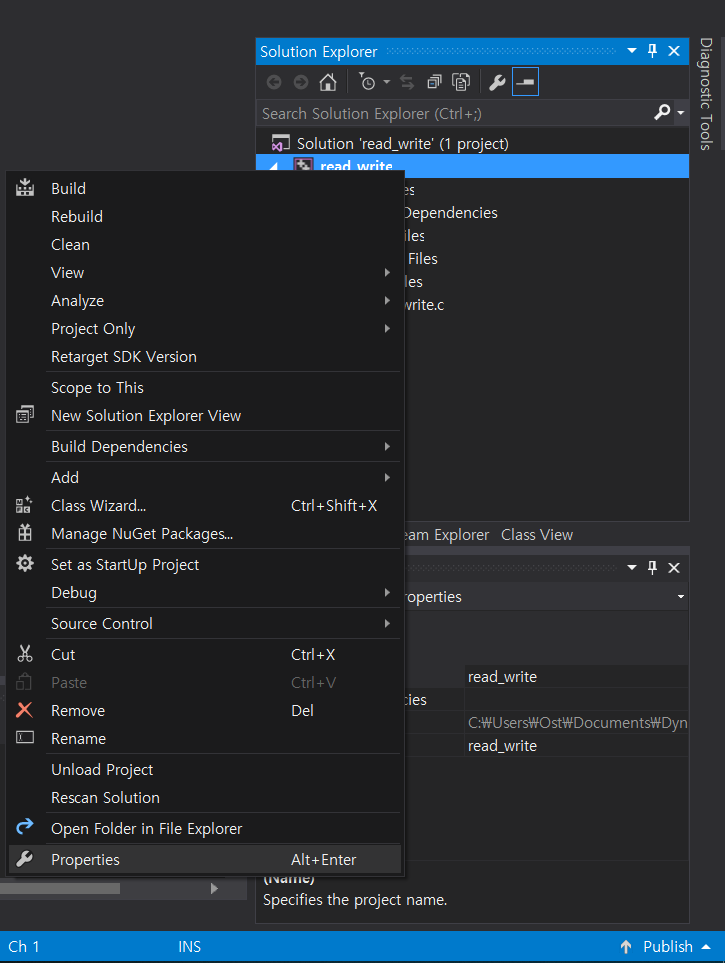
In the Solution Explorer, right click on the project and select Properties.
-
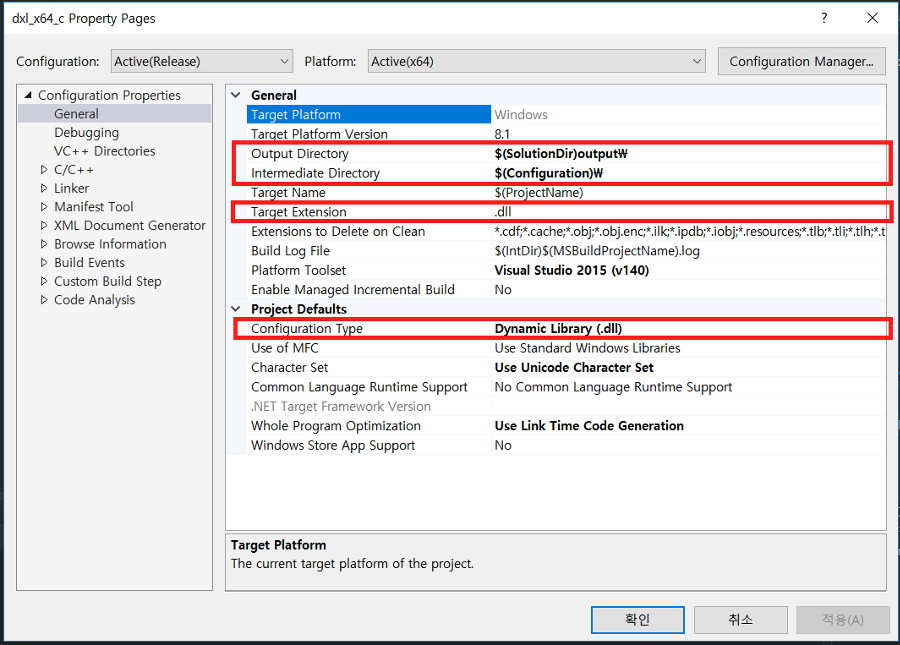
Under General Configuration Properties, confirm that the paths and file extensions are set to the following:
- Output Directory:
$(SolutionDir)output\ - Intermediate Directory:
$(Configuration)\ - Platform Toolset:
Visual Studio 20XX (v000) - Configuration Type:
Dynamic Library (.dll).
- Output Directory:
WARNING:
If the library file needs to be built in a lower or higher version of Visual Studio, change the Platform Toolset into the needed value. (ex: To use the DynamixelSDK c ver. library file in the MATLAB 2010 or LabVIEW 2010, the Platform Toolset should be changed to Visual Studio 2009 lower.)
-
Confirm that the Additional Include Directories path under the General C/C++ Configuration Properties tree is as follows:
..\..\..\include\dynamixel_sdk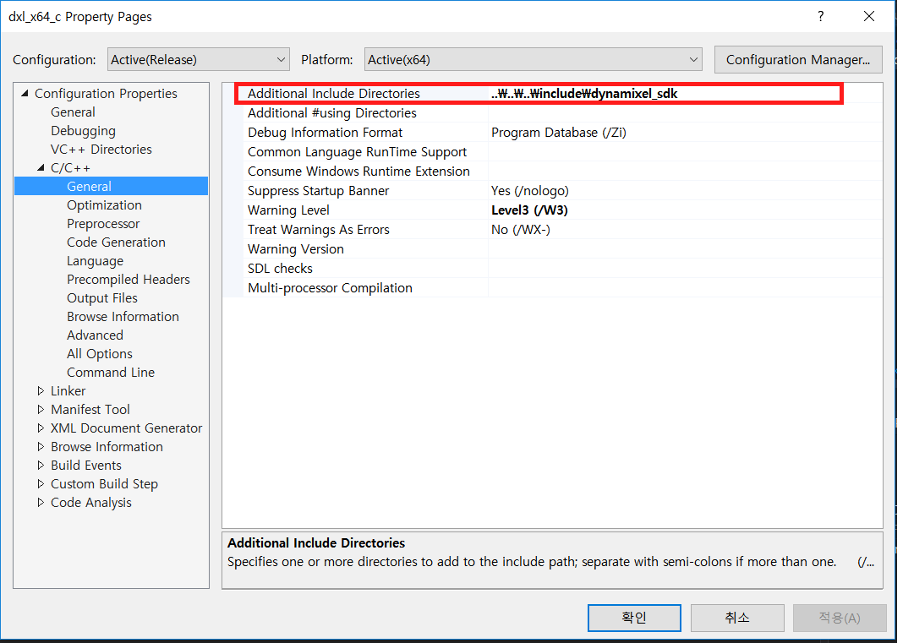
-
Right click on the project and select Build to build the library.
-
The built library file will be saved to
[DynamixelSDK folder]/c/build/[winXX]/output/dxl_xYY_c.dll.
Building and Running the Sample Code
The DYNAMIXEL SDK sample code for C uses the library files (.dll for Windows) compiled from the C language source.
By following the instructions above, The compiled .dll files are output to [DynamixelSDK folder]/c/build/[winXX]/output/dxl_xYY_c.dll after being built from the included source code.
-
Run the .sln file located in the
[DynamixelSDK folder]/c/example/protocol2.0/read_write/win32folder if you have a 32-bit platform OR the[DynamixelSDK folder]/c/example/protocol2.0/read_write/win64folder if you have a 64-bit platform.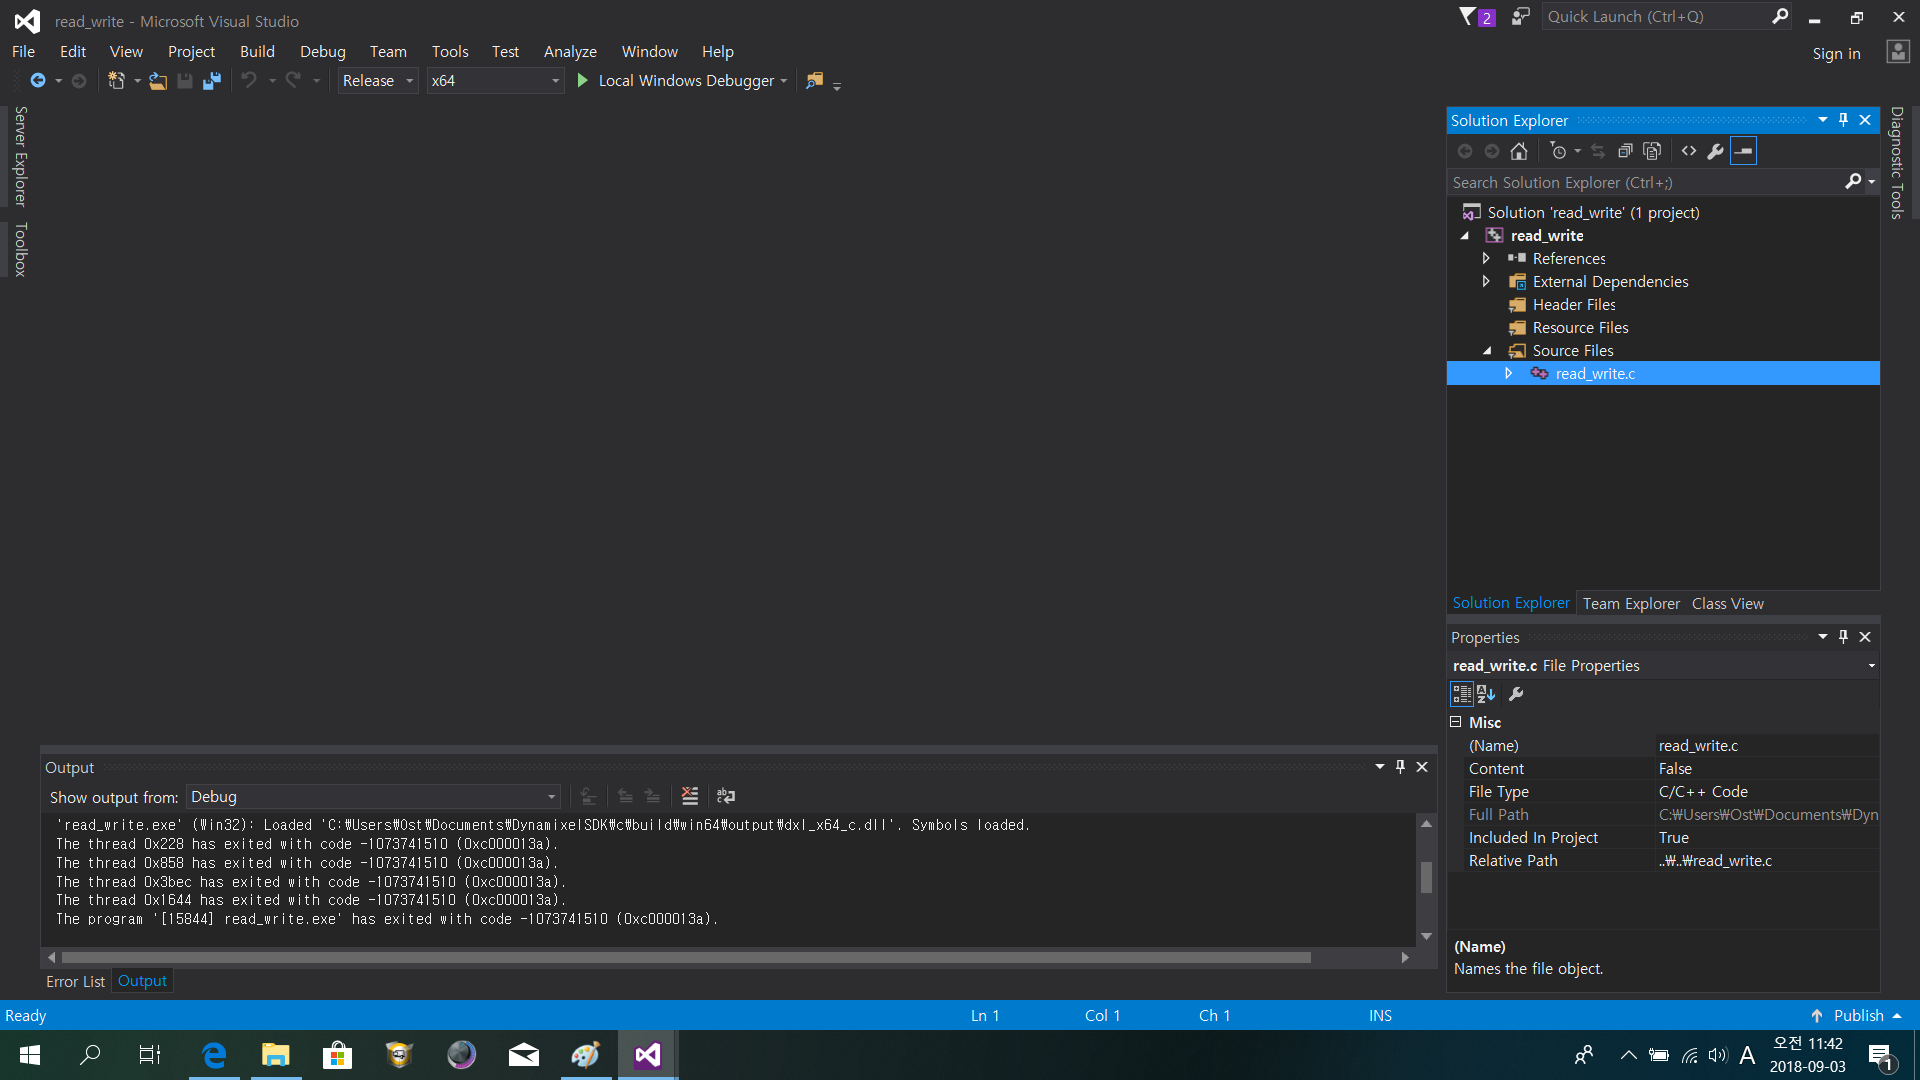
-
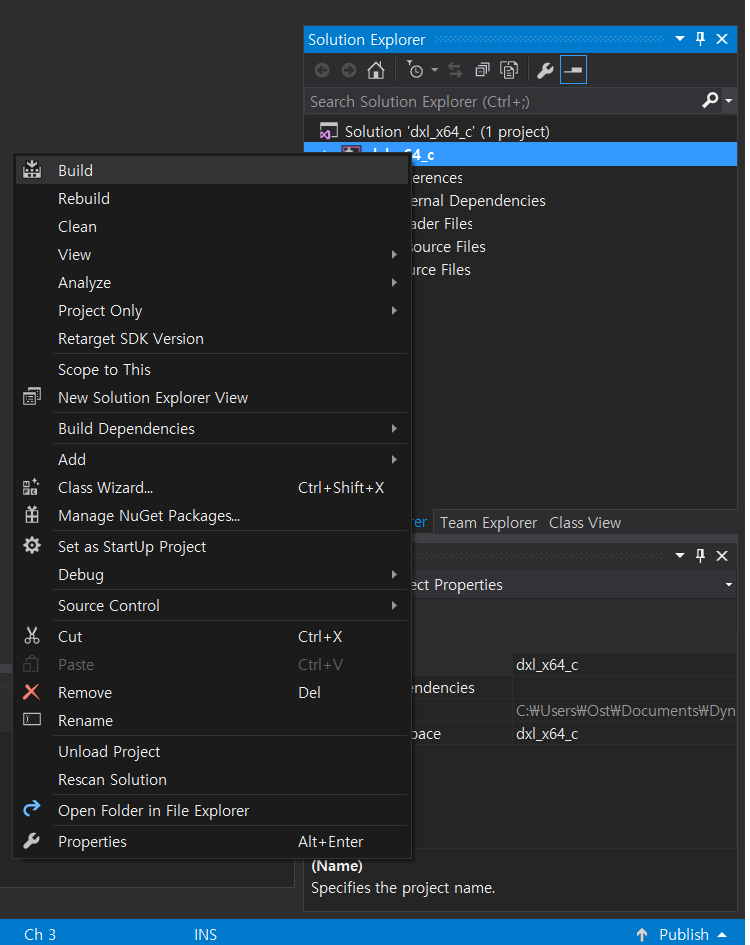
Right click on the project and select Properties.
-
In the resulting Property Pages window, under Configuration Properties –> General, check that the directories and file extensions are set as follows:
- Output Directory:
$(SolutionDir)$(Configuration)\ - Intermediate Directory:
$(Configuration)\ - Target Extension:
.exe -
Configuration Type:
Application (.exe)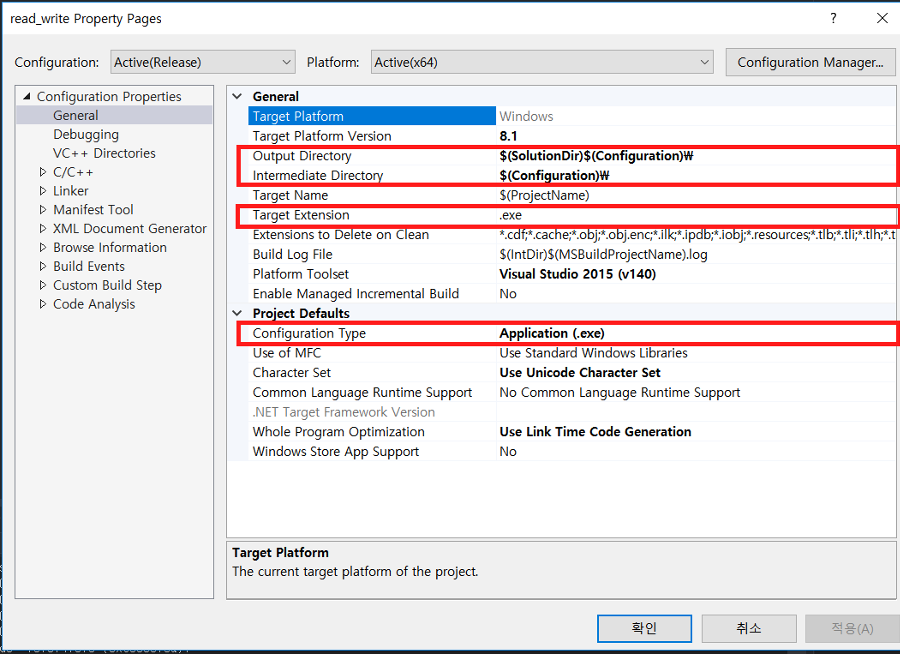
- Output Directory:
- Under Configuration Properties –> Debugging add the following path to your Environment:
- win32:
PATH=%PATH%;..\..\..\..\..\build\win32\output; -
win64:
PATH=%PATH%;..\..\..\..\..\build\win64\output;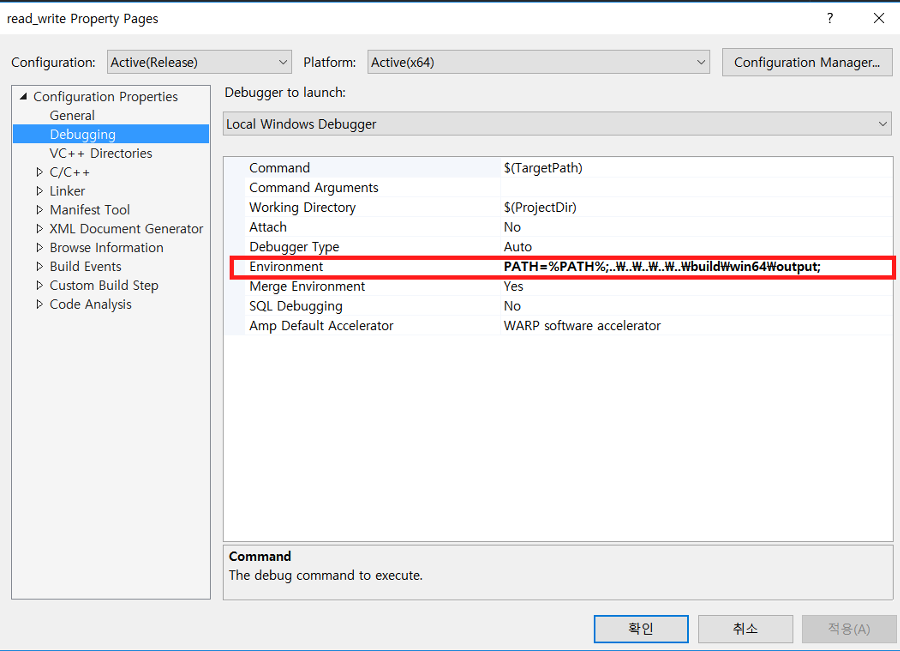
- win32:
- Under Configuration Properties –> VC++ Directories, add the following path to Library Directories:
- win32:
..\..\..\..\..\build\win32\output; -
win64:
..\..\..\..\..\build\win64\output;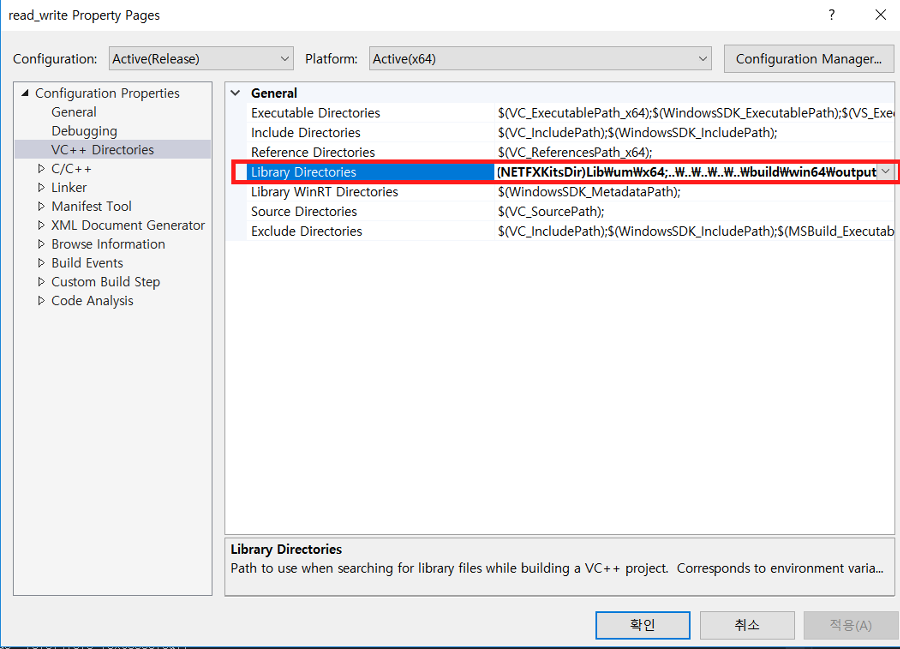
- win32:
-
Under Configuration Properties –> C/C++ –> General, add the following path to Additional Include Directories:
..\..\..\..\..\include\dynamixel_sdk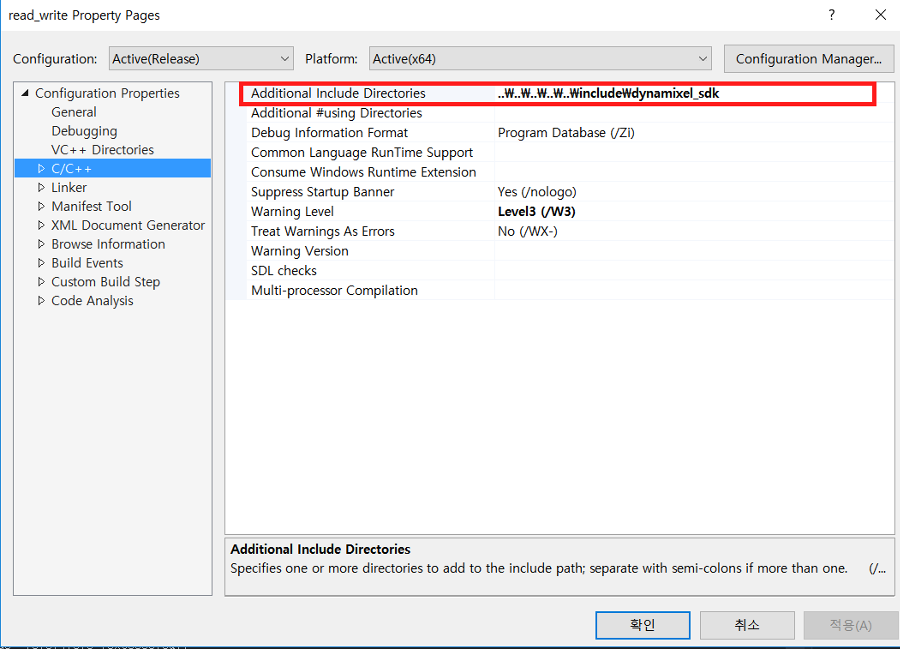
-
Under Configuration Properties –> Linker –> Input, add the following file to Additional Dependencies:
- win32:
dxl_x86_c.lib; -
win64:
dxl_x64_c.lib;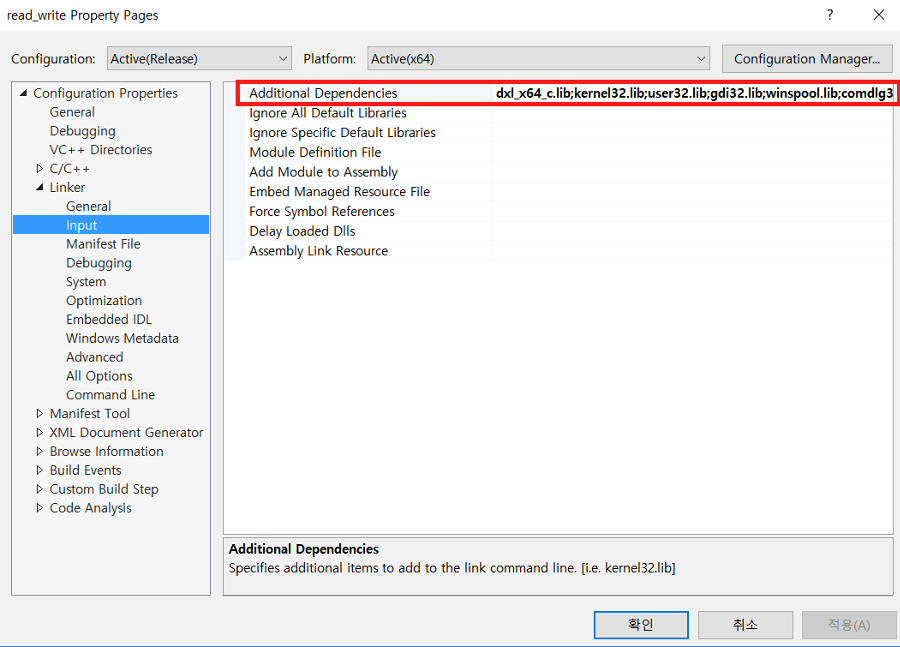
- win32:
-
Click on the Local Windows Debugger button to run the program.

Library Setup <C macOS>
Maintenance is in progress. We apologize for your inconvenience. The manual is available in the near future.