
Library Setup <C Linux>
This tutorial is written assuming you are using the latest version of Ubuntu. Commands may not be the same for alternative distributions of Linux.
Install requirements
- The DYNAMIXEL SDK requires GNU gcc ver. 5.4.0 20160609 or higher
- To check the version of your gcc compiler
$ gcc -v - Download the requirements
$ sudo apt-get install gcc
$ sudo apt-get install build-essential
$ sudo apt-get install gcc-multilib g++-multilib # For cross-compiling
Build the SDK
- Check your system architecture
$ uname -m - Enter the appropriate build folder depending on your system and build the SDK
$ cd DynamixelSDK/c/build/linux64 # for 64-bit systems $ sudo make install - make sure to enter the correct folder according to your system architecture.
linux64for 64-bit systemslinux32for 32-bit systemslinux_sbcfor ARM-based SBCs like Raspberry Pi
- If the build completes successfully, you should see the .so file generated inside the build folder.
$ ls libdxl_x86_c.so Makefile - Grant permission to access the port
$ sudo chmod 666 /dev/ttyUSB0
- Common
makecommands for building the SDK$ make # Compile the source code and generate binaries $ make install # Install the library files to the system $ make clean # Remove all build files and reset the build environment $ make uninstall # Remove files installed by 'make install' from the system $ make reinstall # Reinstall by cleaning, rebuilding, and installing again
Building and Running the Sample Code
The DYNAMIXEL SDK example code for C uses a .so (Linux Shared Object) library built in C.
The previous instructions walk you through building the latest library files in [DynamixelSDK folder]/c/build/[linuxXX]/libdxl_xYY_c.so built by its own source code.
-
Go to the Makefile’s directory using
cd:$ cd [DynamixelSDK folder]/c/example/protocol1.0/read_write/linux32OR
$ cd [DynamixelSDK folder]/c/example/protocol1.0/read_write/linux64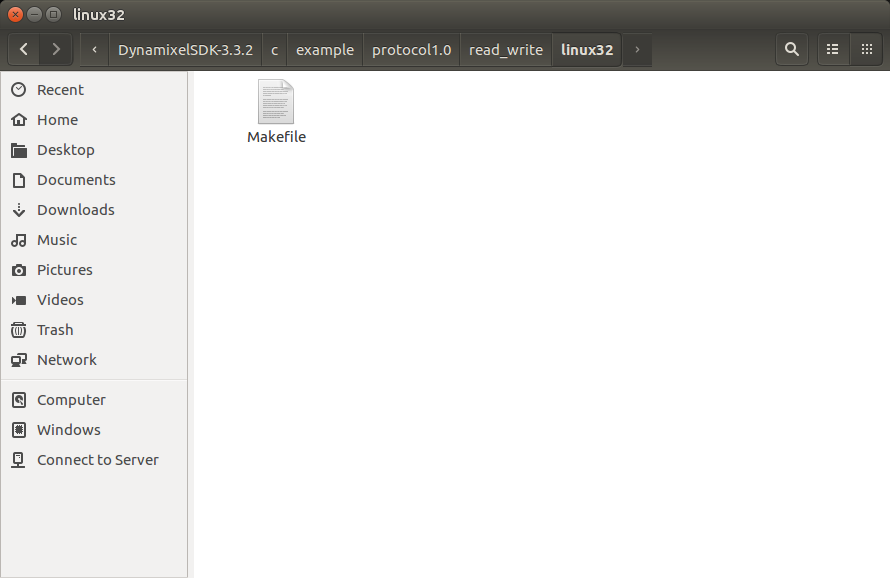
-
Build the executable file:
$ make
-
If there is an error,
$ make cleanthen$ makeagain. -
To delete the executable file,
$ make clean.
-
Access the port you will be using to communicate with DYNAMIXEL:
$ sudo chmod a+rw /dev/ttyUSB0
-
Run the executable file:
$ ./read_write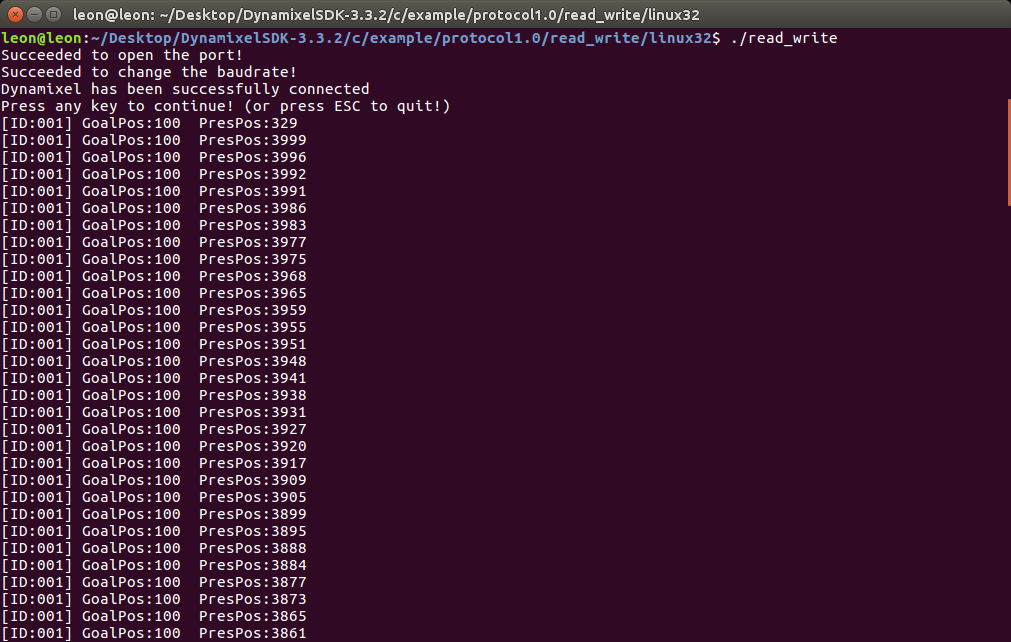
CMake Build
- Latest DYNAMIXEL SDK supports CMake build.
Build System Update
The existing OS-specific make build system has been unified into a single CMake-based build system.
| Category | Legacy (make) |
New (cmake) |
|---|---|---|
| Build file | OS-dependent | Unified across platforms |
| Generated Files | libdxl_{sys_env}_c.so |
libdxl_c.so |
| Install Include Paths | /usr/local/include/dynamixel_sdk/ |
/usr/local/include/dynamixel_sdk_c/ |
Build with CMake
Install build-essential, and cmake.
$ sudo apt-get install build-essential
$ sudo apt-get install cmake
Build the SDK. --target install option makes the library files installed to the system.
You can skip installing the library files by omitting the –target install option.
$ cd DynamixelSDK/c
$ sudo cmake -B cmake_build
$ sudo cmake --build cmake_build --target install
$ sudo cmake --build cmake_build --target uninstall # Uninstall the library files from the system
Build result can be found in the cmake_build folder and the library files are installed to the system(/usr/local/lib/libdxl_c.so, /usr/local/include/dynamixel_sdk_c/).
Build the Example Code with CMake
The example code also supports unified CMake build.
The executable file can be found in the build folder.
$ cd DynamixelSDK/c/example/protocol2.0
$ sudo cmake -B build
$ sudo cmake --build build
$ cd build
$ ./broadcast_ping
Library Setup <C Windows>
Install requirements
Build the SDK
-
Open the project solution file (.sln) located in the
[DynamixelSDK folder]/c/build/win32directory OR[DynamixelSDK folder]/c/build/win64directory).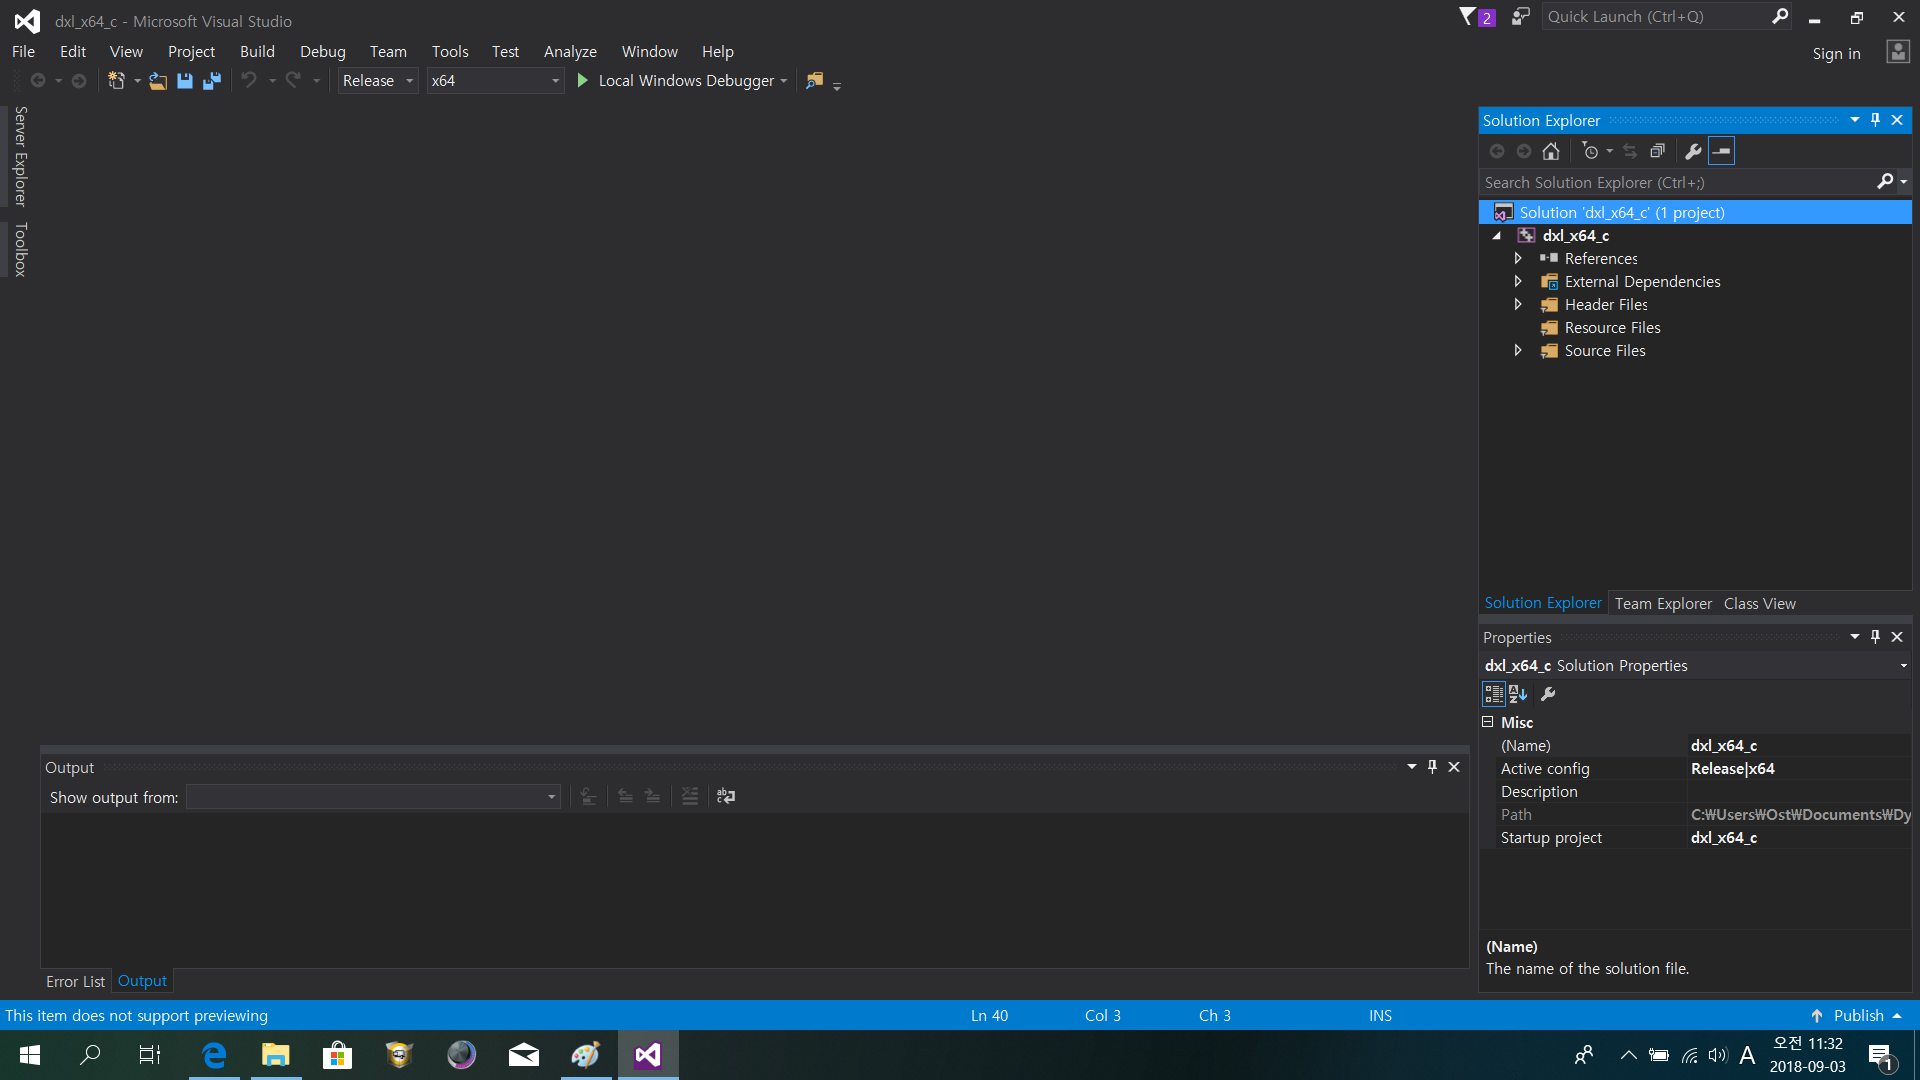
-
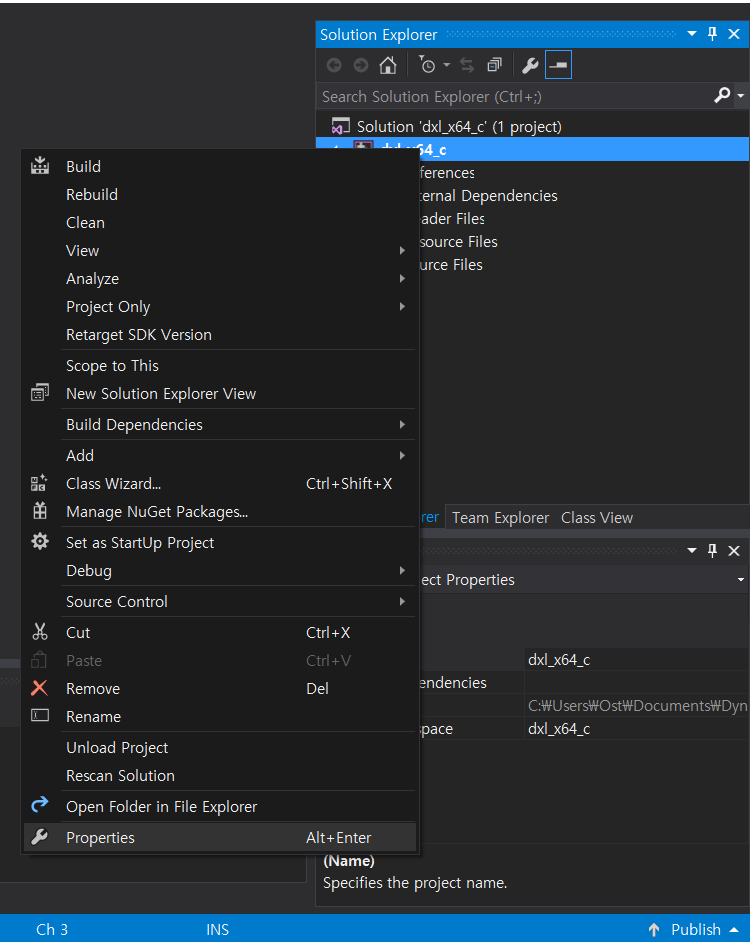
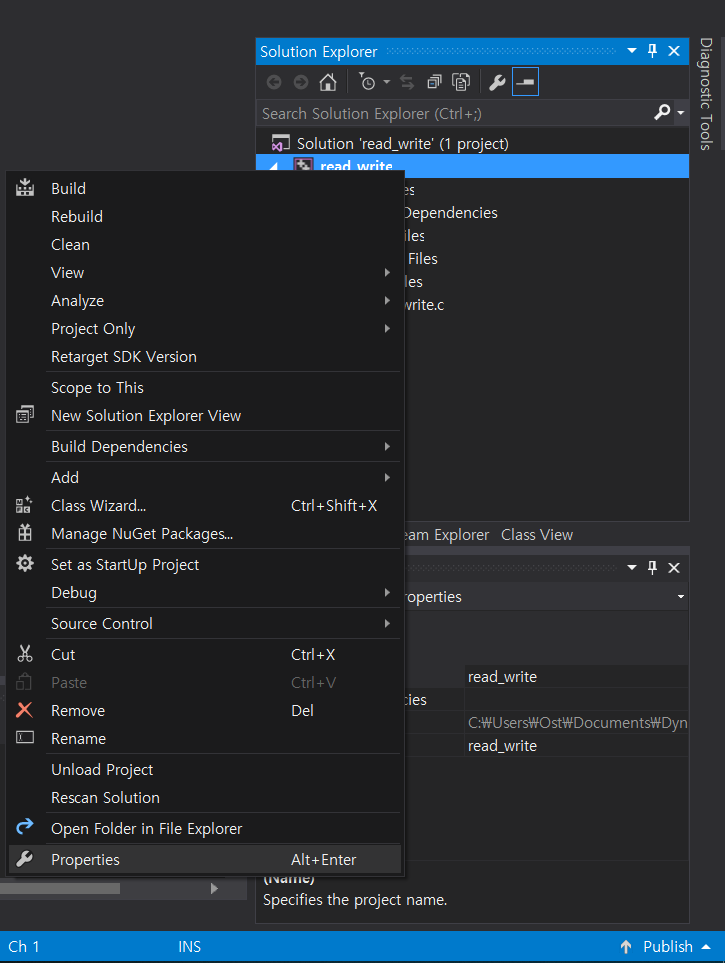
In the Solution Explorer, right click on the project and select Properties.
-
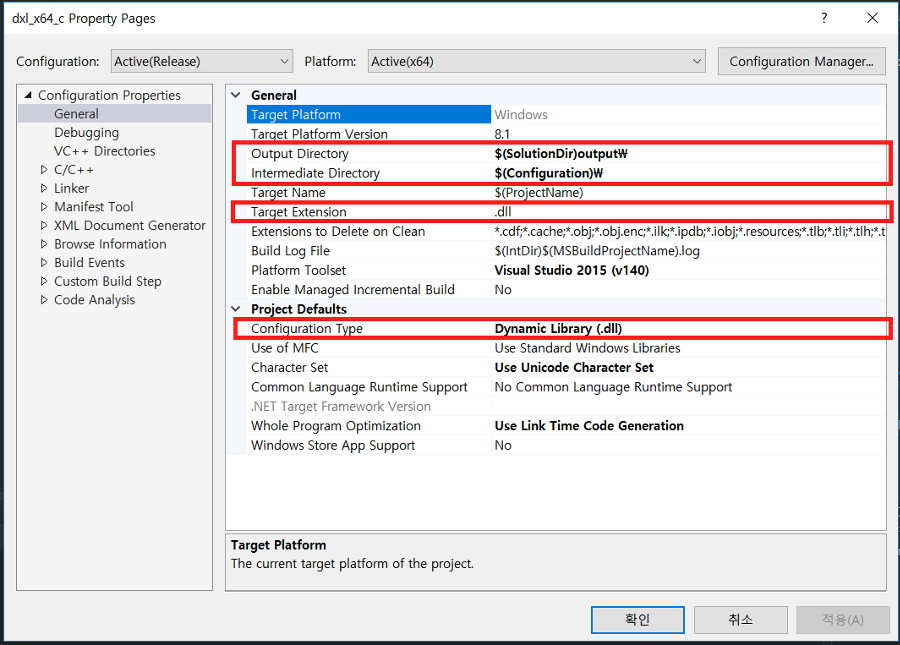
Under General Configuration Properties, confirm that the paths and file extensions are set to the following:
- Output Directory:
$(SolutionDir)output\ - Intermediate Directory:
$(Configuration)\ - Platform Toolset:
Visual Studio 20XX (v000) - Configuration Type:
Dynamic Library (.dll).
- Output Directory:
WARNING:
If the library file needs to be built in a lower or higher version of Visual Studio, change the Platform Toolset into the needed value. (ex: To use the DynamixelSDK c ver. library file in the MATLAB 2010 or LabVIEW 2010, the Platform Toolset should be changed to Visual Studio 2009 lower.)
-
Confirm that the Additional Include Directories path under the General C/C++ Configuration Properties tree is as follows:
..\..\..\include\dynamixel_sdk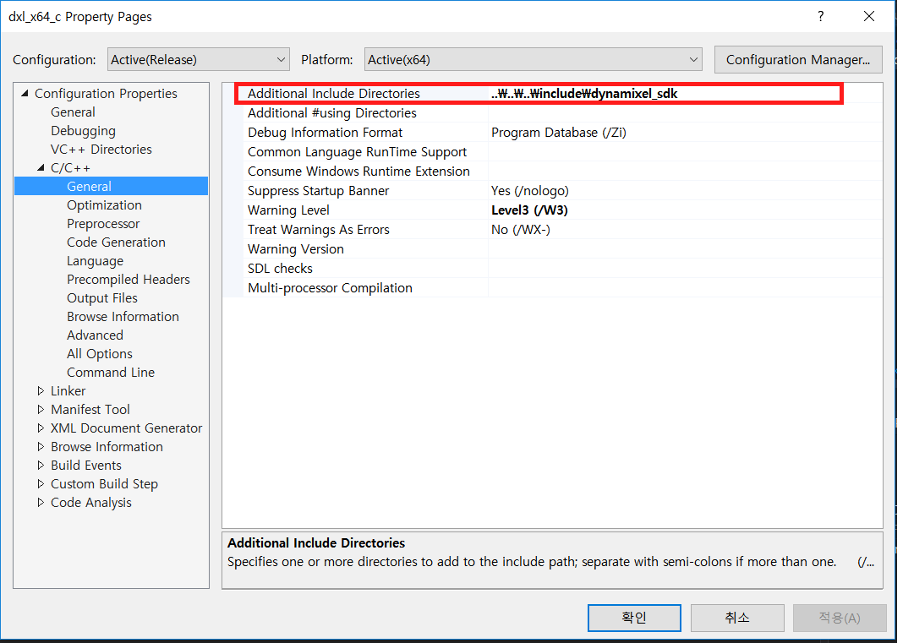
-
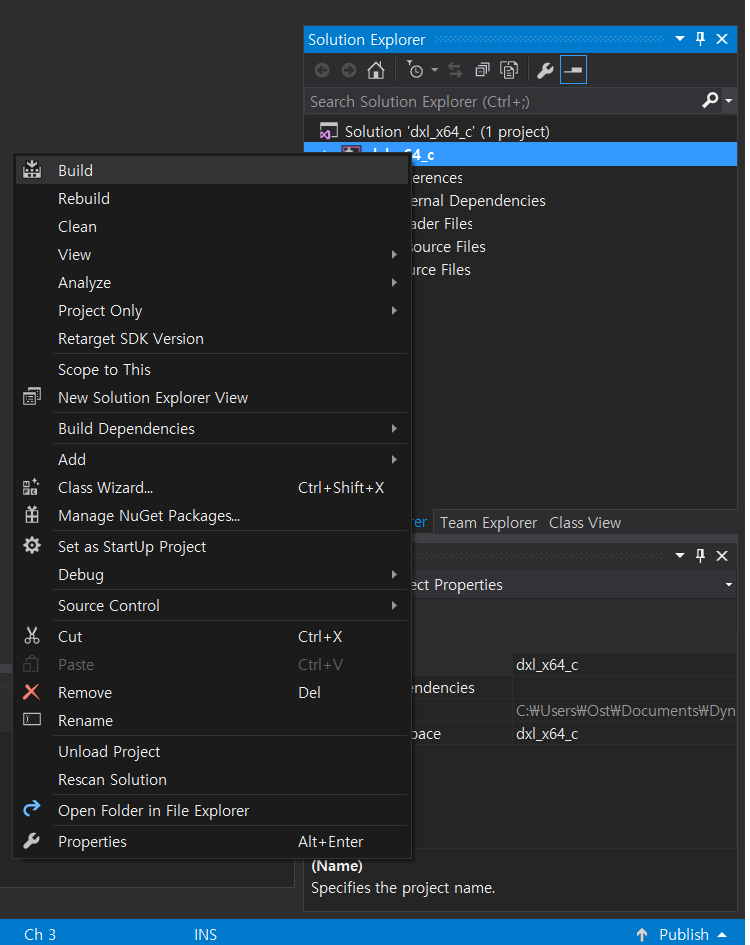
Right click on the project and select Build to build the library.
-
The built library file will be saved to
[DynamixelSDK folder]/c/build/[winXX]/output/dxl_xYY_c.dll.
Building and Running the Sample Code
The DYNAMIXEL SDK sample code for C uses the library files (.dll for Windows) compiled from the C language source.
By following the instructions above, The compiled .dll files are output to [DynamixelSDK folder]/c/build/[winXX]/output/dxl_xYY_c.dll after being built from the included source code.
-
Run the .sln file located in the
[DynamixelSDK folder]/c/example/protocol2.0/read_write/win32folder if you have a 32-bit platform OR the[DynamixelSDK folder]/c/example/protocol2.0/read_write/win64folder if you have a 64-bit platform.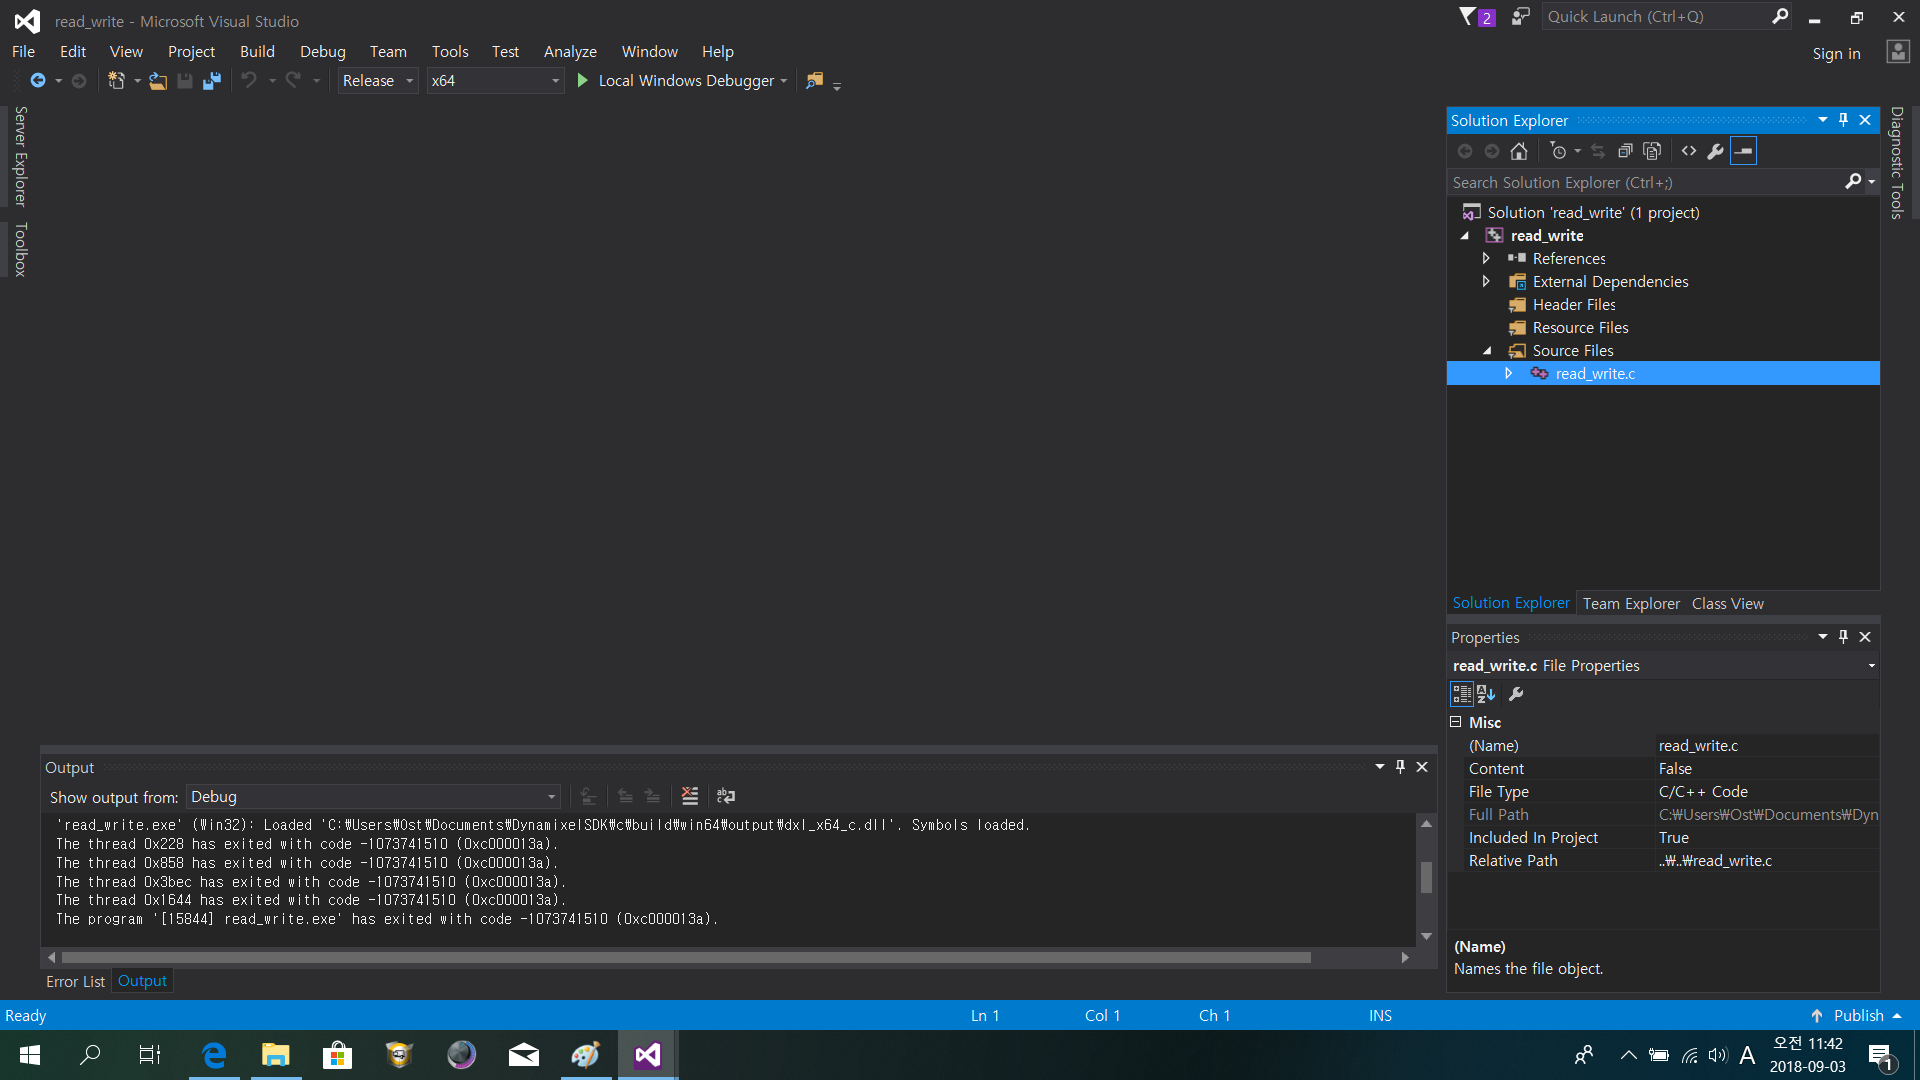
-
Right click on the project and select Properties.
-
In the resulting Property Pages window, under Configuration Properties –> General, check that the directories and file extensions are set as follows:
- Output Directory:
$(SolutionDir)$(Configuration)\ - Intermediate Directory:
$(Configuration)\ - Target Extension:
.exe -
Configuration Type:
Application (.exe)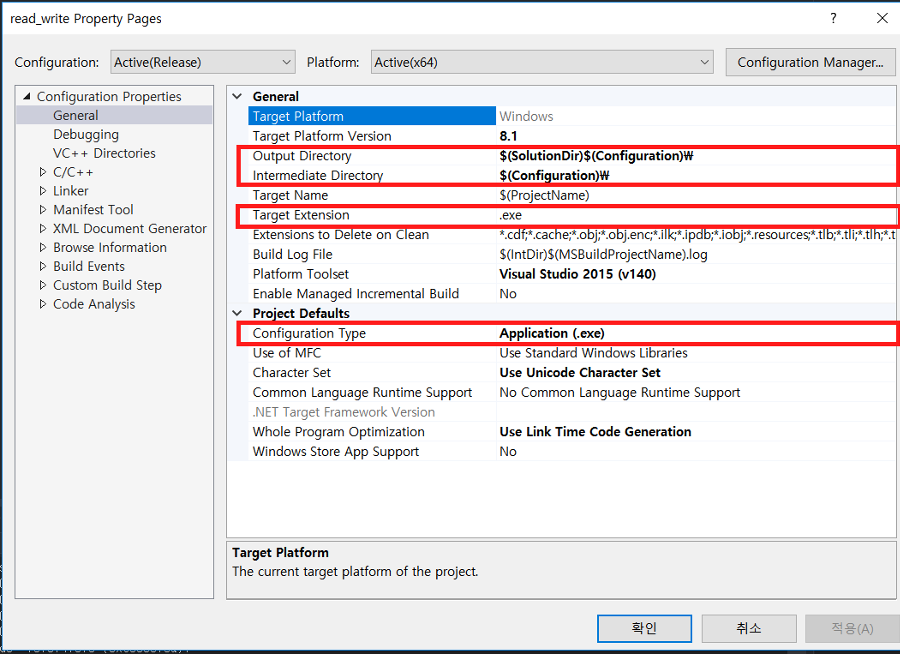
- Output Directory:
- Under Configuration Properties –> Debugging add the following path to your Environment:
- win32:
PATH=%PATH%;..\..\..\..\..\build\win32\output; -
win64:
PATH=%PATH%;..\..\..\..\..\build\win64\output;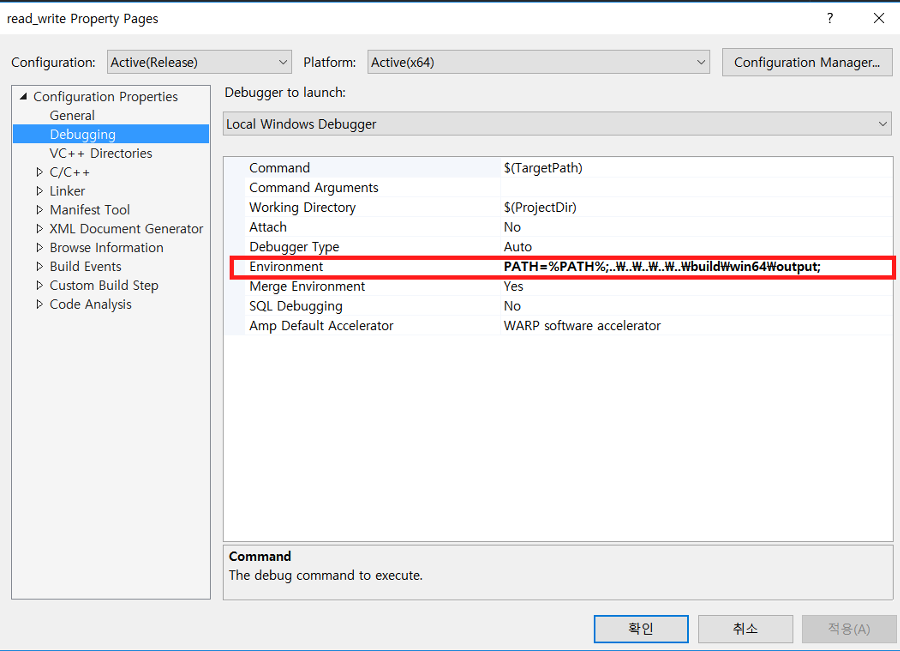
- win32:
- Under Configuration Properties –> VC++ Directories, add the following path to Library Directories:
- win32:
..\..\..\..\..\build\win32\output; -
win64:
..\..\..\..\..\build\win64\output;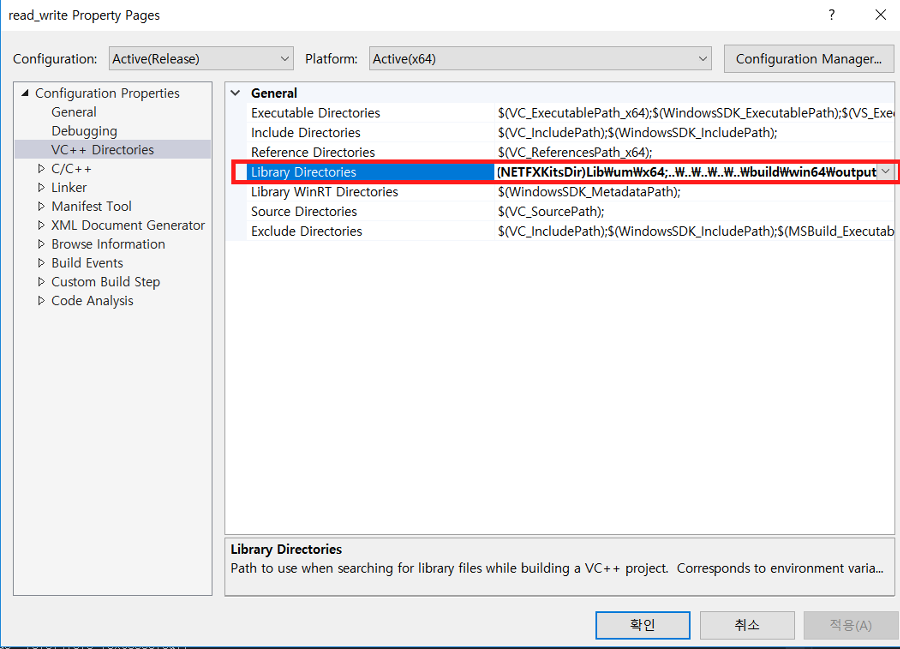
- win32:
-
Under Configuration Properties –> C/C++ –> General, add the following path to Additional Include Directories:
..\..\..\..\..\include\dynamixel_sdk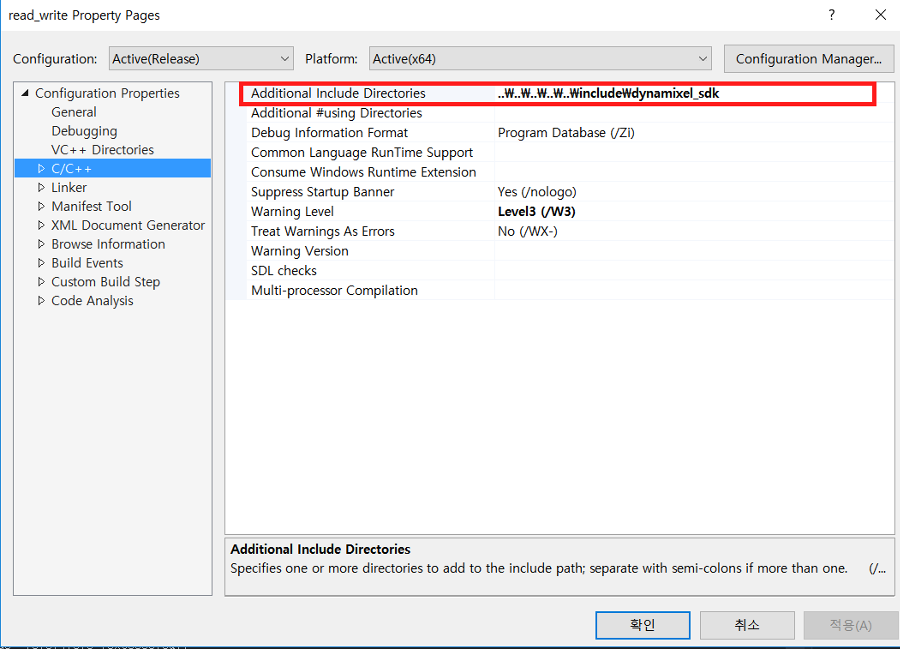
-
Under Configuration Properties –> Linker –> Input, add the following file to Additional Dependencies:
- win32:
dxl_x86_c.lib; -
win64:
dxl_x64_c.lib;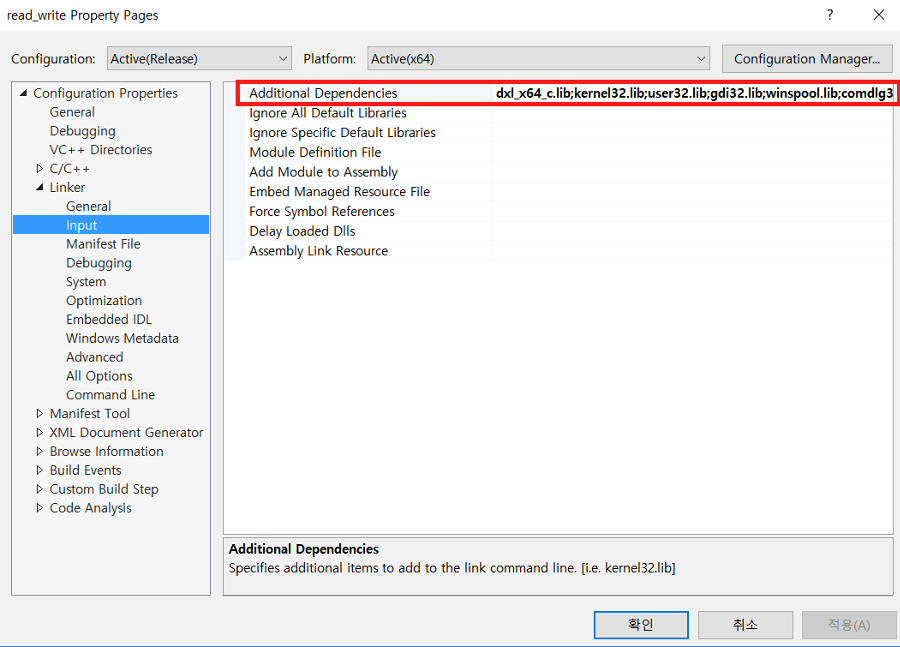
- win32:
-
Click on the Local Windows Debugger button to run the program.

CMake Build
- Latest DYNAMIXEL SDK supports CMake build.
Build System Update
The existing OS-specific make build system has been unified into a single CMake-based build system.
| Category | Legacy (sln) |
New (cmake) |
|---|---|---|
| Build file | OS-dependent | Unified across platforms |
| Generated Files | libdxl_{sys_env}_c.dll |
libdxl_c.dll |
| Install Include Paths | C:\Program Files (x86)\dynamixel_sdk_c\include\dynamixel_sdk_c\ |
Build with CMake
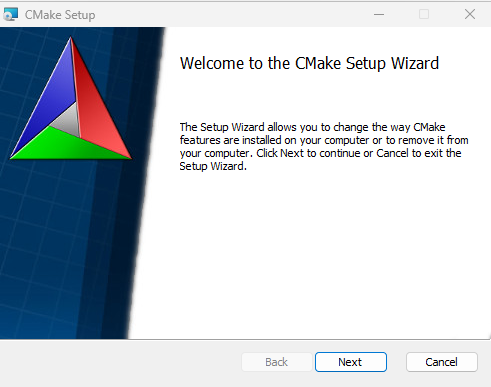
Install cmake from cmake download.
Download the msi file and install it.
Install Visual Studio build tools from Visual Studio download.
Start Visual Studio Installer and install the build tools.
After installation, open the x64 Native Tools Command Prompt for VS as administrator and navigate to the DynamixelSDK/c directory.
Build the SDK. --target install option makes the library files installed to the system.
You can skip installing the library files by omitting the –target install option.
$ cd DynamixelSDK/c
$ cmake -B cmake_build
$ cmake --build cmake_build --target install
$ cmake --build cmake_build --target uninstall # Uninstall the library files from the system
Build result can be found in the cmake_build folder and the library files are installed to the system(C:\Program Files (x86)\dynamixel_sdk_c).
Build the Example Code with CMake
The example code also supports unified CMake build.
The executable file can be found in the build/Debug folder.
$ cd DynamixelSDK/c/example/protocol2.0
$ cmake -B build
$ cmake --build build
$ cd build/Debug
$ set PATH=C:\Program Files (x86)\dynamixel_sdk_c\bin;%PATH%
$ broadcast_ping.exe
Library Setup <C macOS>
Maintenance is in progress. We apologize for your inconvenience. The manual is available in the near future.