
Library Setup <LabVIEW Windows>
Compiler and Builder
![]()
Building the Library
Note that if following procedure imports the DYNAMIXEL SDK c ver. 32bit library, the built library for LabVIEW only can be used by LabVIEW 32bit. Choose the platform target to either 32bit or 64bit, at first.
Besides, when some error that are related with .dll file version is higher than the LabVIEW's version is appeared, the .dll file should be rebuilt in lower version Visual Studio.
-
Run LabVIEW, then click Tools → Import → Shared Library (.dll)....
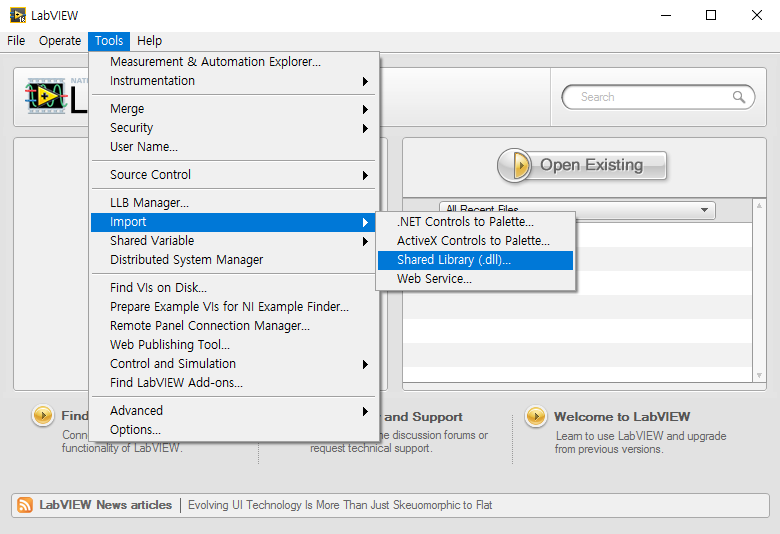
-
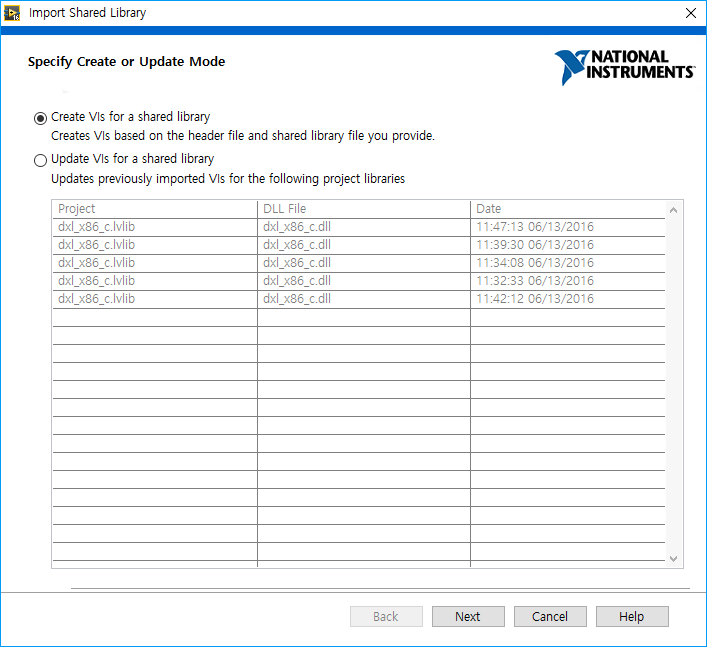
Select Create VIs for a shared library, then click Next.
-
Set paths to where the
.dlland.hof DYNAMIXEL SDK c version is located, then click Next.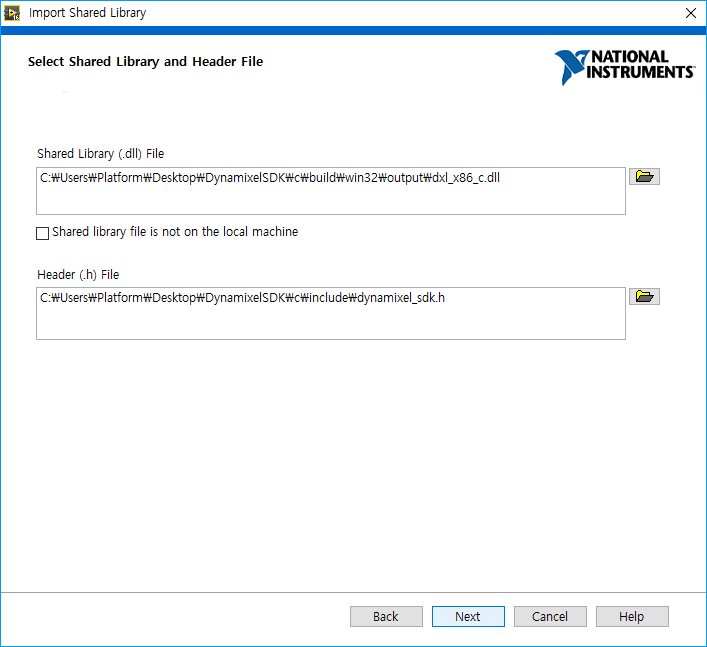
-
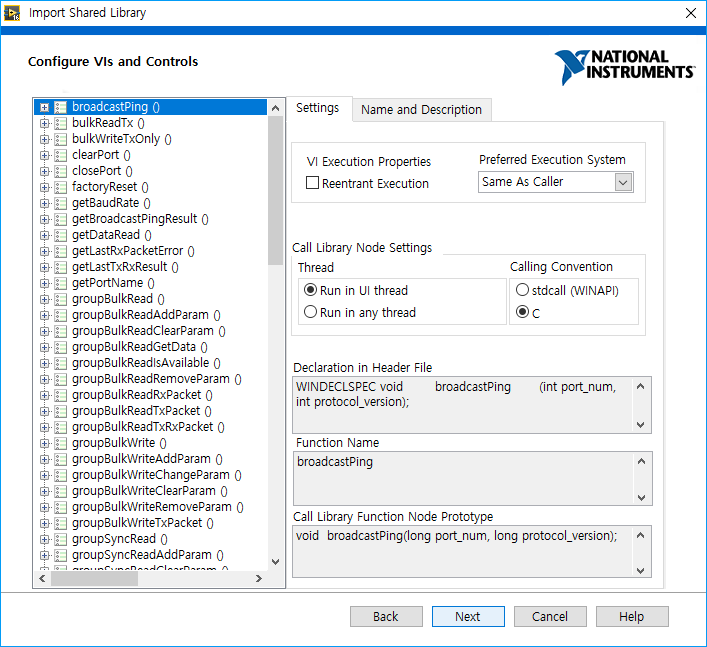
Put some definitions used in DYNAMIXEL SDK c version into the Textbox, then click Next.
_WIN32;_WIN64;_cplusplus;size_t=unsigned __int64;size_t=unsigned in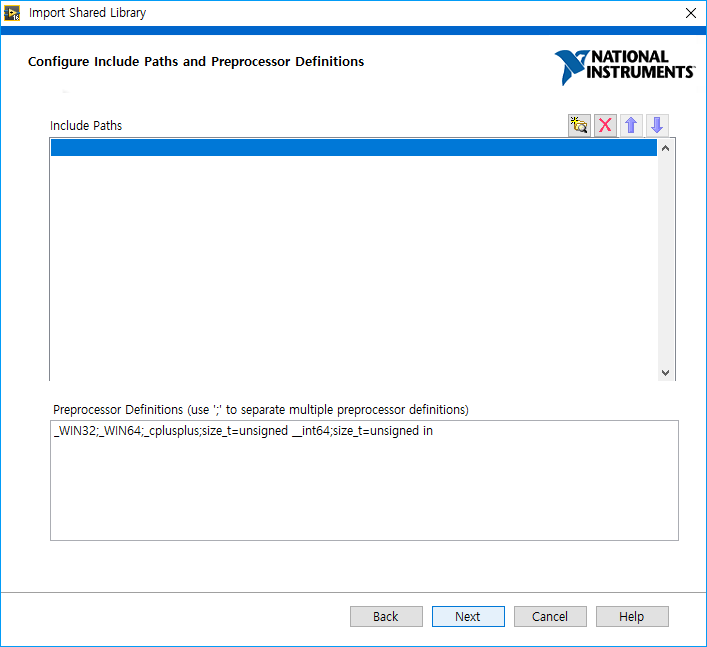
-
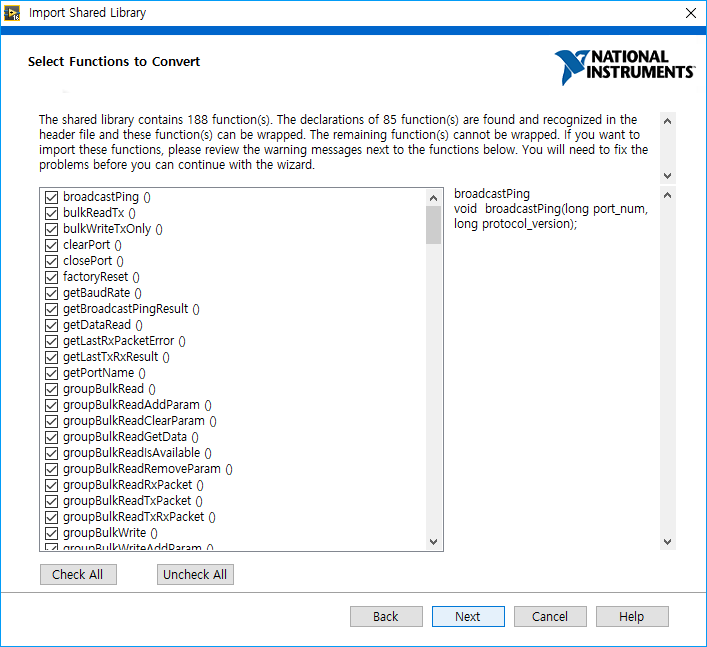
Check whether all the functions are successfully listed for the import, then click Next.
-
Change
Project Library NameandProject Library Pathproperly. Then click Next.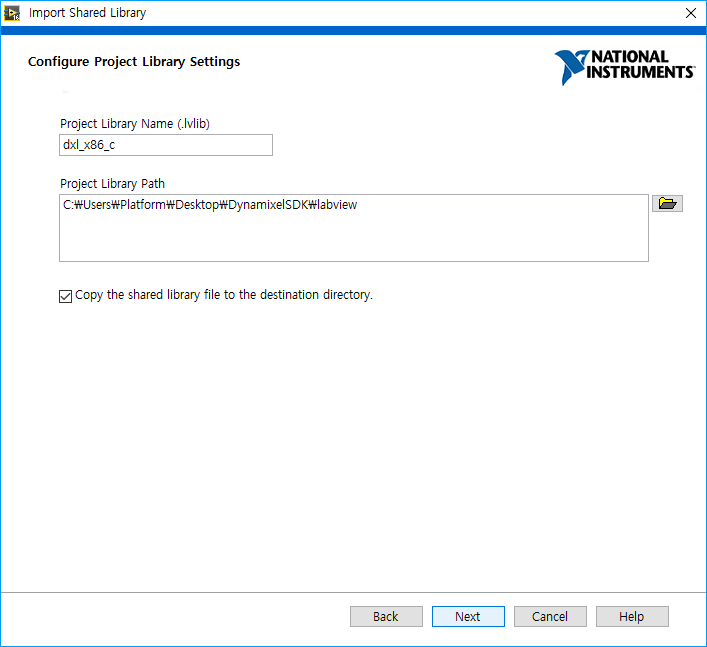
-
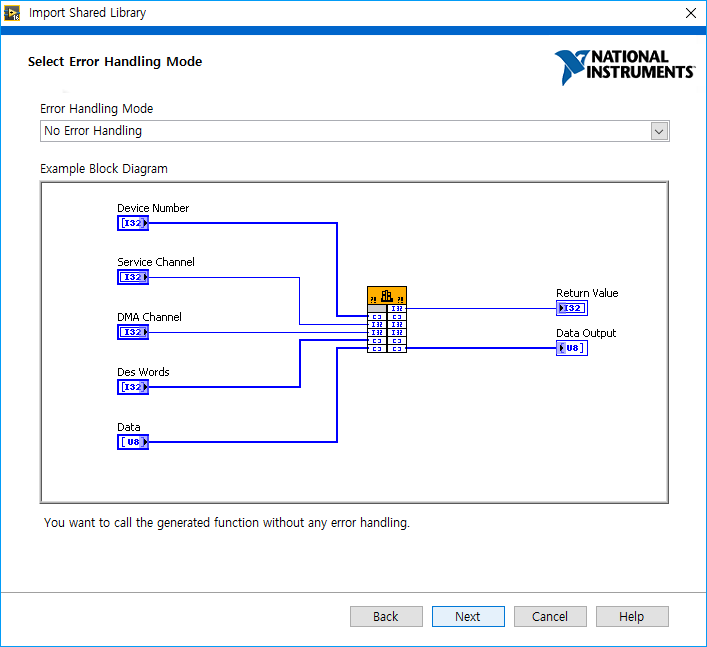
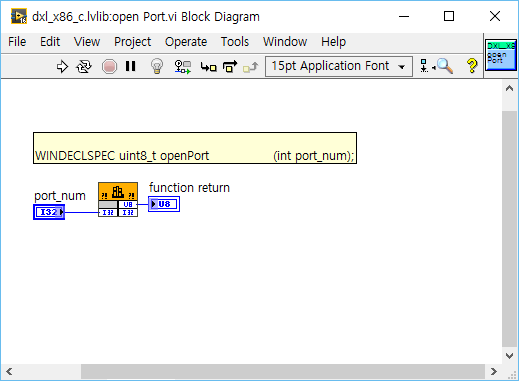
The DYNAMIXEL SDK functions for the LabVIEW will be structed as the blocks shows. Click Next.
-
Here doesn’t have any items that should be edited. Click Next.
-
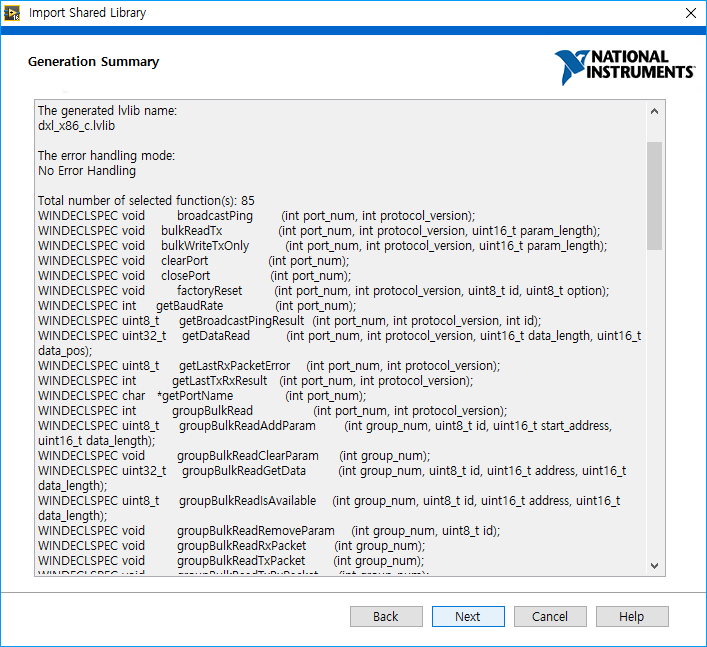
The list shows what kind of files should be built during the import. Click Next.
-
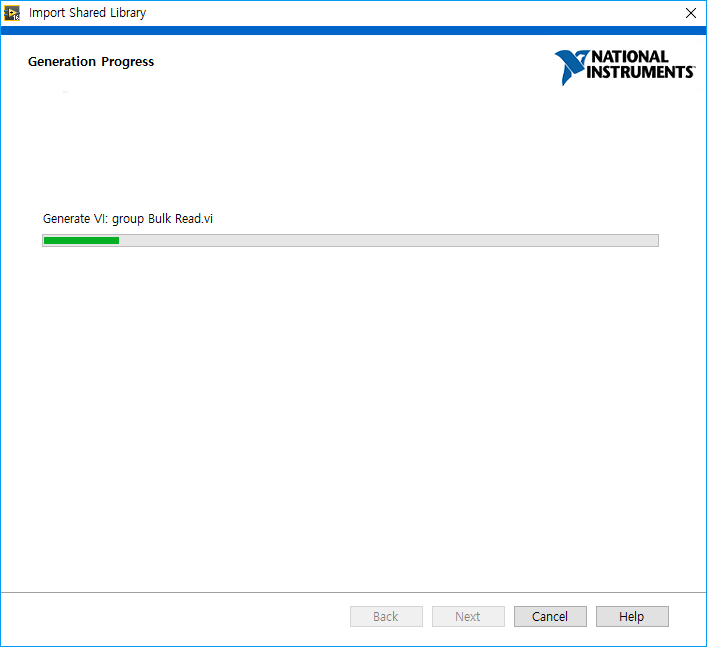
Wait for the progress. When it finishes importing, click Next.
-
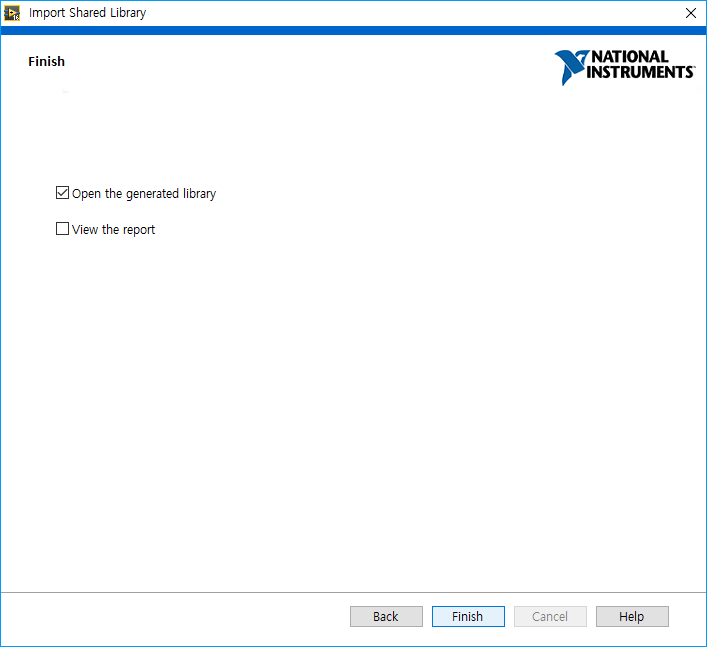
Click Finish and see the list of generated libraries.
-
Now, make the sources by using the generated LabVIEW libraries.
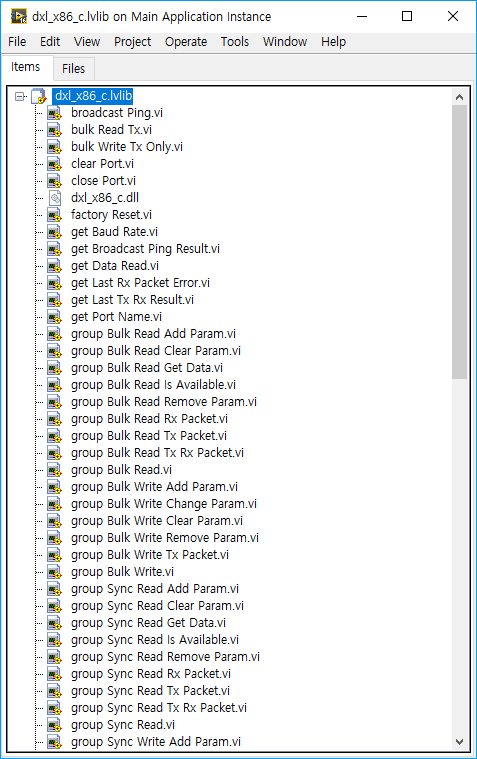
Function Reference
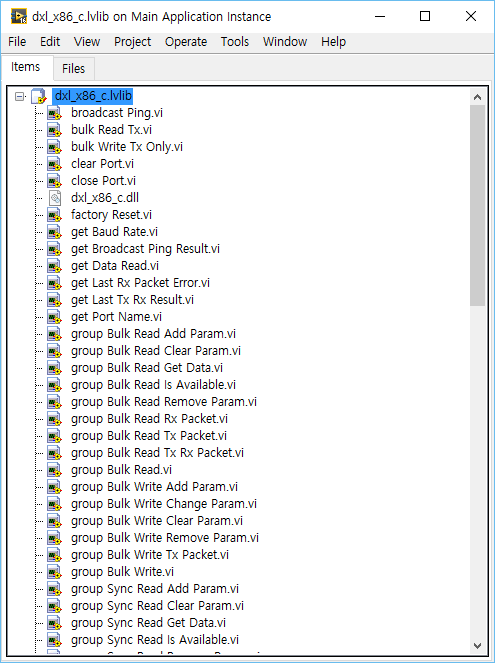
-
The function reference file is located in
[DynamixelSDK folder]/labview/dxl_x86_c.lvlib/dxl_x86_c.lvlib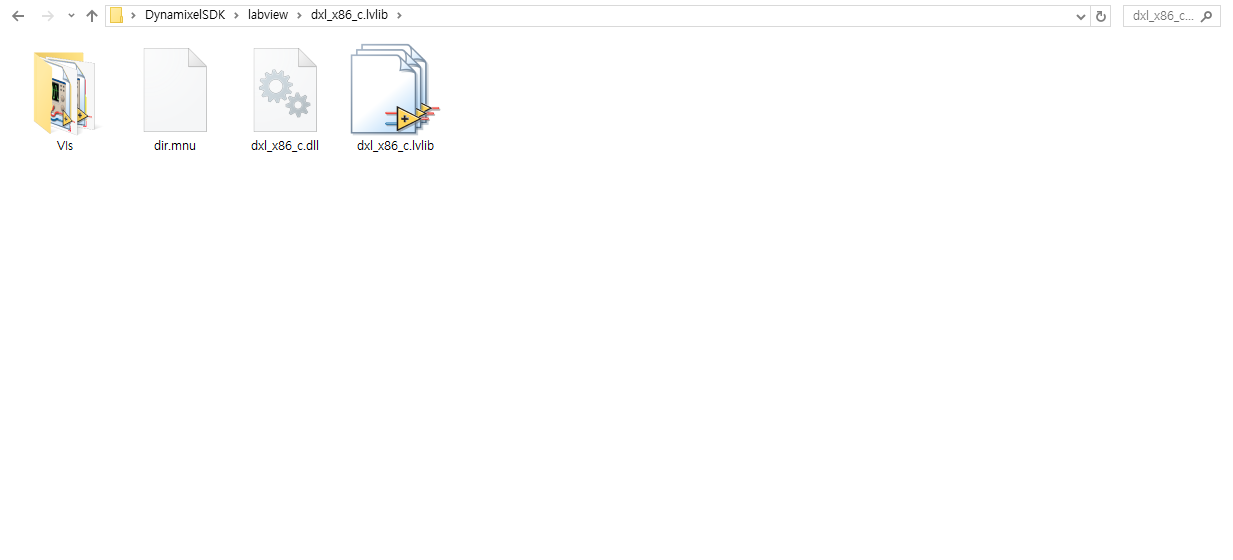
Building and Running the Sample Code
DYNAMIXEL SDK example code for LabVIEW uses the library files(.dll for Windows) built in C language.
Each released DYNAMIXEL SDK have latest library files in:
[DynamixelSDK folder]/c/build/[winXX]/output/dxl_xYY_c.dll
which were built by its own source code.